export@ezsteelpipe.com
 +86 731 8870 6116


 export@ezsteelpipe.com+86 731 8870 6116


Installing a pipeline is only half the job. Whatever the material, a newly commissioned line is at its most vulnerable in the weeks after the last weld is made and the first flanges are torqued. When a leak appears in a fresh section of pipeline works, the instinct is to rush at the nearest damp spot and start cutting. A far better approach is to follow a calm, step-by-step troubleshooting routine that separates the ordinary installation defect from a genuine material problem.
Leaks that show up after installation rarely come from nowhere. Most can be traced to one of a handful of causes. Knowing them in advance tells you where to look first.
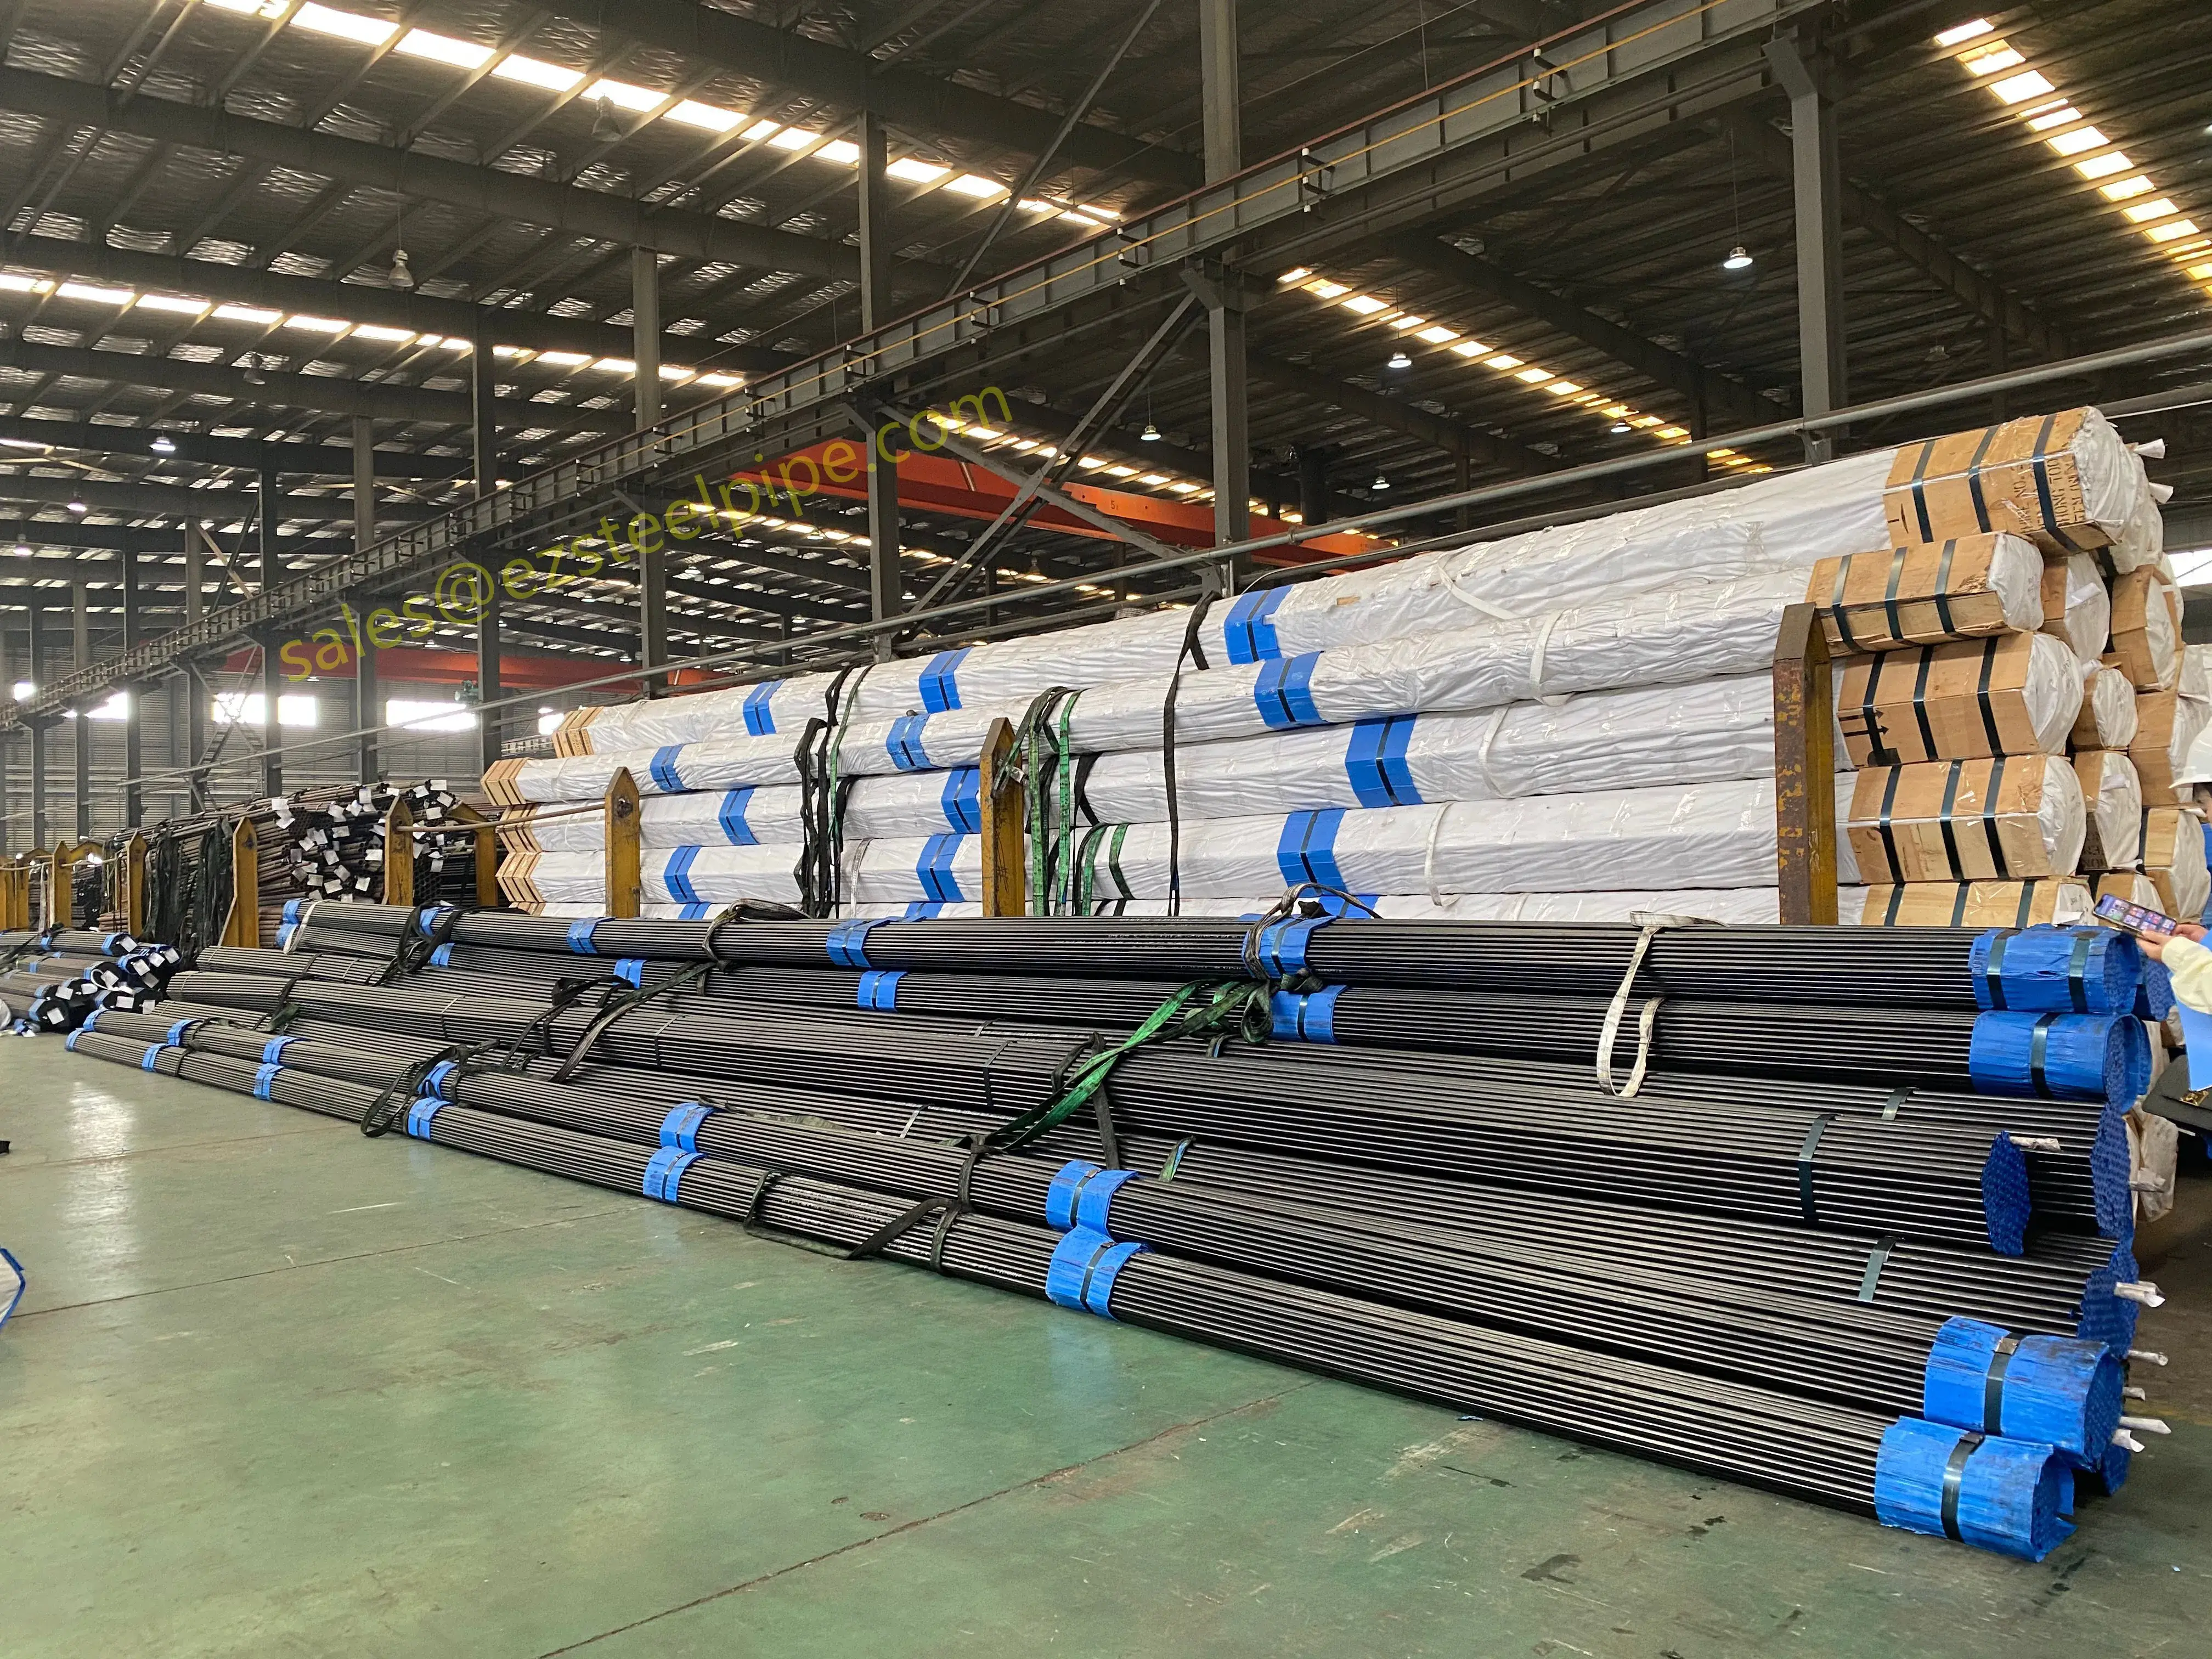
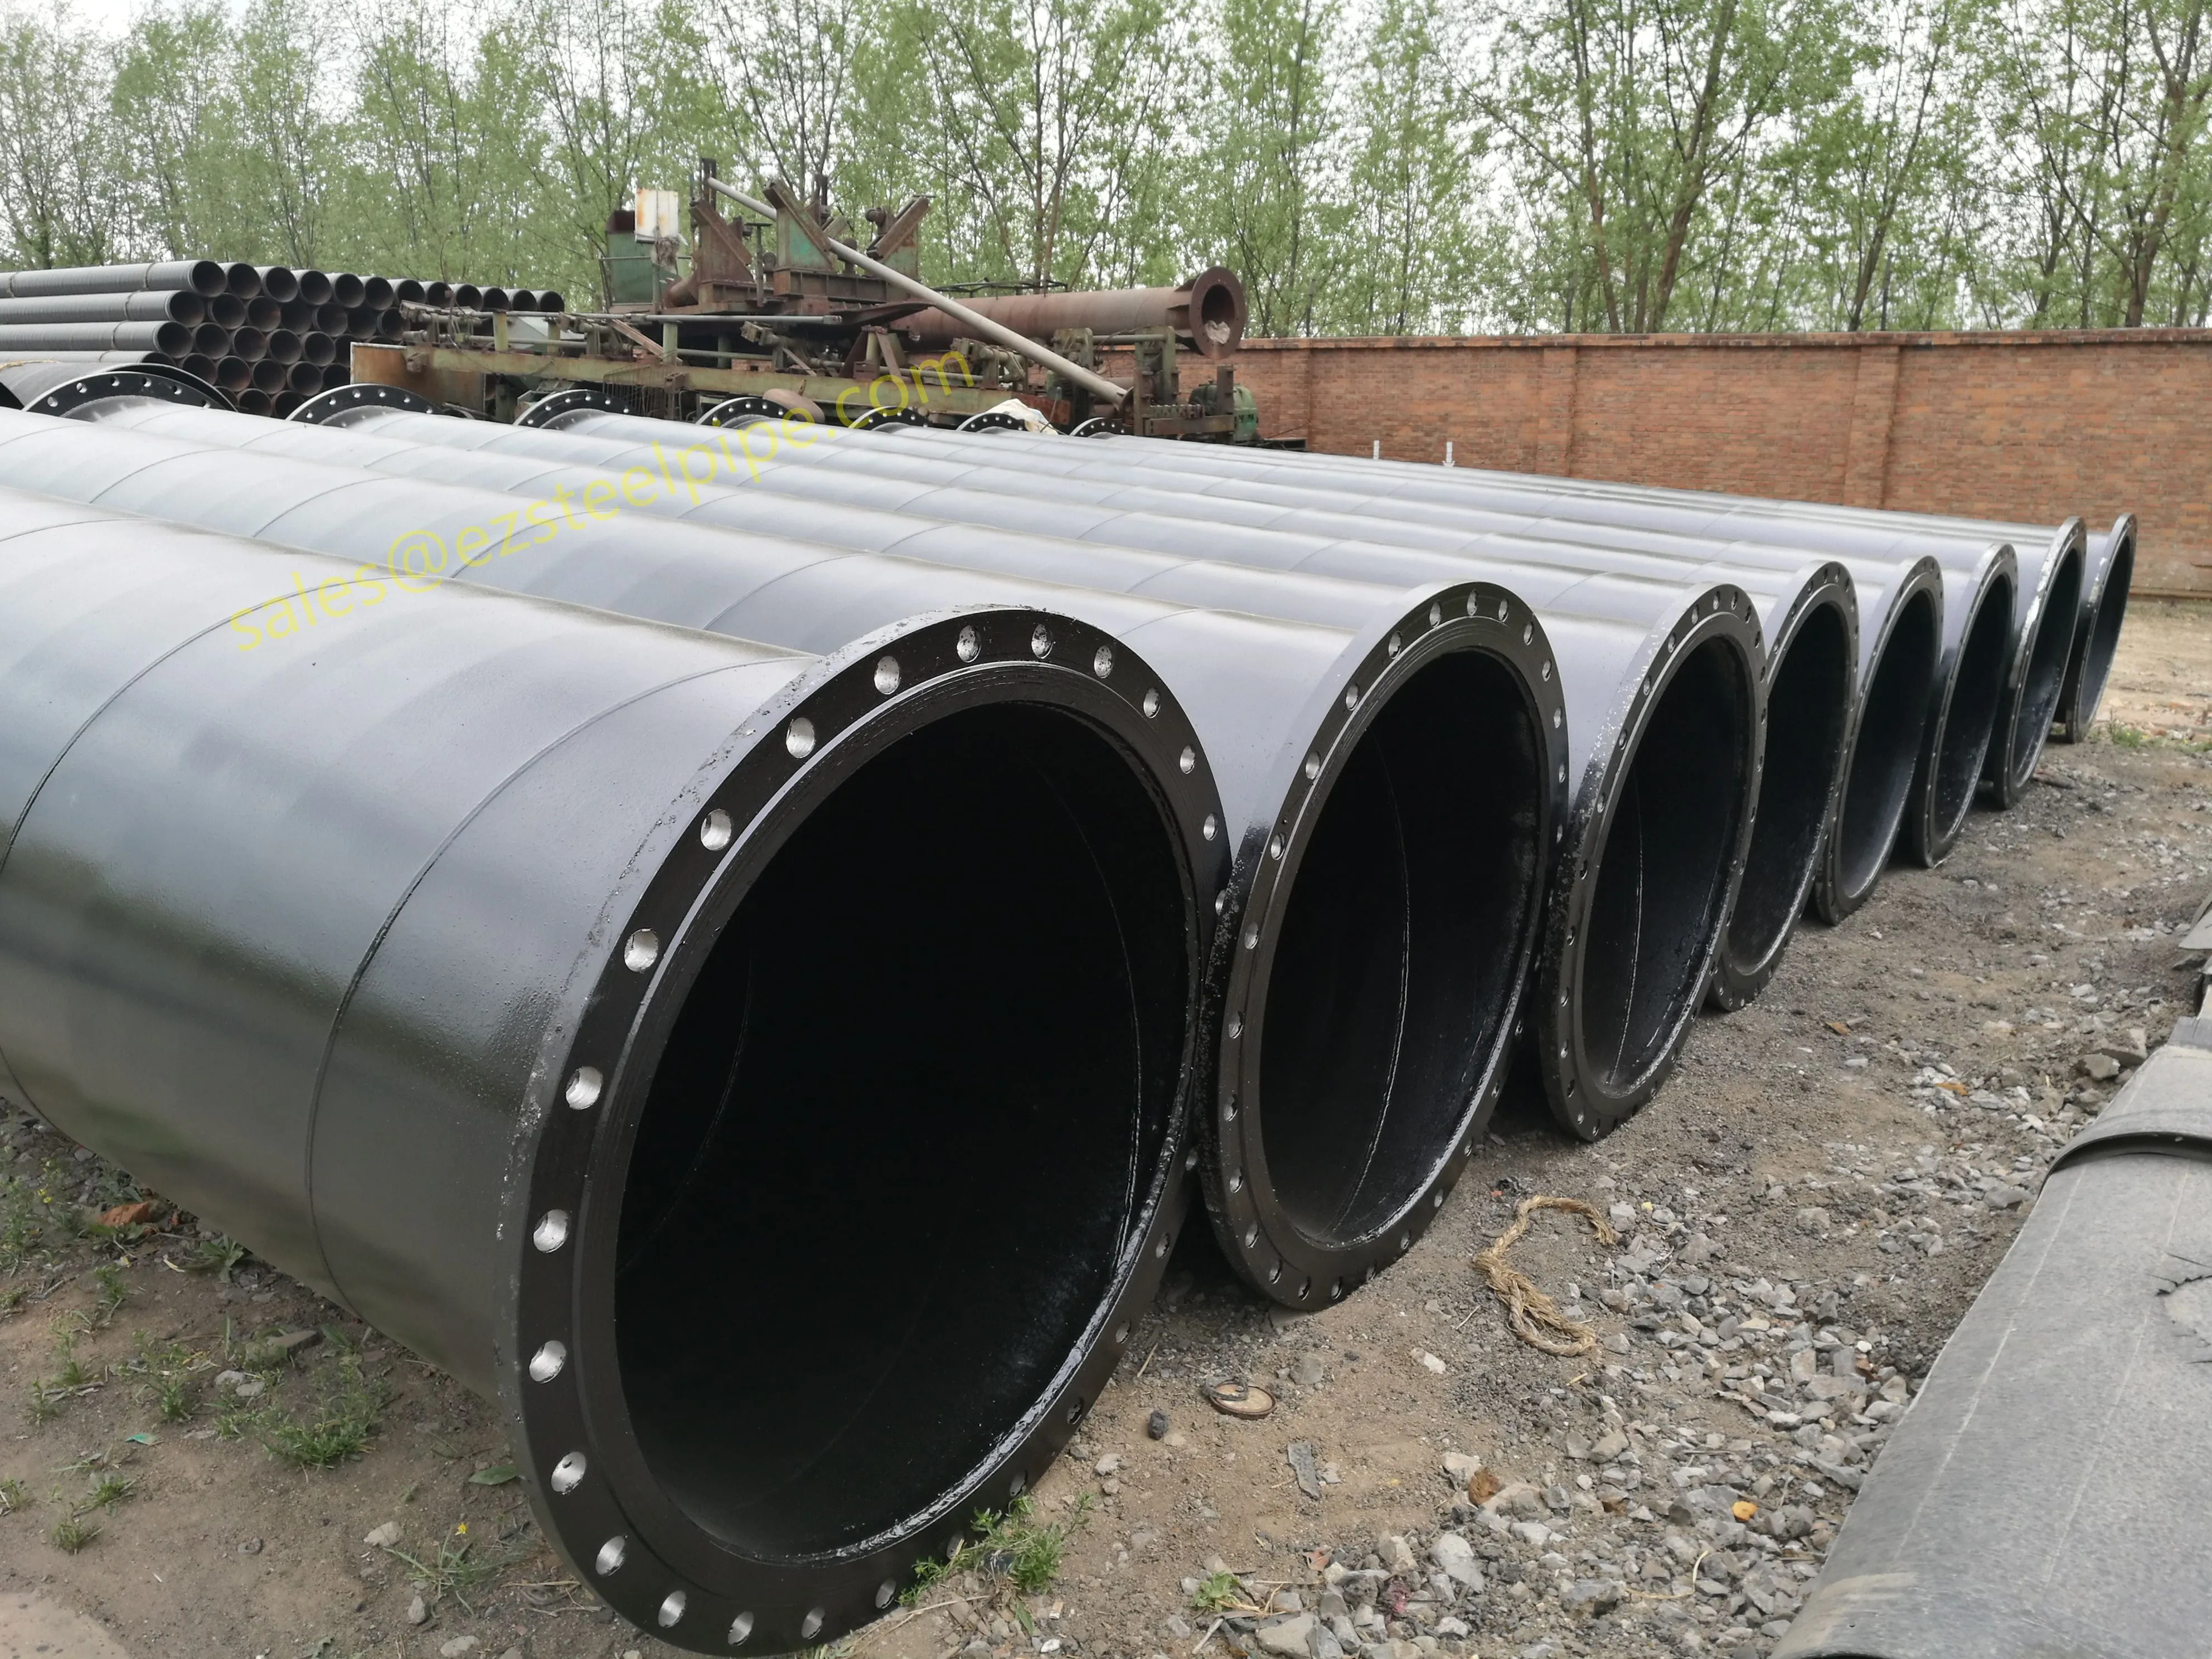
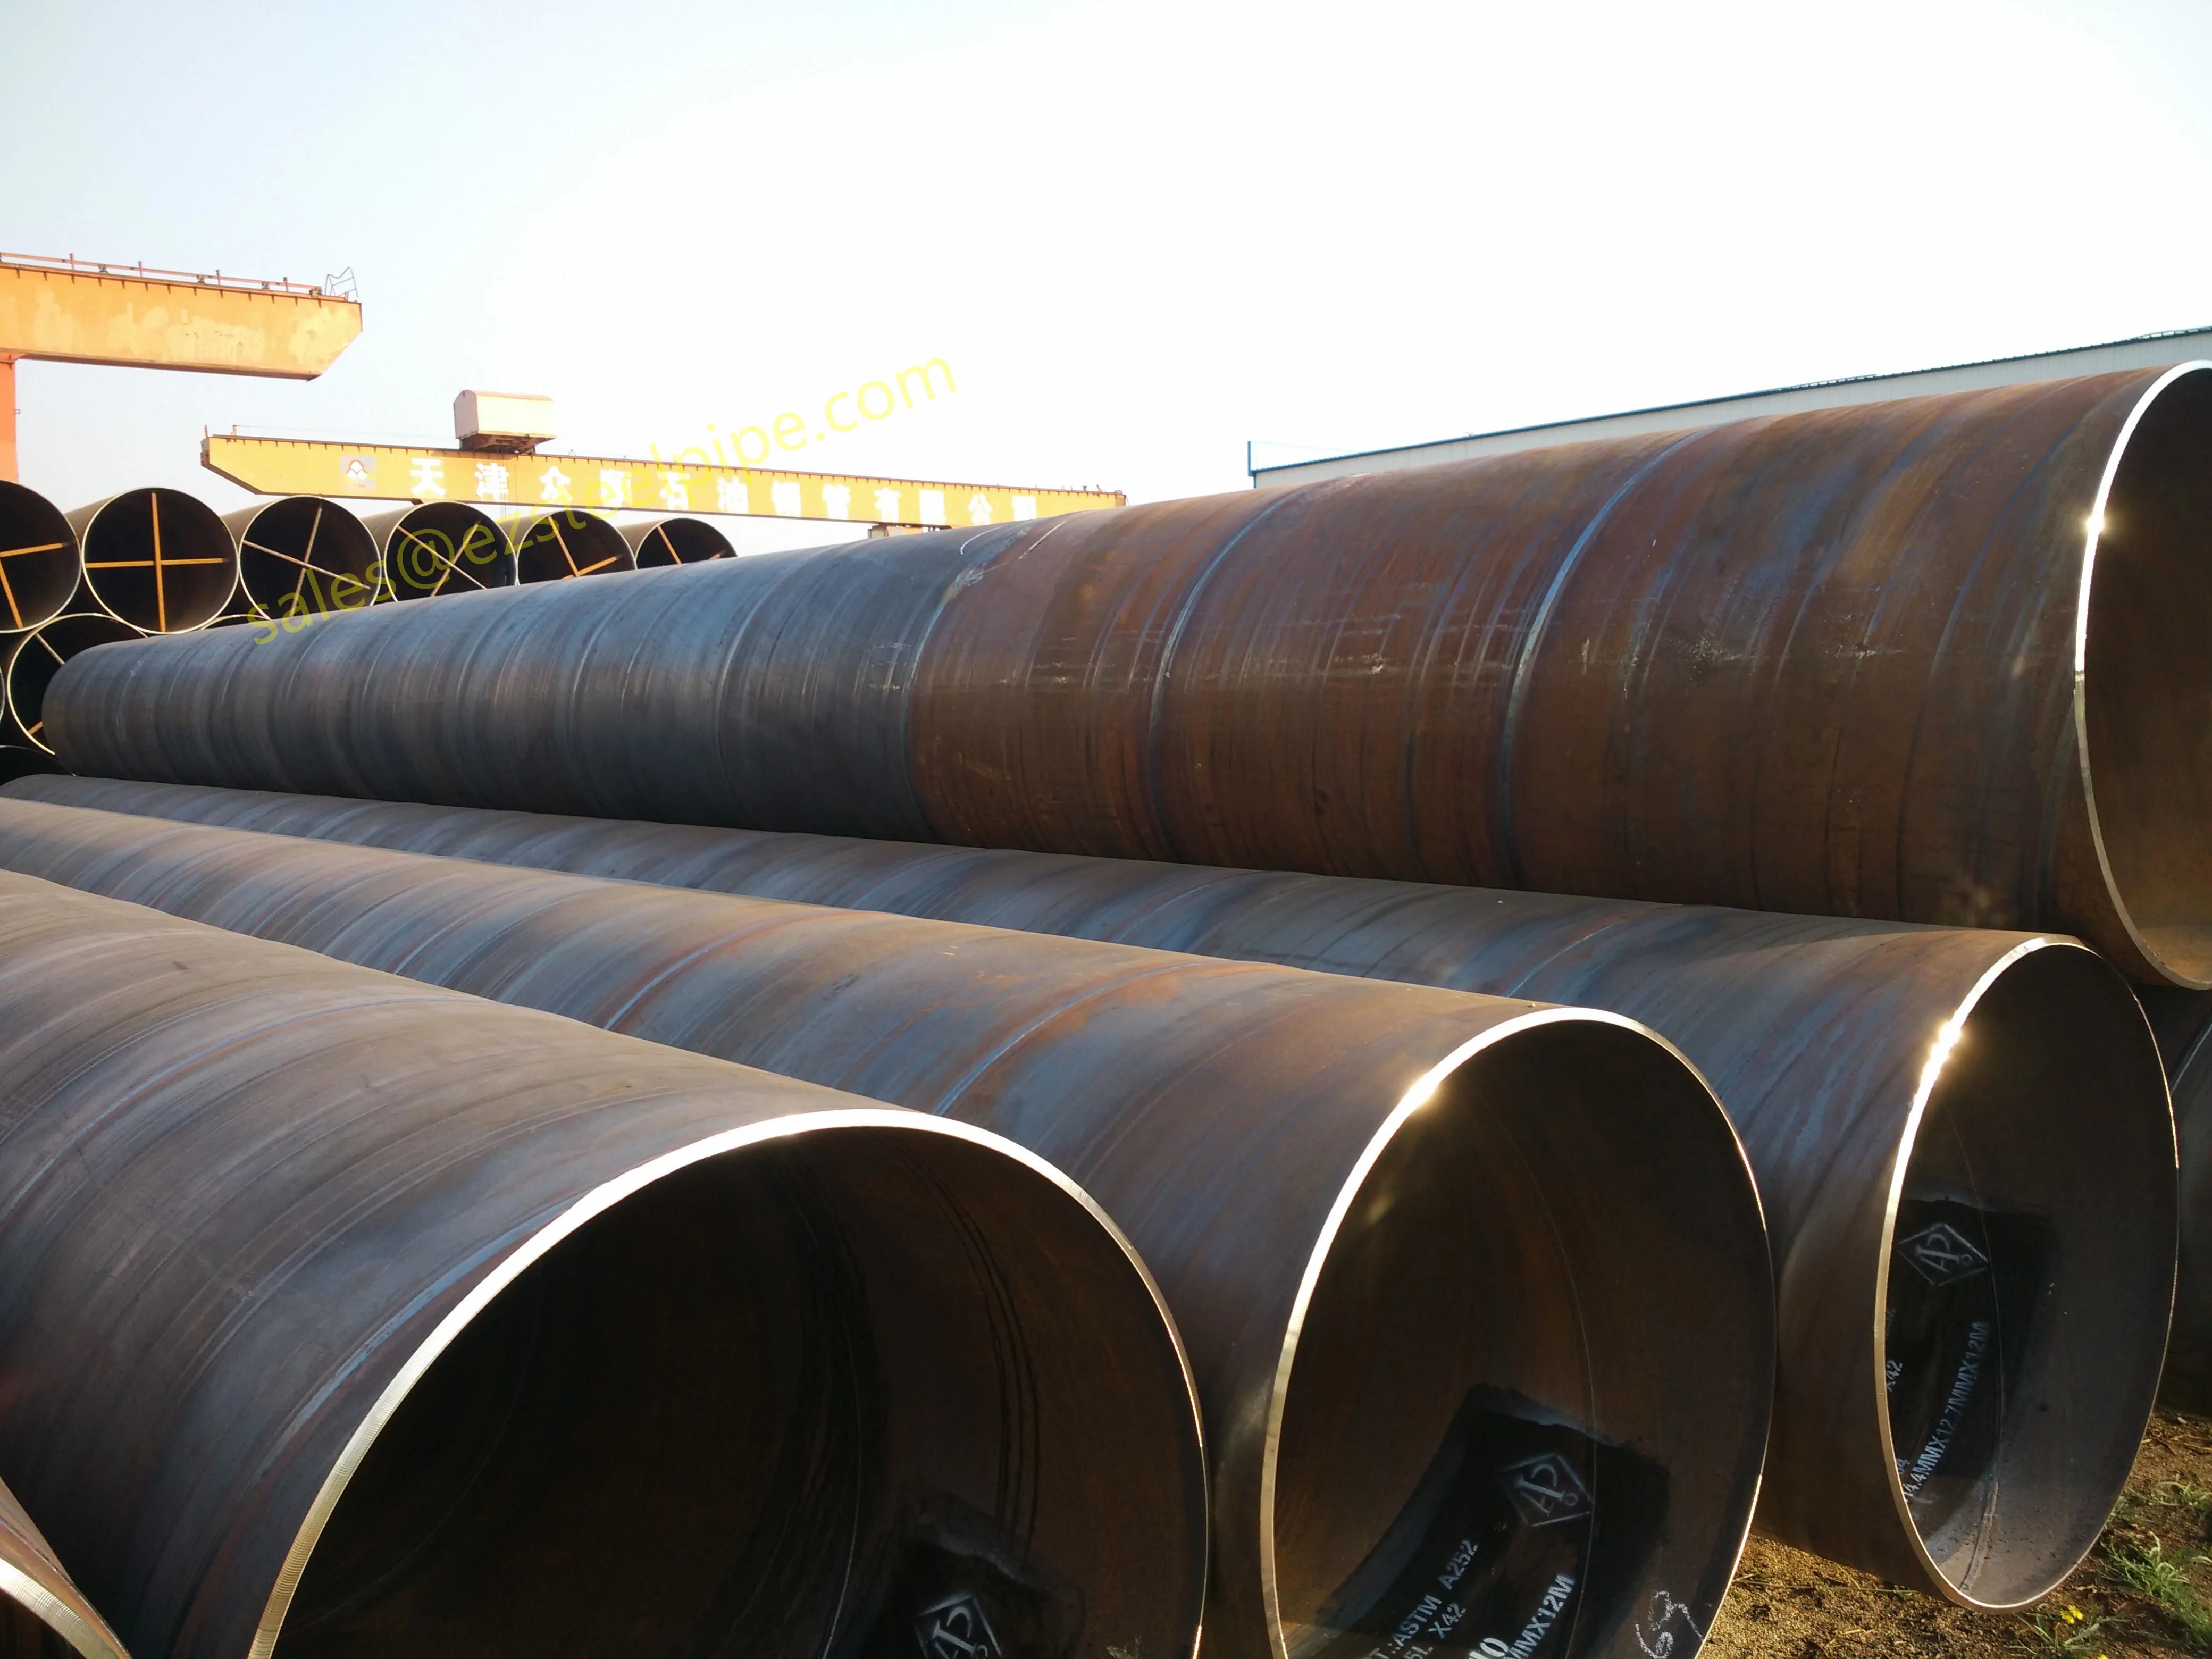
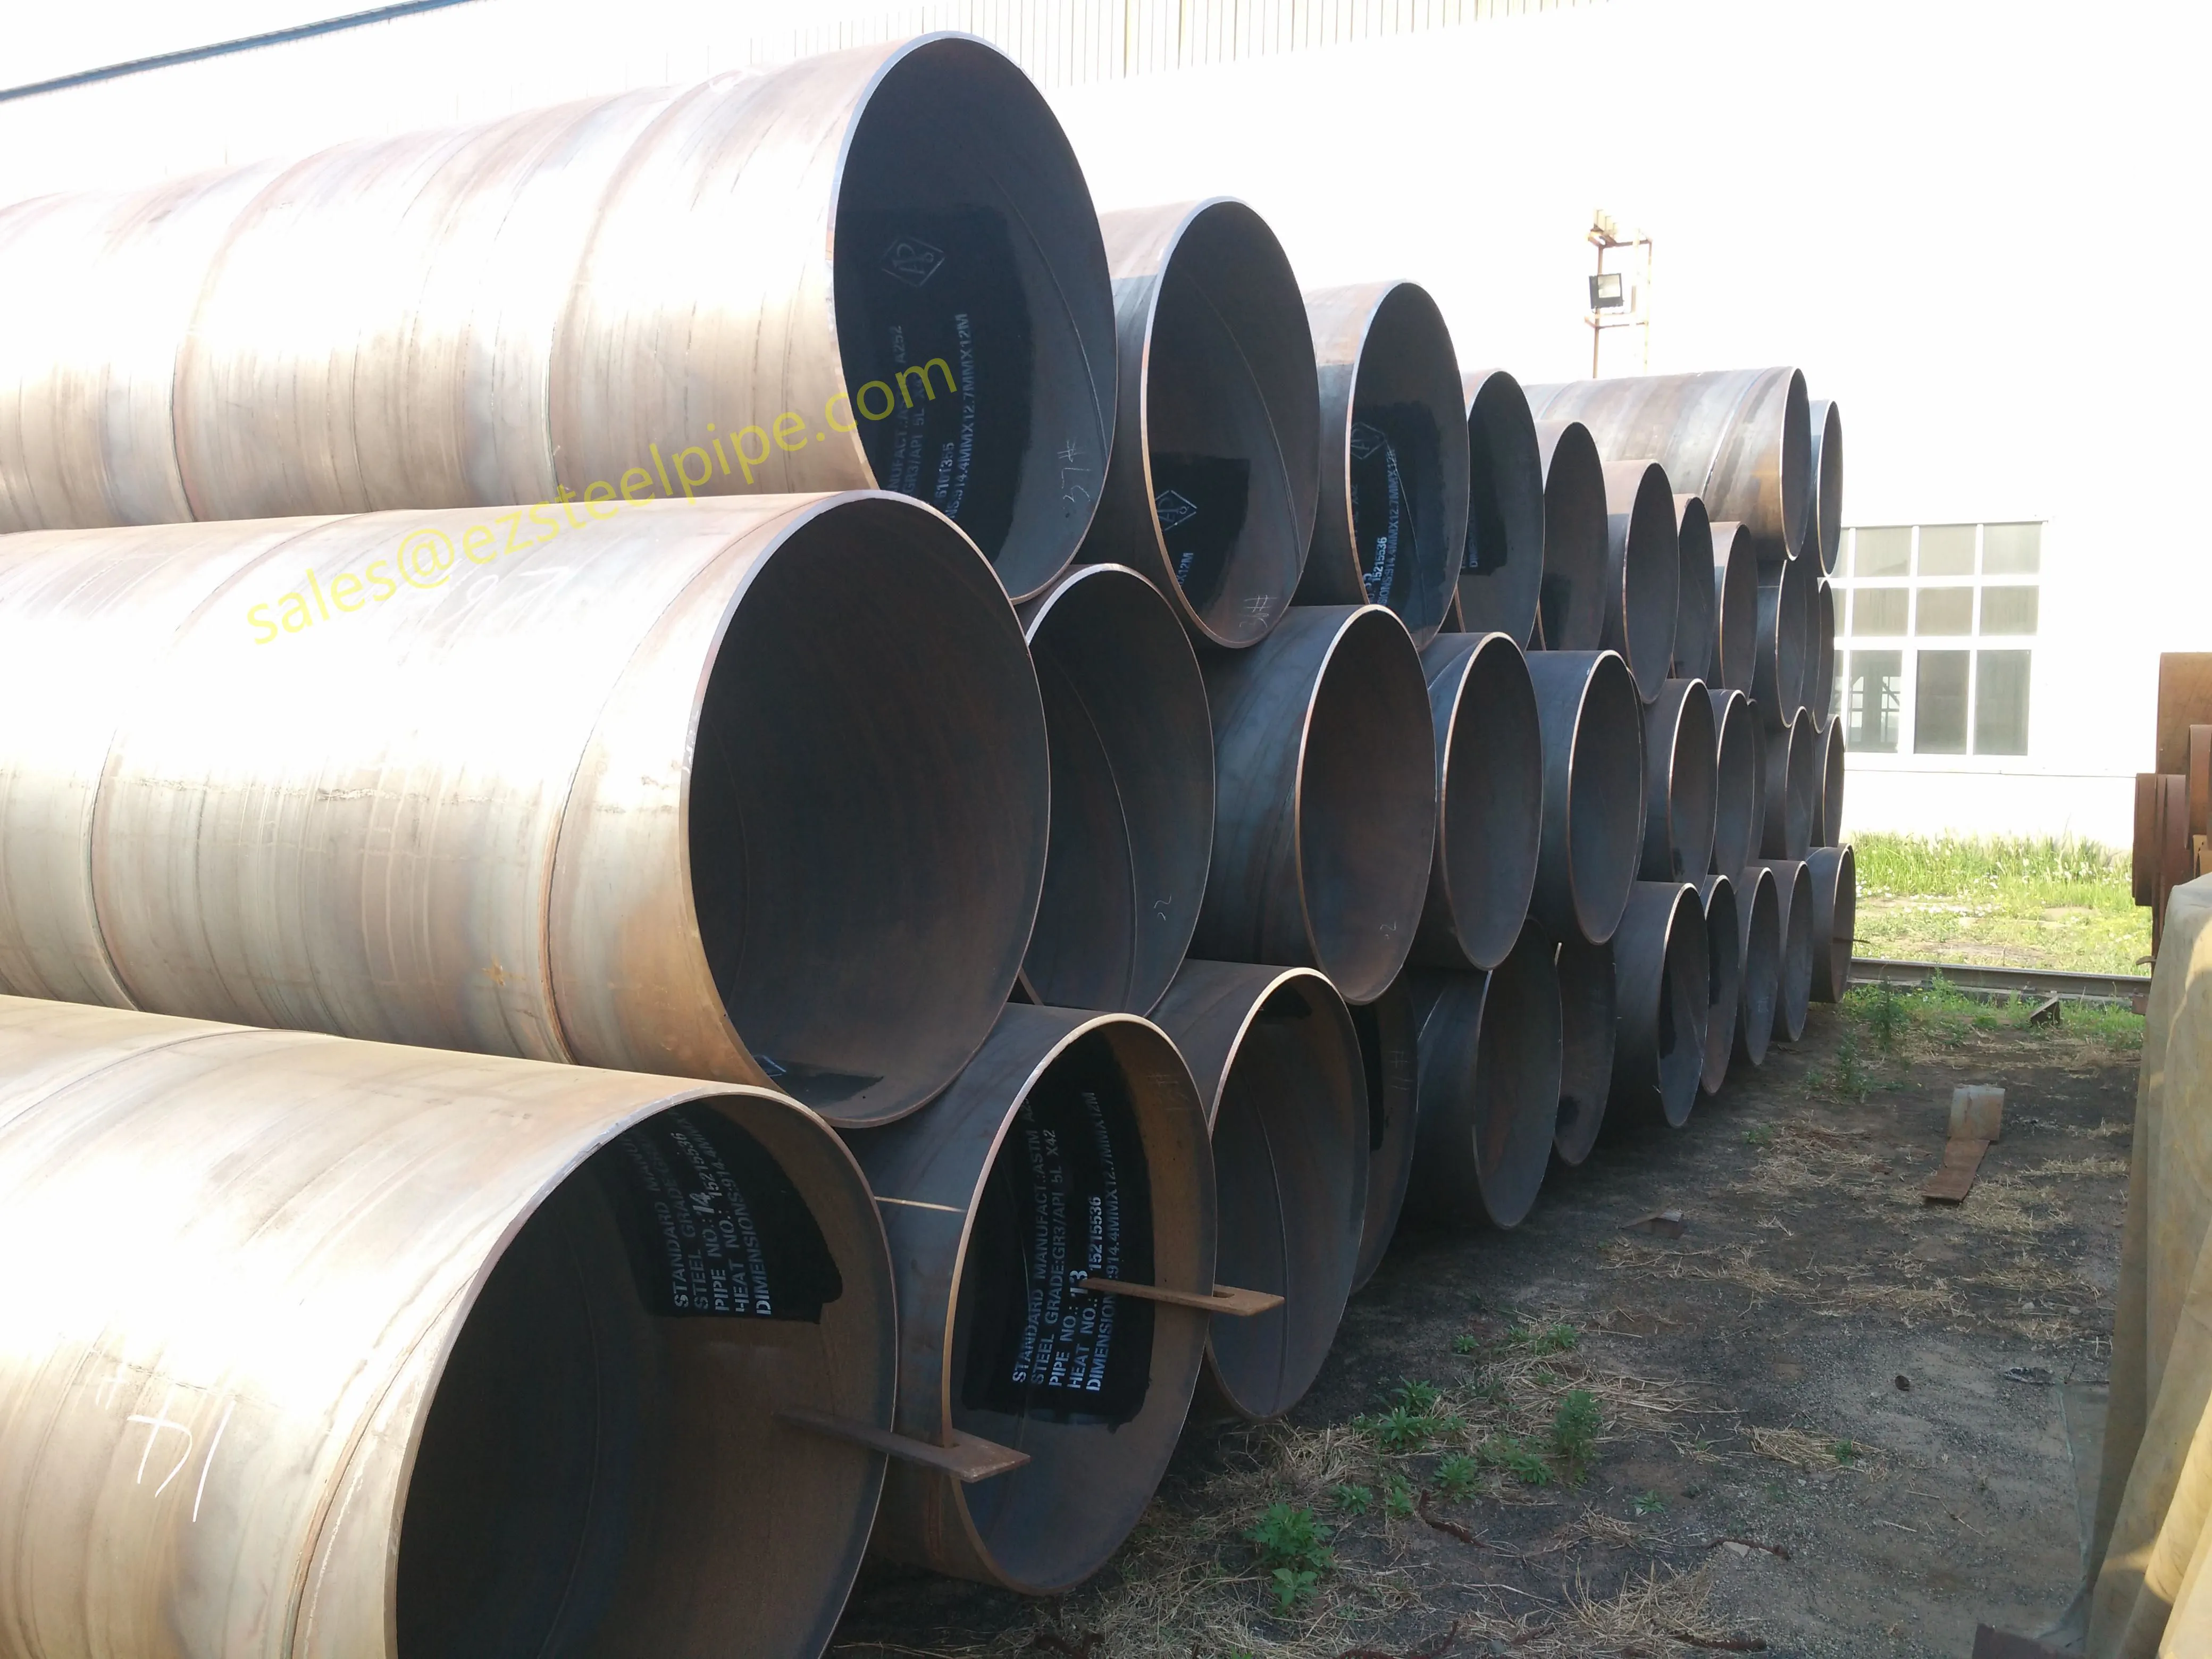
If the materials were supplied to the correct standard, the likeliest culprits are the joints and the fasteners rather than the pipe body itself. For lines carrying oil or gas, the very first thing to verify is that the pipe complies with the drawing grade, from a certified API 5L steel pipe to the correct pressure rating for the duty. This simple rule keeps the search focused.
Work from the cheapest, least invasive checks towards the more complex ones. This order catches most leaks quickly without wasting time.
Before touching the line, pull the mill test certificates, the hydrostatic test chart, and the weld maps. If the hydrotest held for its full hold period and then a leak appeared after commissioning, the problem is more likely thermal or mechanical than a manufacturing defect. If pressure was never held, every joint is a suspect.
Look for damp rings, rust bloom on a steel flange face, white or crusty residue, or insulation that is stained or bulging. Check that every support is still bearing and that no sag has developed. In a newly installed line, the first leaks are almost always at the visible connections, not buried halfway along a span.
Close off one section at a time and bring it to its documented test pressure. Watch the gauge, not the joints. A steady drop means a leak somewhere downstream; a stable gauge on the suspect section moves you on to the next. For gas or steam services, use a safe test medium and vent every high point before raising pressure.
Once a section fails to hold, work along its welds, flanges, threaded connections, and gaskets with a soap-and-water solution or a fluorescent tracer. In a dark or noisy plant, a small ultrasonic receiver helps separate a hiss from plant background. This step turns a vague suspicion into a specific location you can mark and repair.
For a leak that keeps reappearing after repair, or one hidden under insulation or cladding, ultrasonic thickness checks and magnetic-particle or dye-penetrant inspection of the weld area reveal pitting, wall loss, and cracks that a gauge cannot see. On a critical line this is cheaper than a second failed start-up.
| Location | Typical cause | First action |
|---|---|---|
| Butt welds | Lack of fusion, porosity, pin-hole | Bubble test the seam, then NDT the repair |
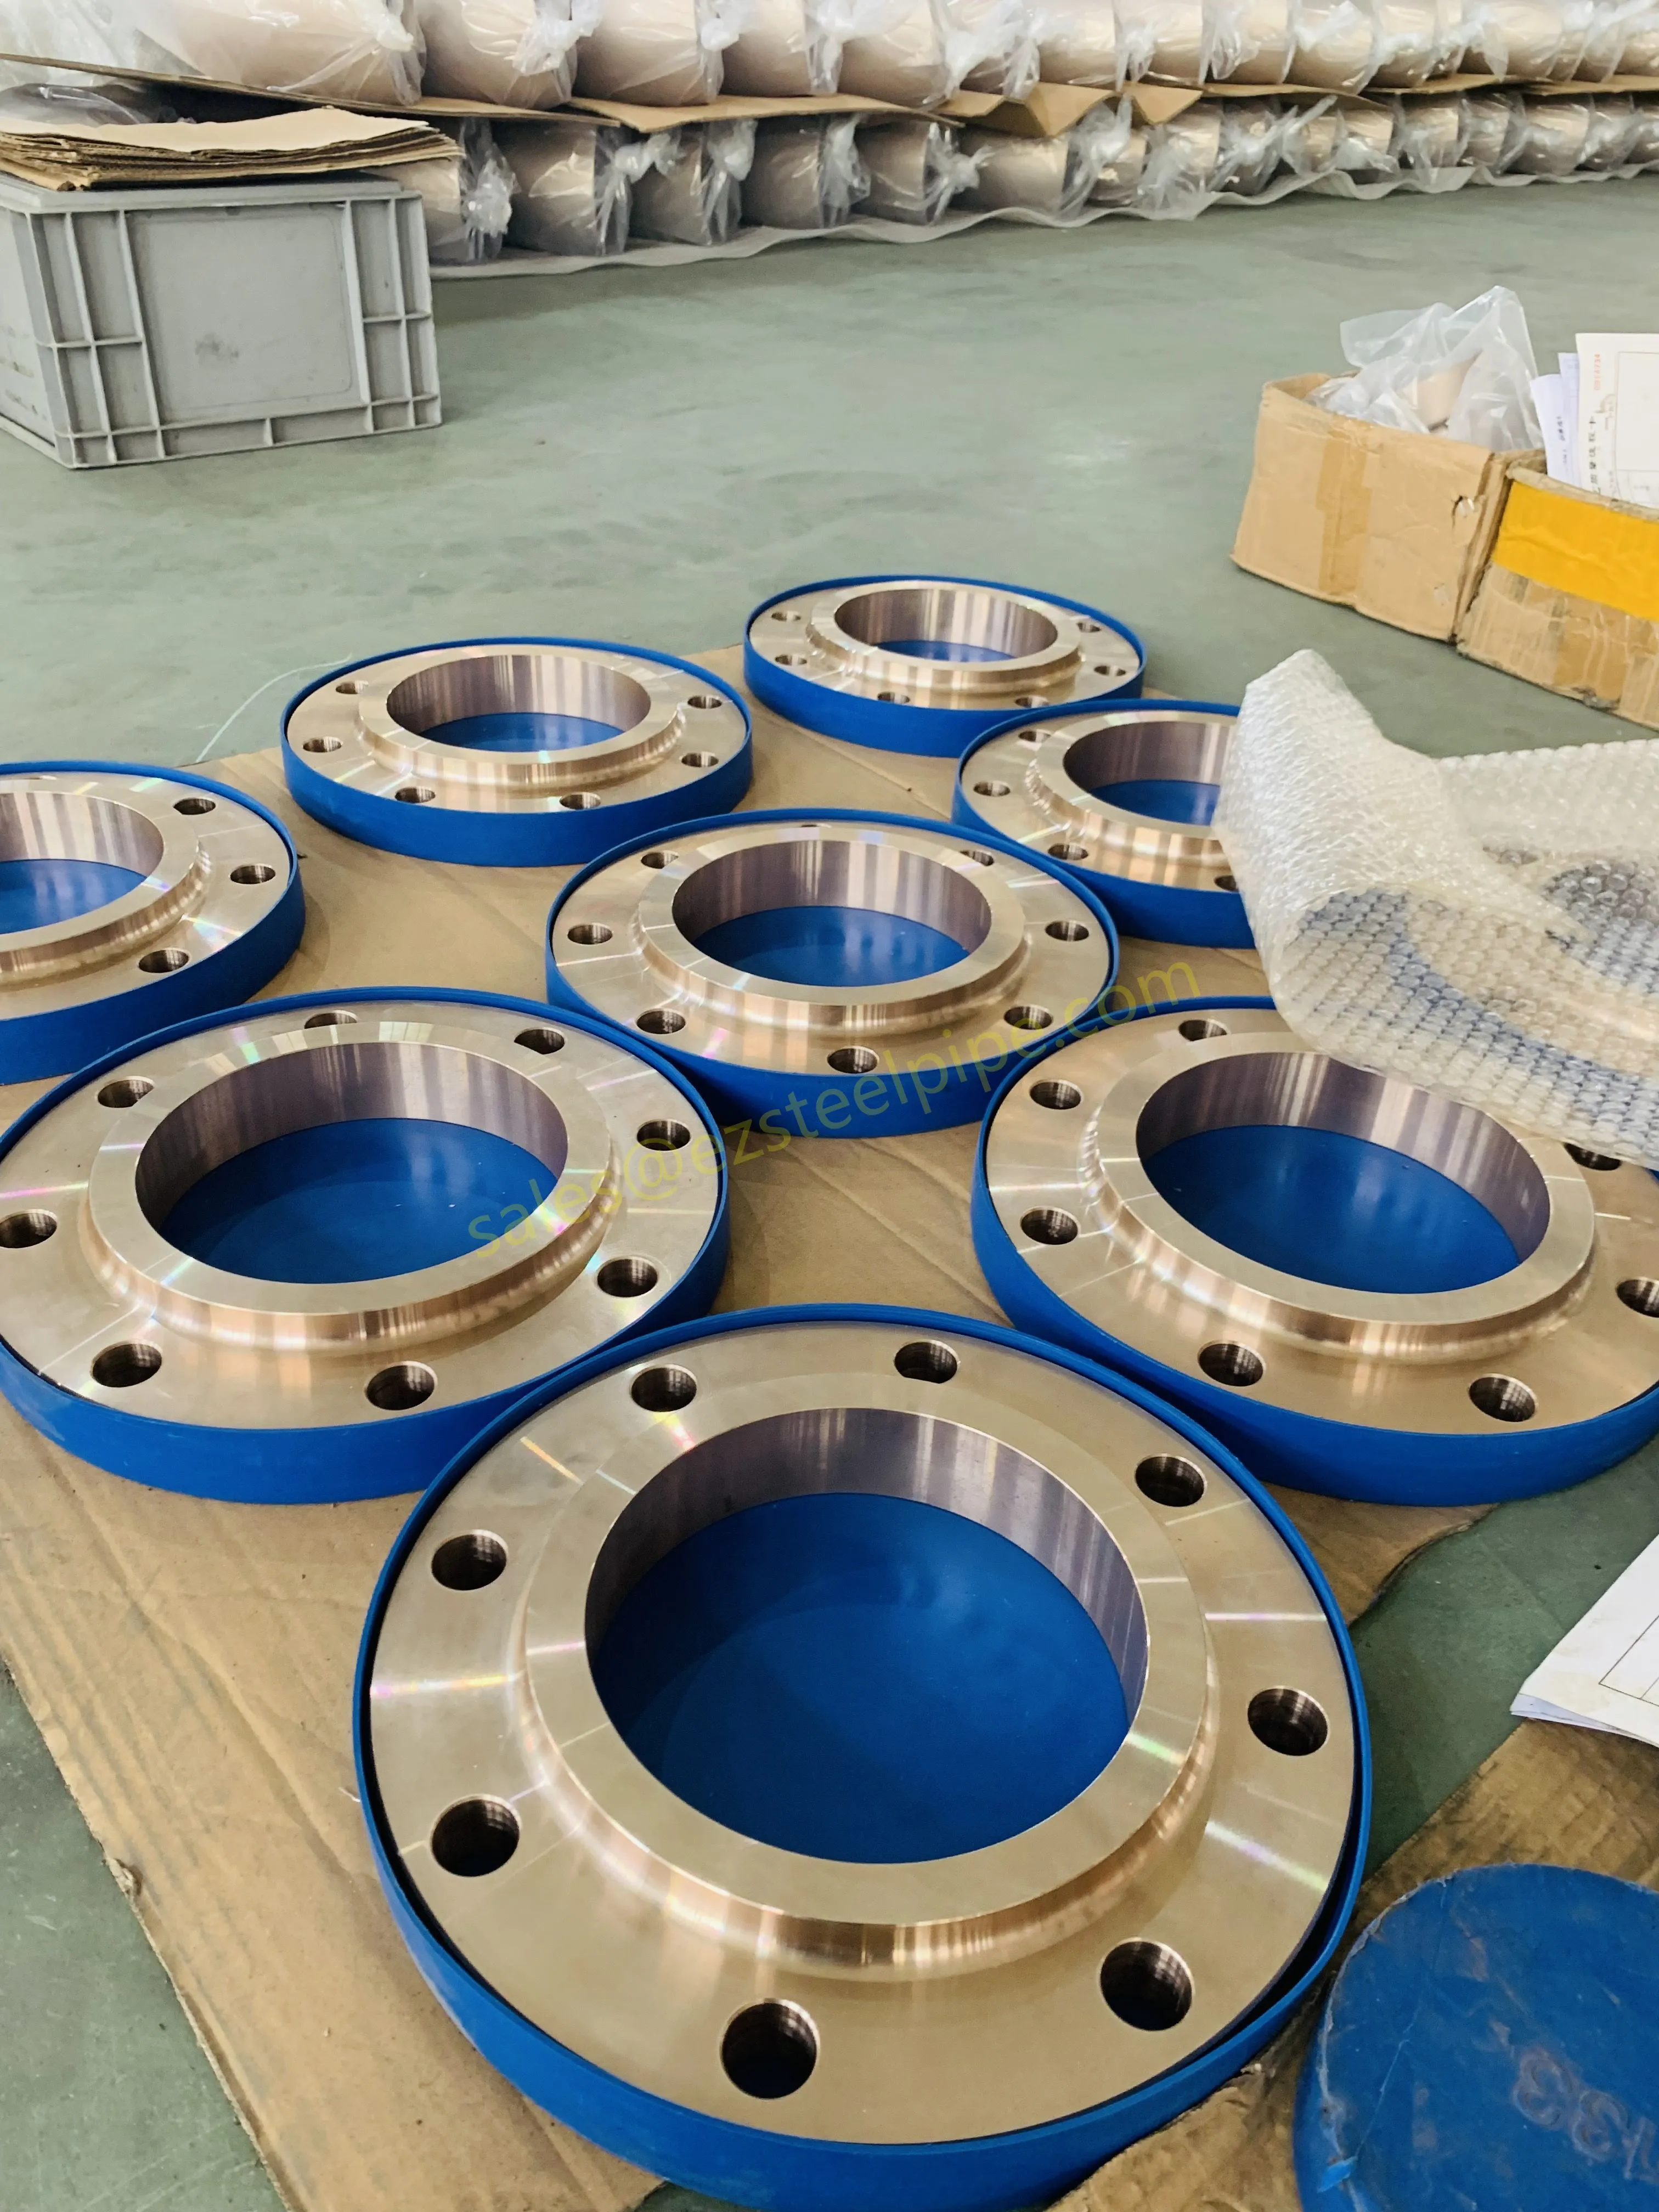
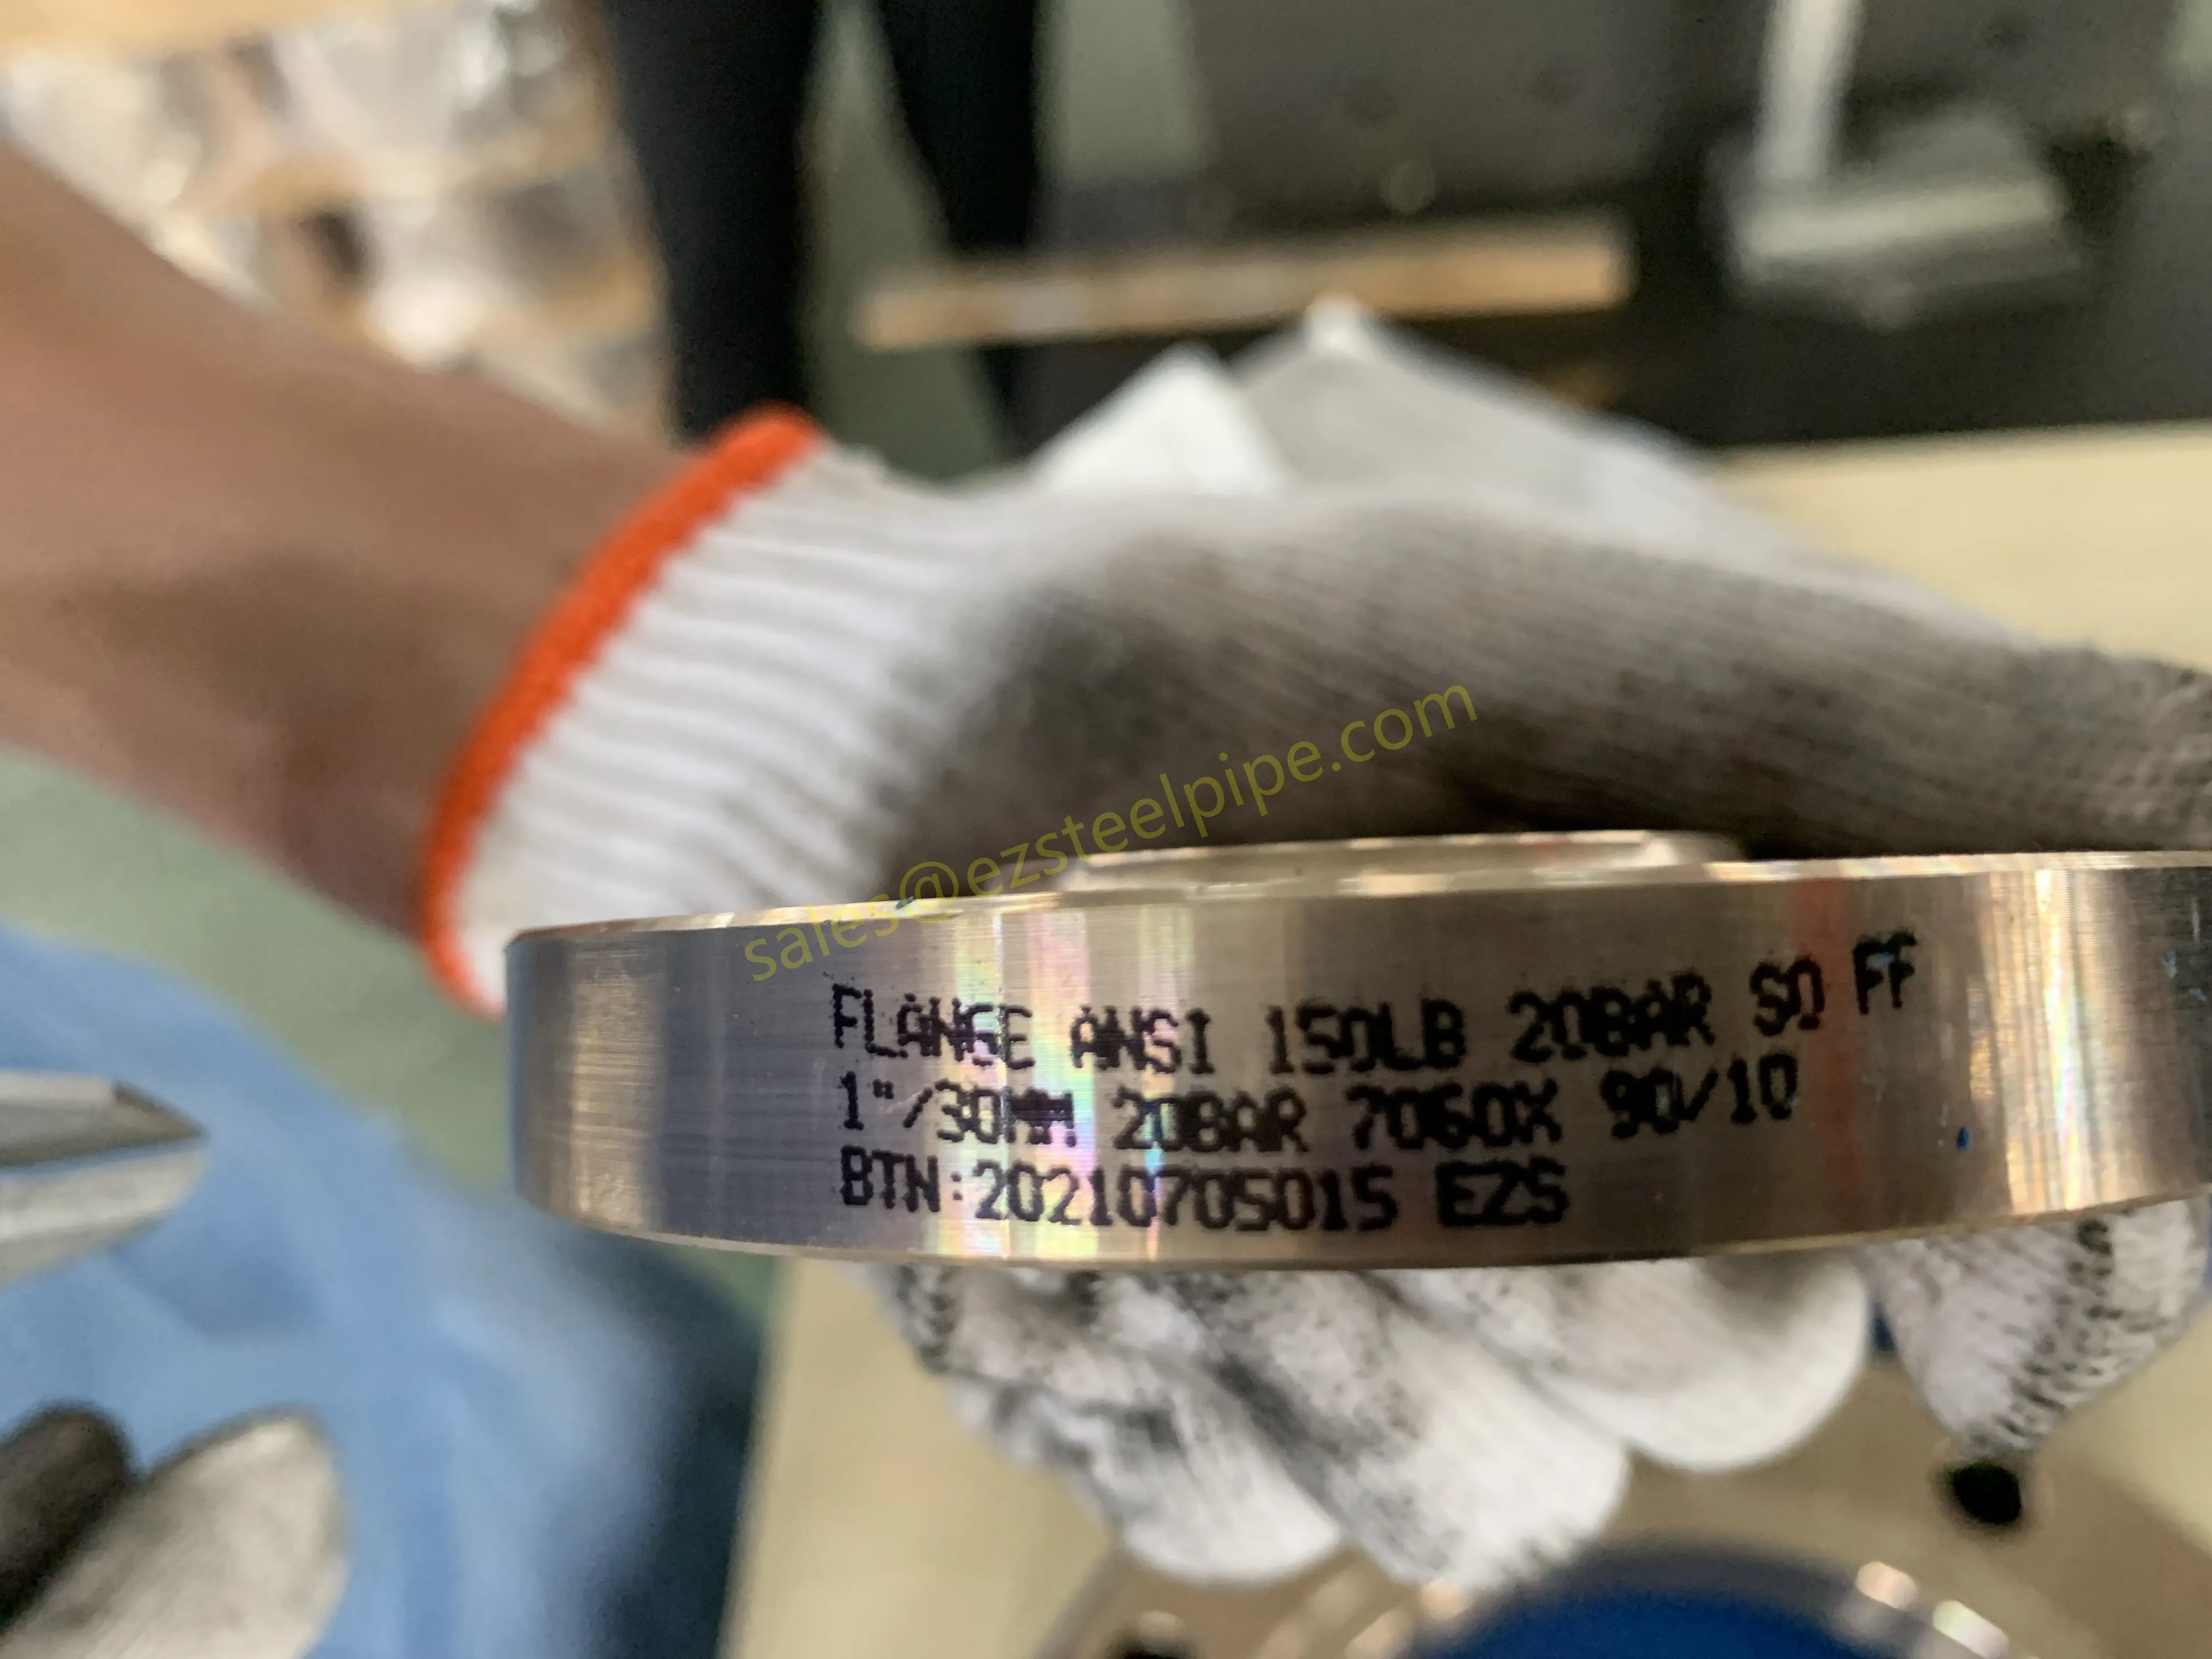
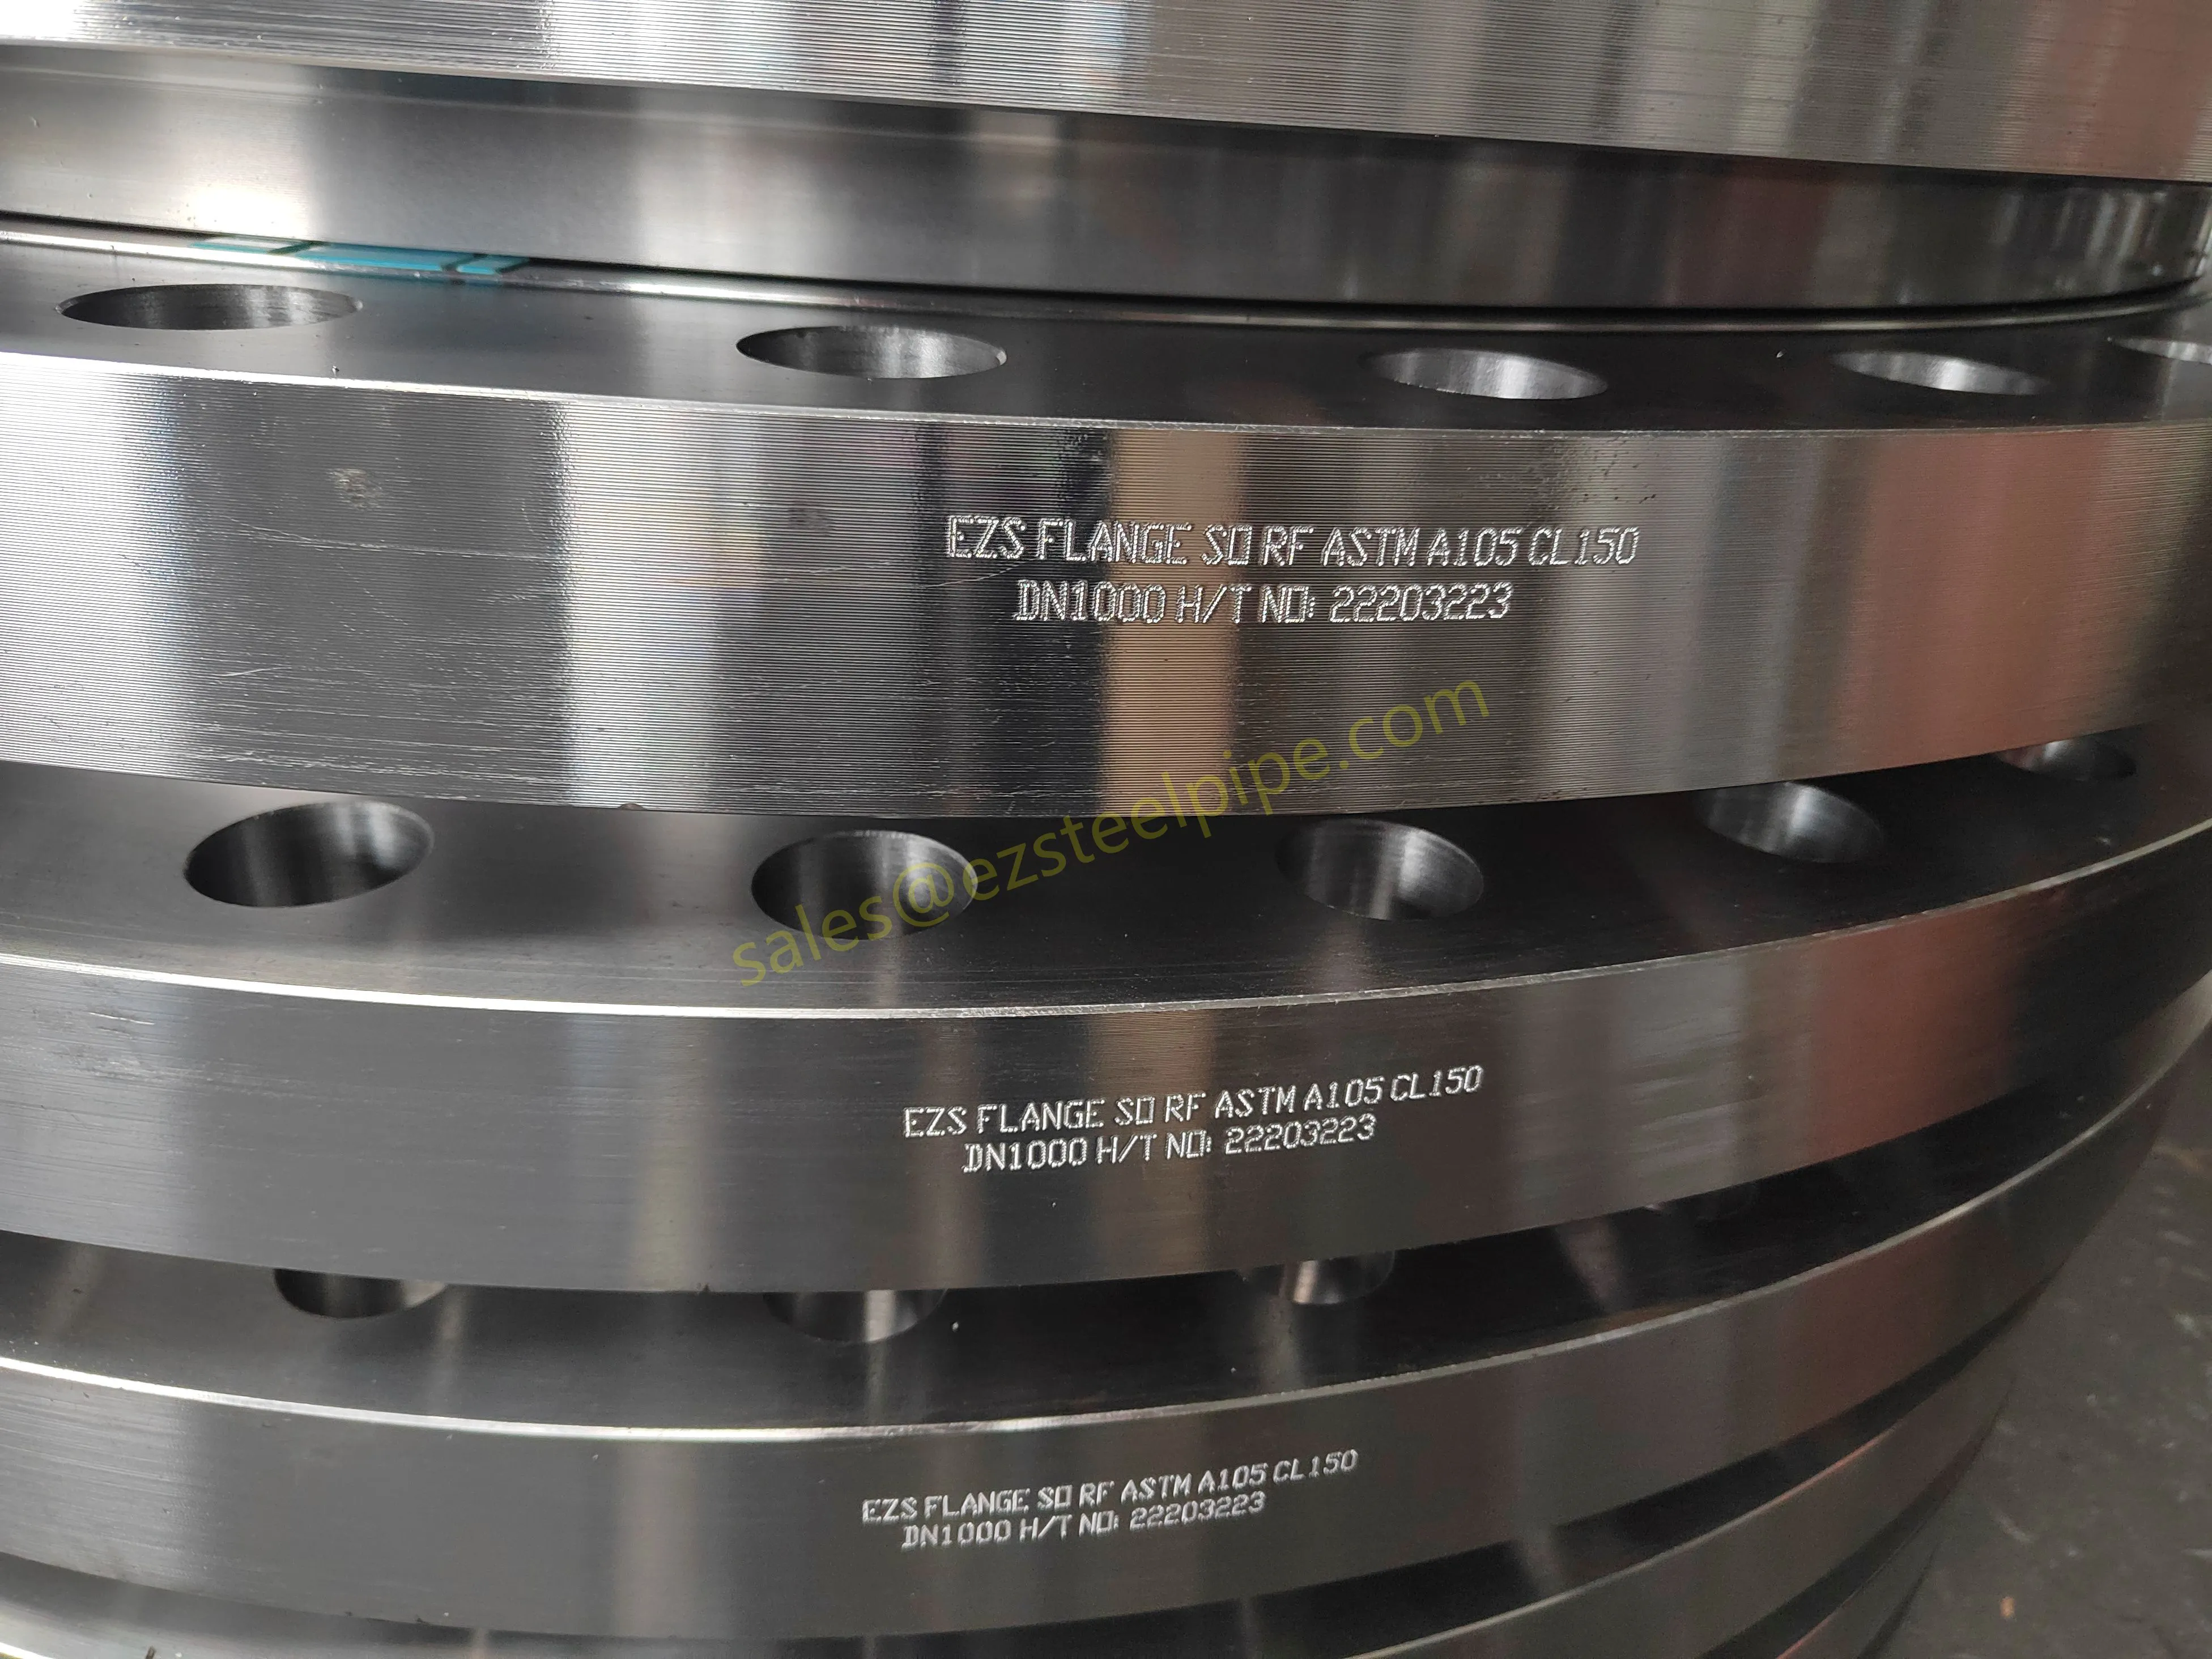
| Flange faces | Crooked make-up, over-torque one side | Re-torque in star sequence, check gap evenly |
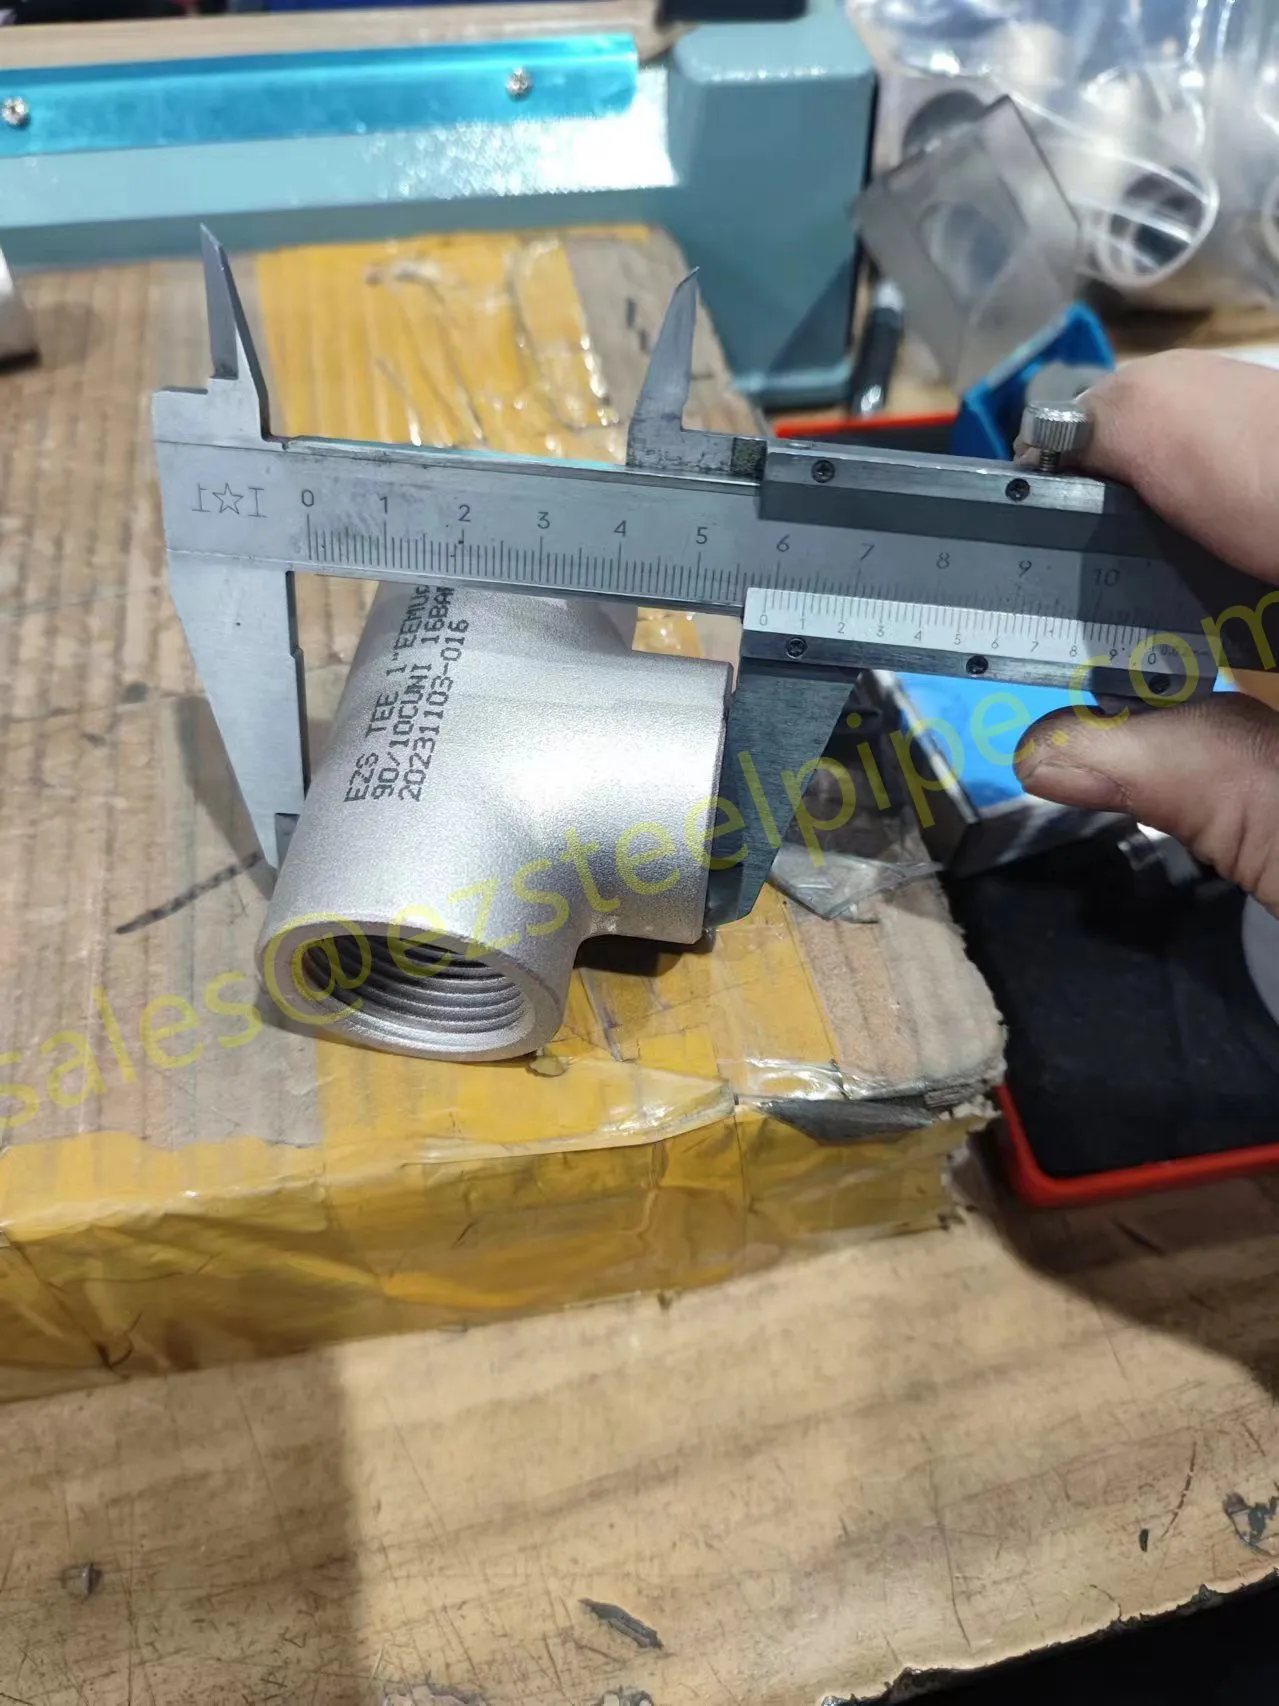
| Threaded connections | Cut depth, poor sealant, cross-thread | Clean, re-seal, replace if damaged |
| Gaskets and studs | Wrong material, crushed, relaxed | Fit a correctly rated set, re-tighten |
| Cold or hot bends | Ovality, thinning on the outer radius | Measure wall, thermal-check the bend |
Every one of these is an installation-time fault that can be corrected on site, which is good news. Only repeat a repair twice before you stop and question whether the supplied component is actually fit for the duty.
For a weld leak on a pressure tube, grind out to sound metal, re-weld with a qualified procedure, and re-test that joint. For a flange leak, drop the gasket, check the faces for scoring, and make up a fresh set with an even star torque. For a single threaded fitting, replacement is usually faster than repair.
Be strict with yourself about the line itself. If ultrasonic testing shows general wall loss, or a section has multiple pinholes from the first week of service, the material does not belong in the system. Replacing that segment with tube that matches the service is the professional decision, however tempting it is to patch it 'for now'.
Good commissioning is the cheapest leak prevention there is. Control weld procedures and welder qualifications on day one. Torque flanges in the documented sequence with a calibrated tool. Proof-test each section to its certified test pressure and record the result. Add the thermal and support checks to the start-up checklist rather than relying on memory.
For every duty, the starting point is a correctly specified line. Solid, standard-compliant pipe keeps the failure mode in the joints where it is easy to find and fix, rather than in the body of the tube. Whether you are building a coastal utility run in copper–nickel or a high-pressure main in alloy steel, choosing pipe engineered for the service and testing it properly after installation is what separates a smooth start-up from a week of chasing leaks.
A leak in newly installed pipeline works is rarely a mystery once you have a routine. Work through the records, the visible connections, and a section-by-section pressure test, and most failures reveal themselves quickly and can be put right for good.
 Related Products