How to repair a leaking heat exchanger tube without replacing the entire bundle
A leaking tube in a shell-and-tube heat exchanger is one of the most common maintenance problems in power plants, refineries, petrochemical facilities, and marine systems. When a tube fails, the first instinct is often to pull the bundle and re-tube the whole unit — a costly job that can take weeks and shut down production. But in many cases the leak can be repaired in place, restoring pressure integrity and extending the life of the bundle for years. This guide walks through the practical repair options — tube plugging, sleeving, re-rolling, and weld repair — and explains when each is the right choice, so you can fix the leak without replacing the entire bundle.
Step 1: Find the leak and understand the damage
Before any repair, you need to locate the leaking tube and assess how much damage exists. The inspection method should match the service and the criticality of the exchanger:
Hydrostatic testing — pressurize the shell or tube side with water and look for weeping at the tube ends or tubesheet face. Simple, reliable, and widely used.
Eddy current testing — detects wall thinning, pitting, and cracks along the full tube length without pulling the bundle. Ideal for critical services such as feedwater heaters.
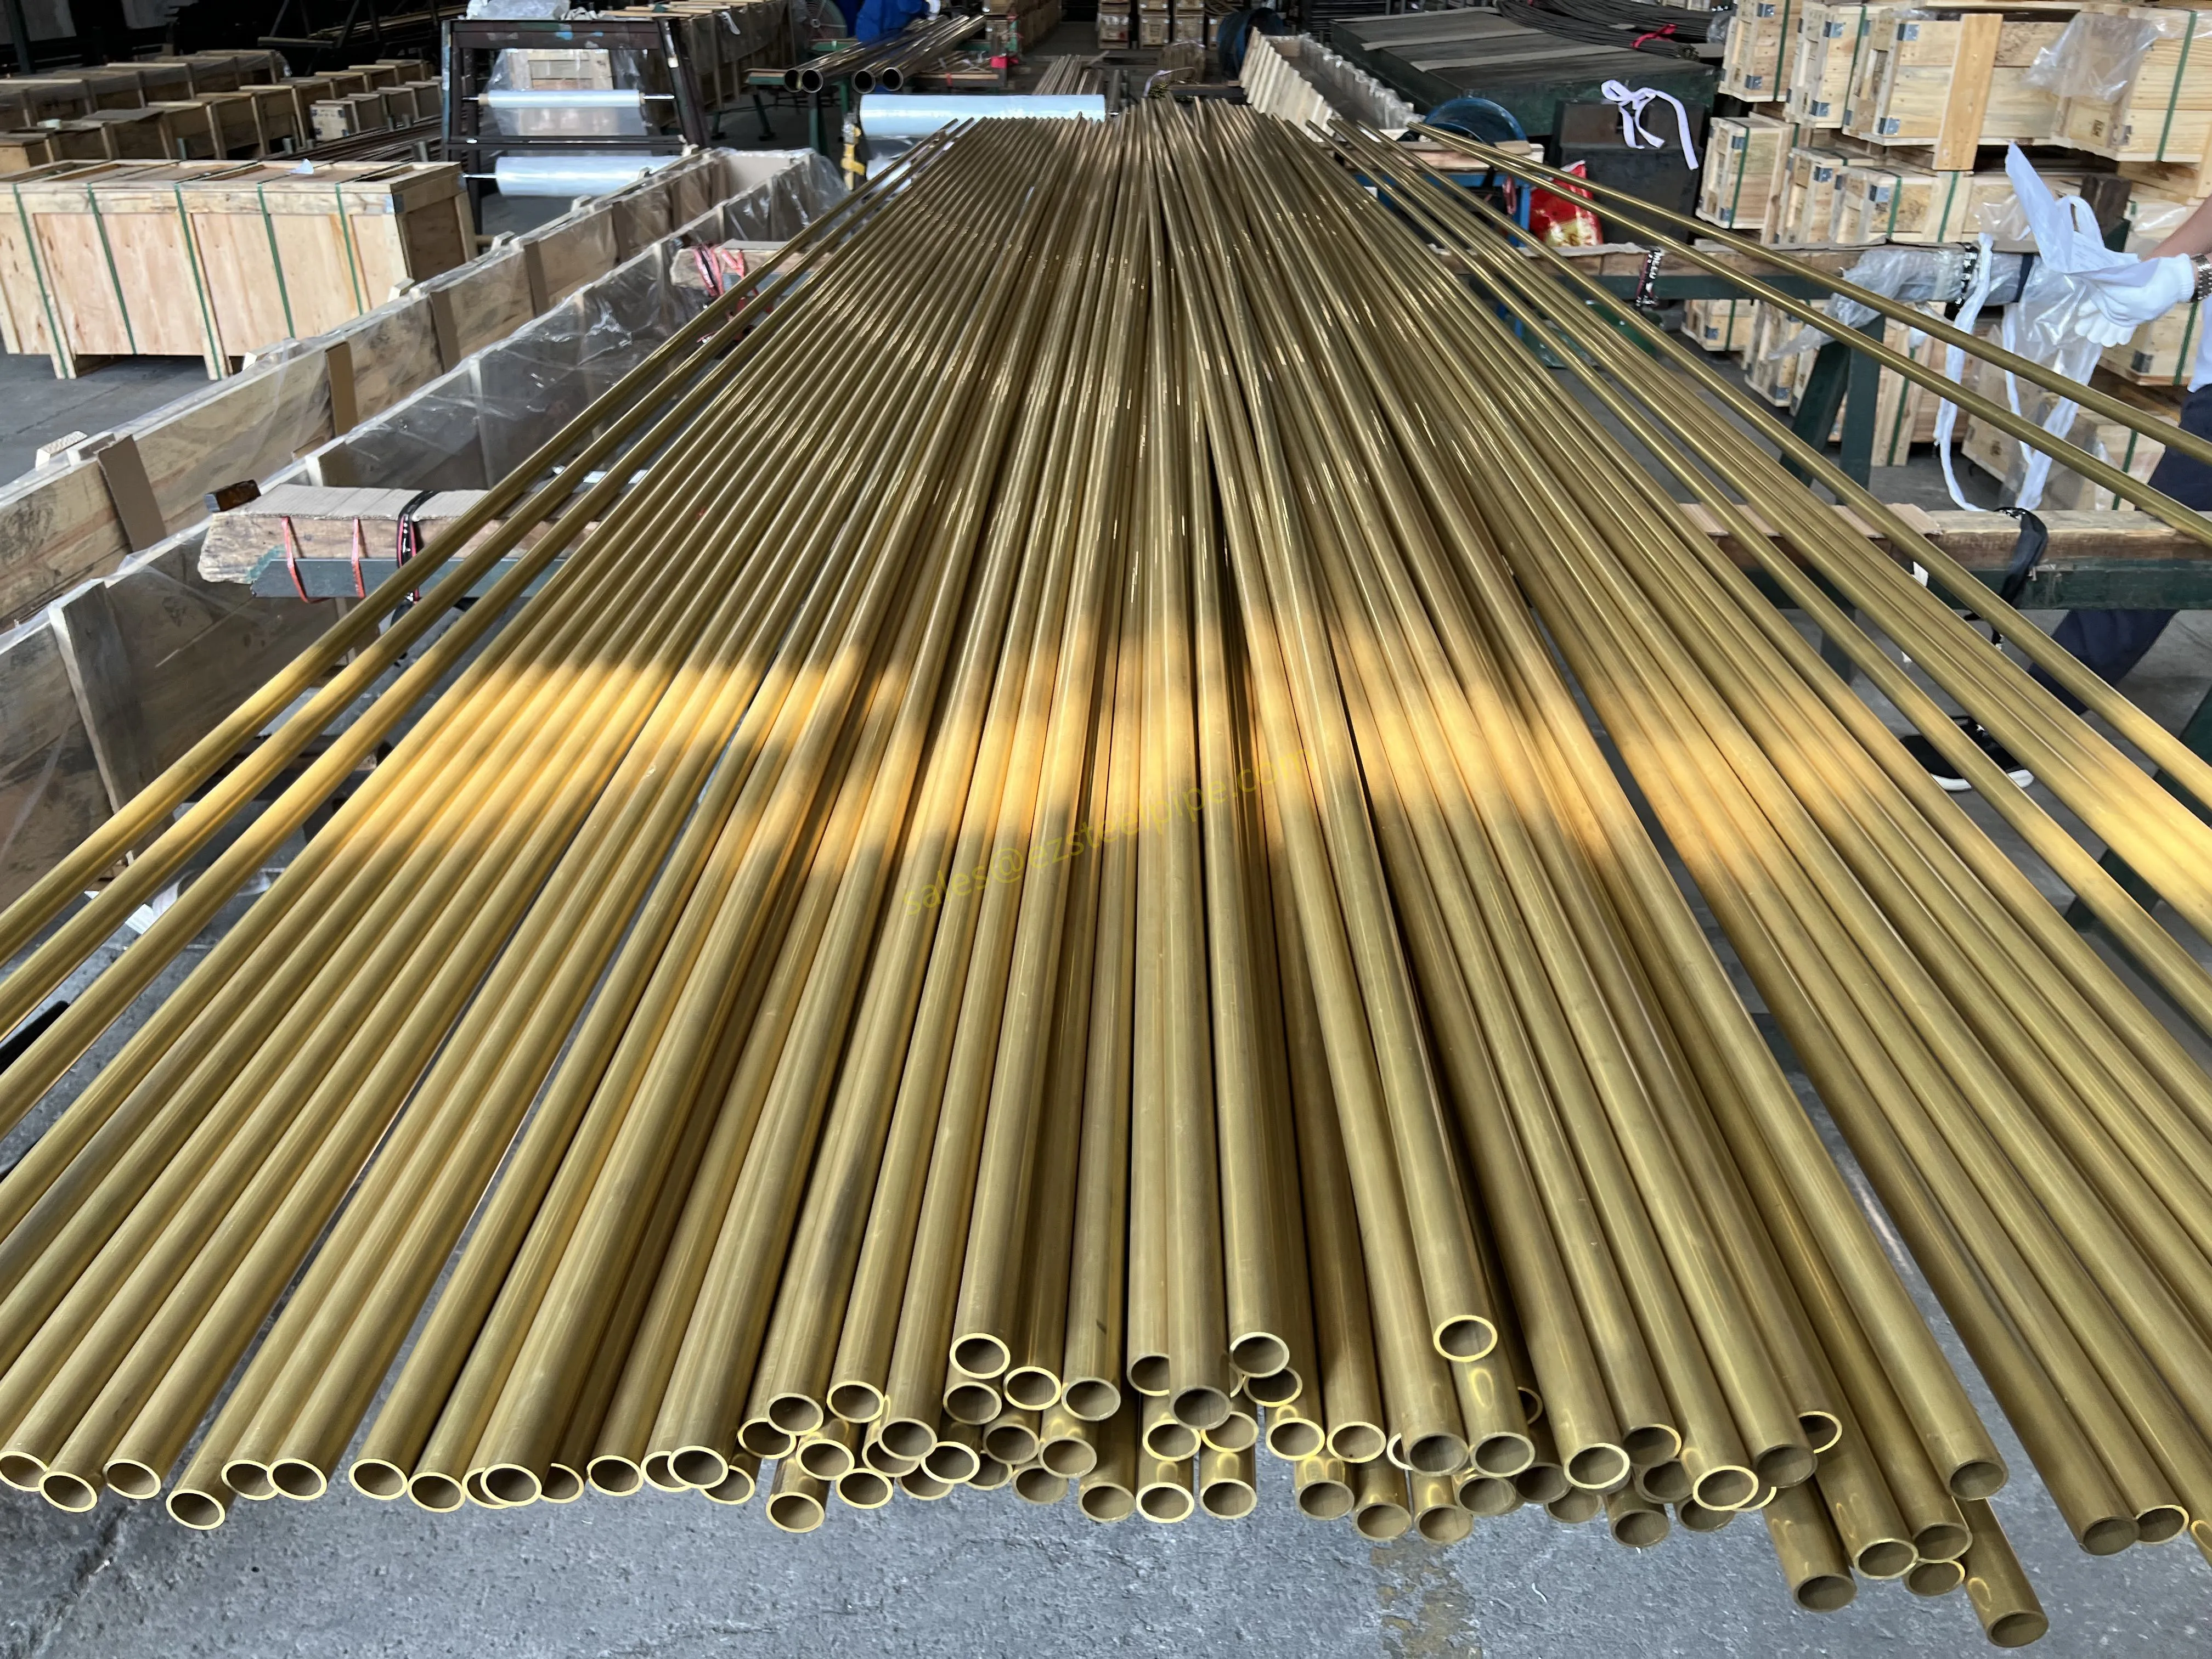
Vacuum or air pressure testing — quick and low-cost, a good option for condensers and units with spare capacity.
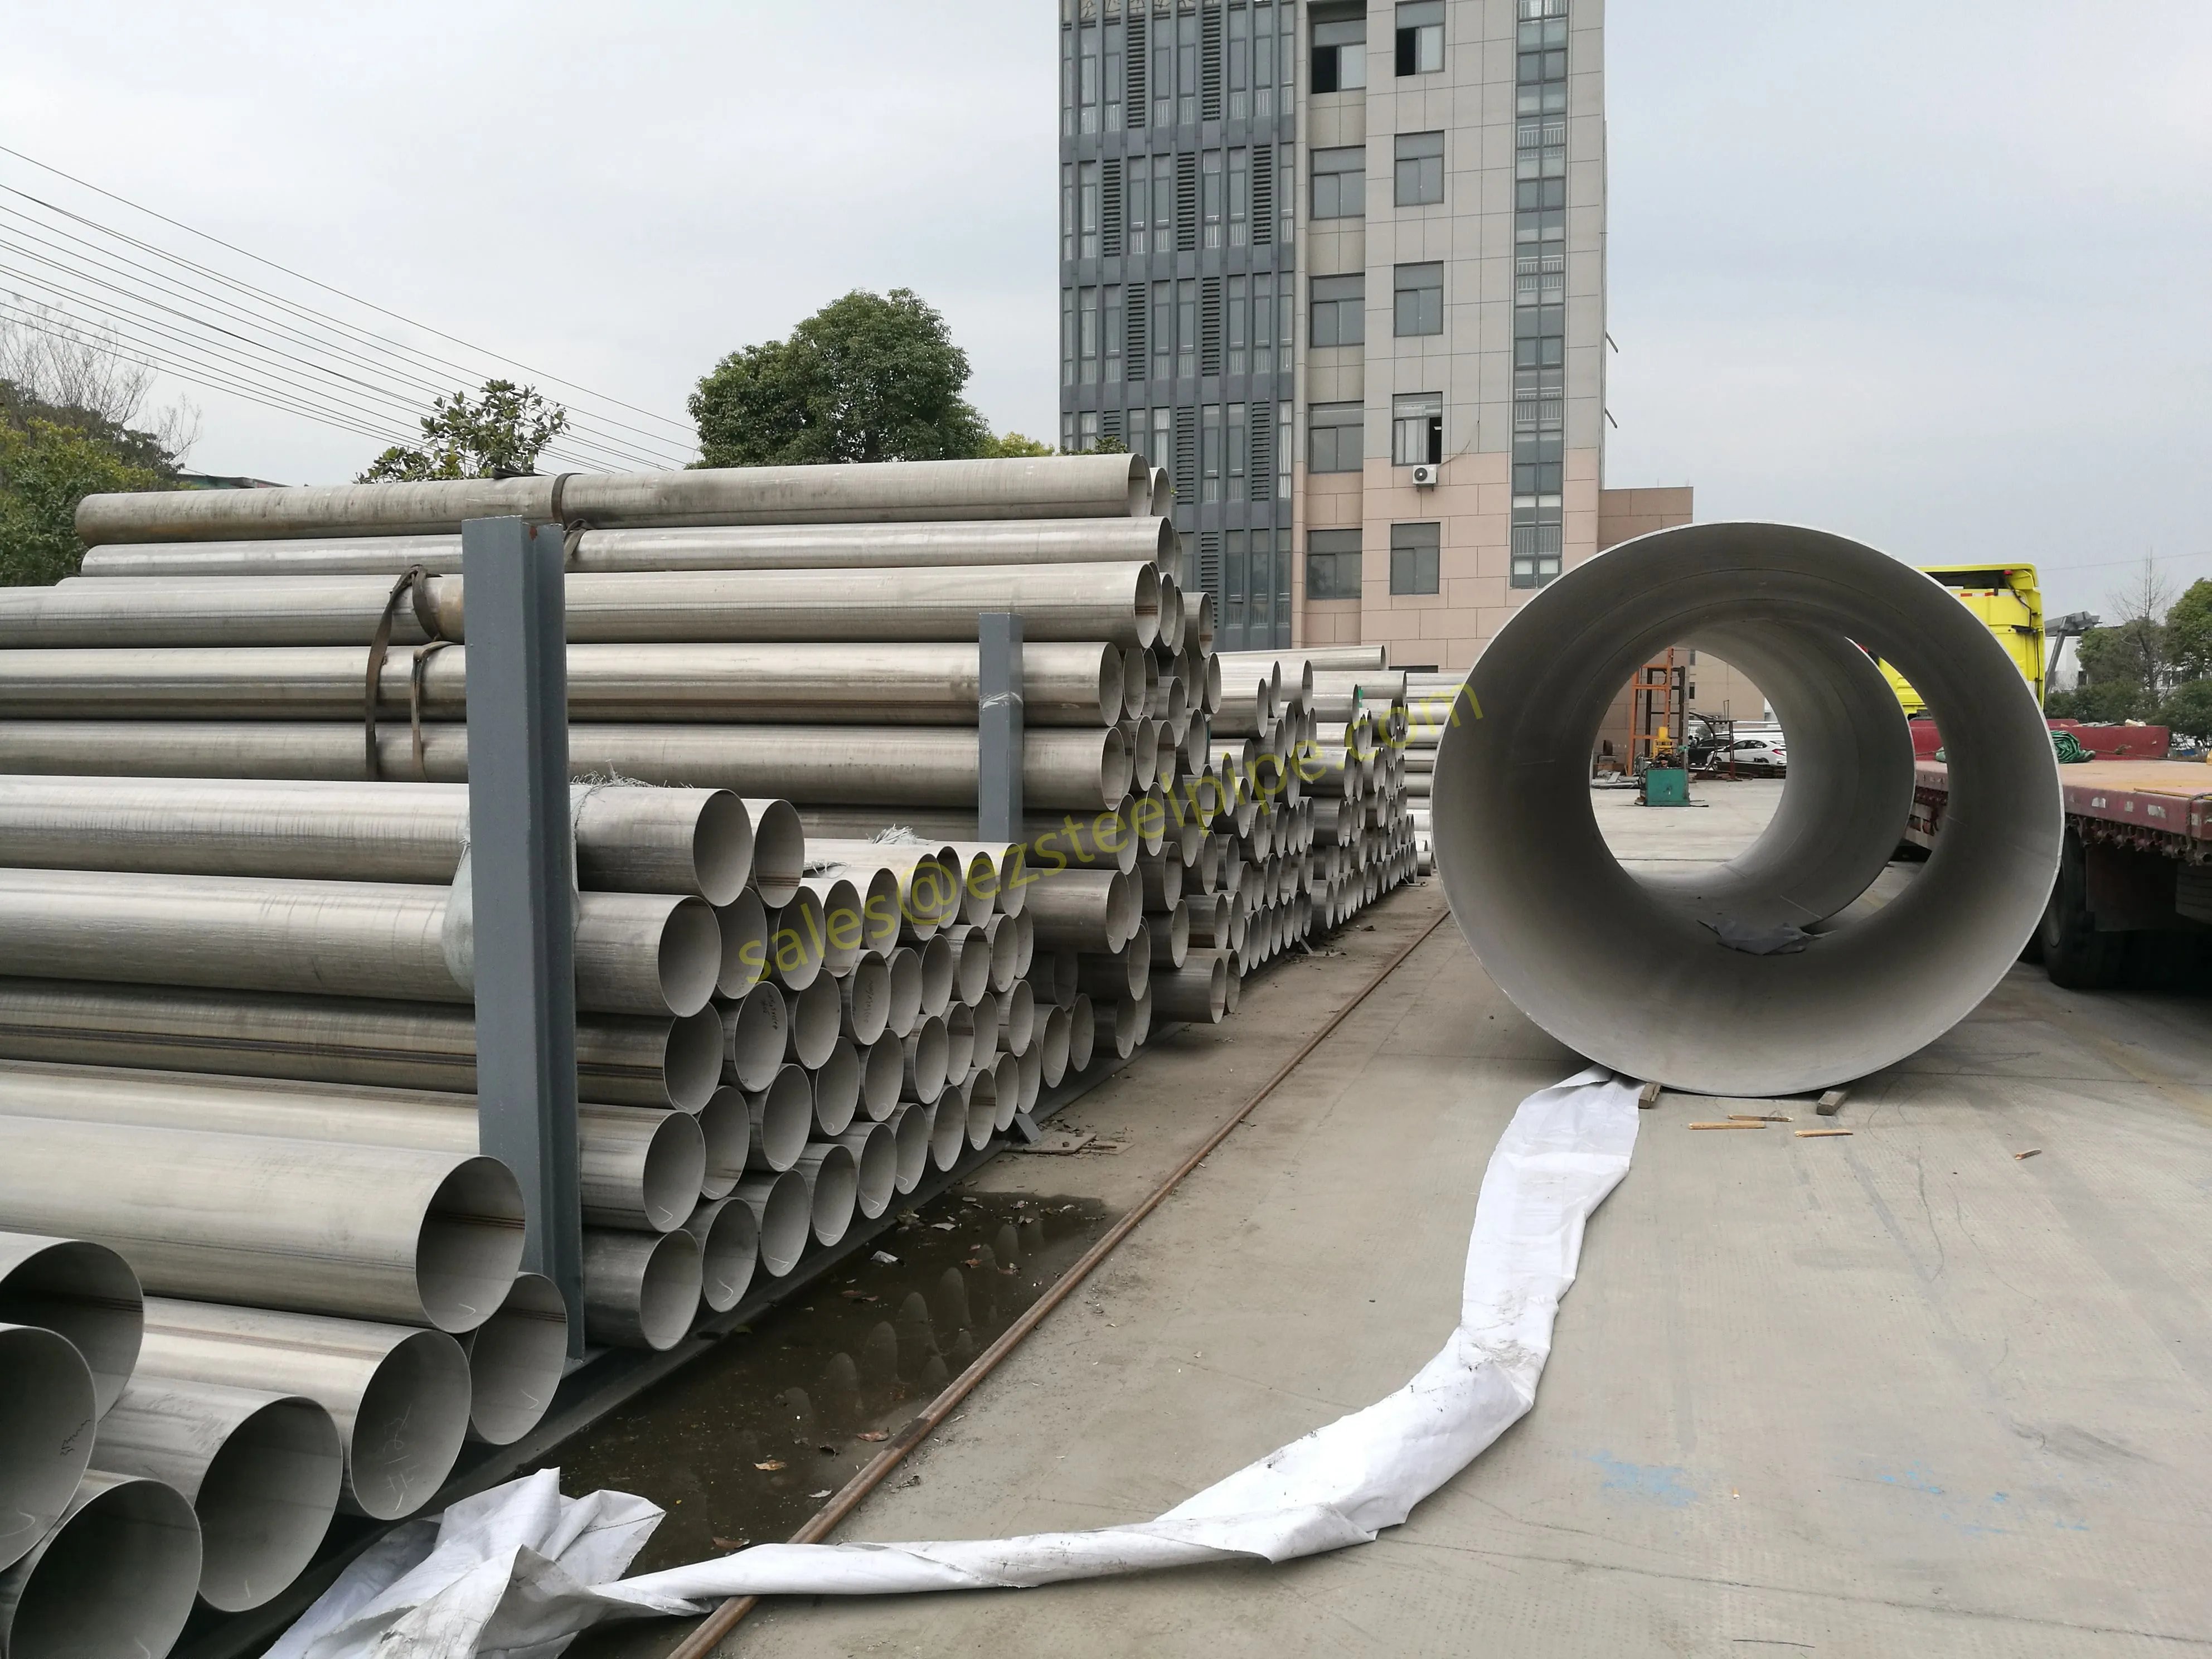
Acoustic emission testing — useful for detecting active leaks while the exchanger is in service.
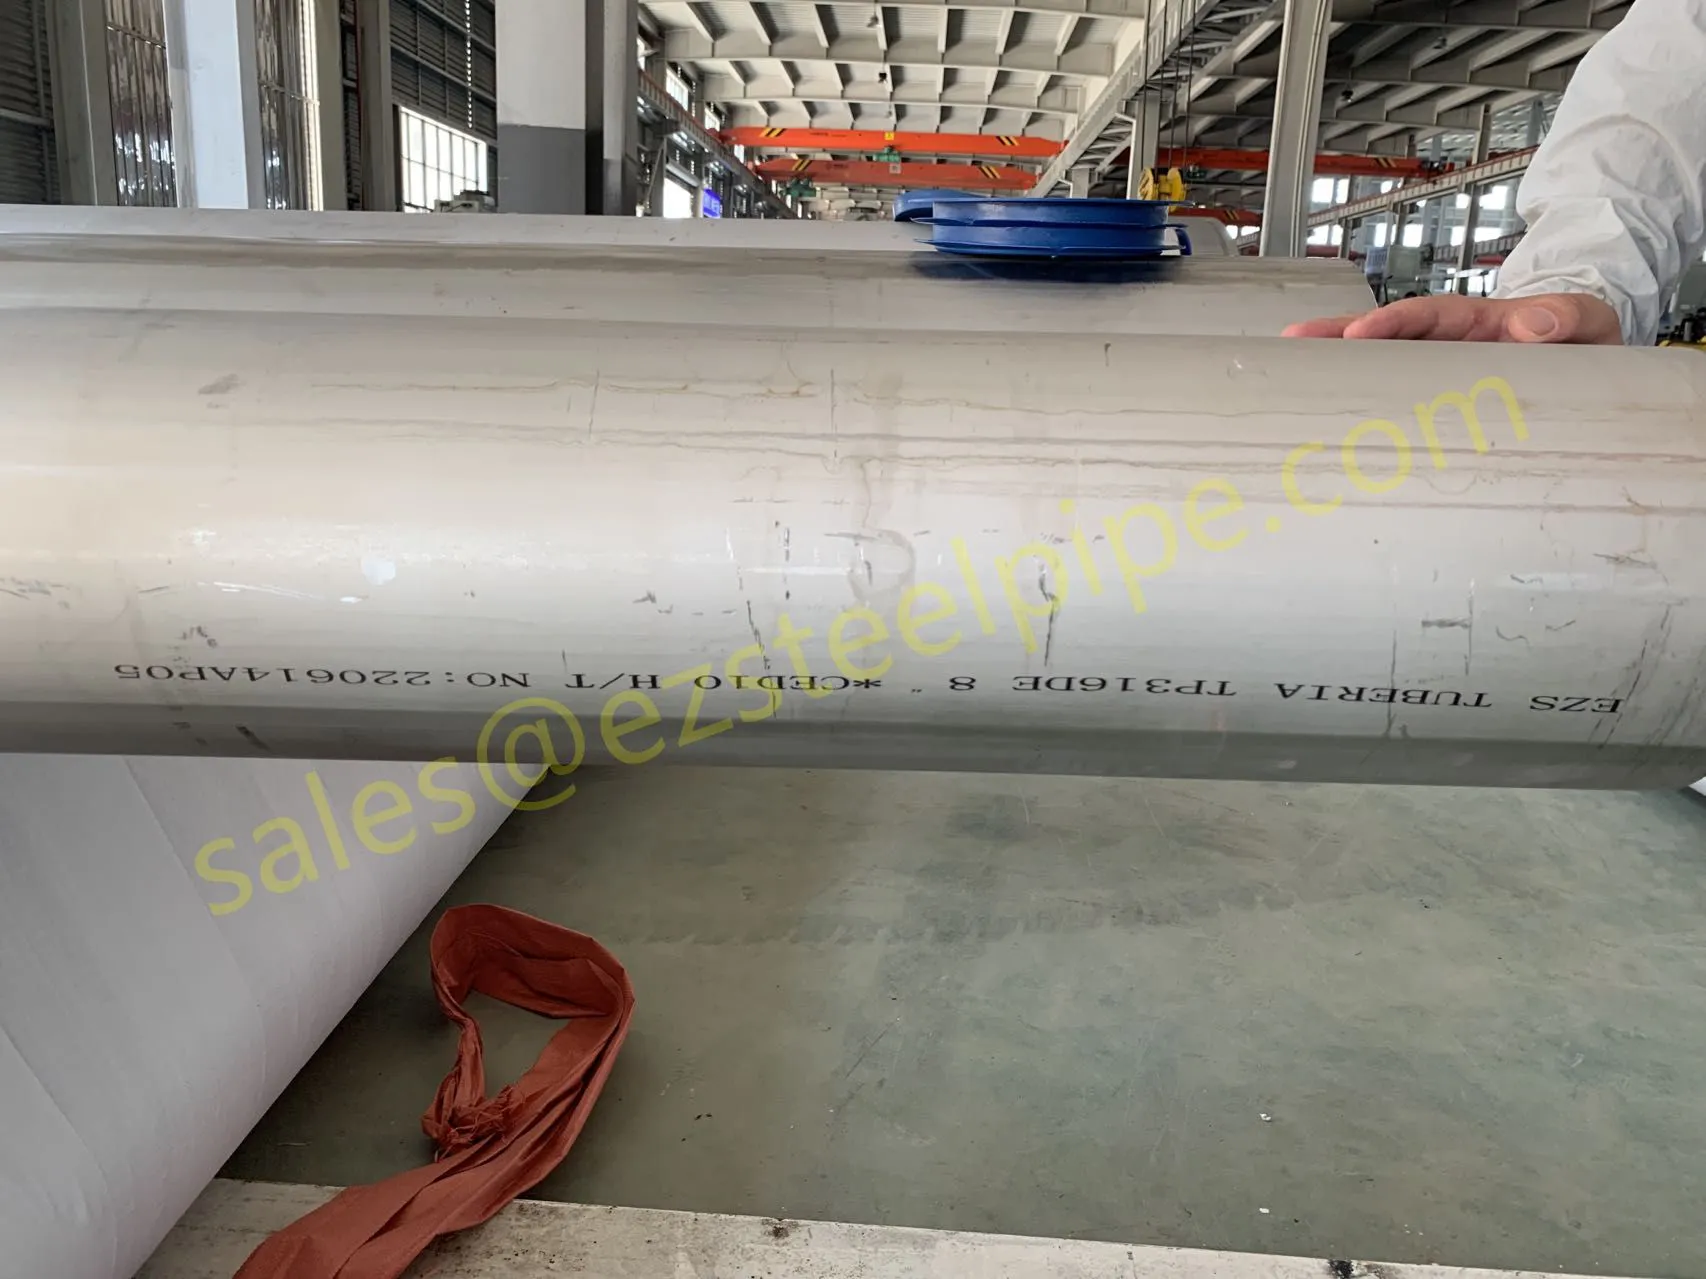
Once the leaking tubes are identified, record their location and check the remaining wall thickness. Tubes that are already below the minimum wall thickness required for the design pressure should be treated as failed even if they have not yet leaked, because they will fail soon.
Step 2: Decide whether repair is viable
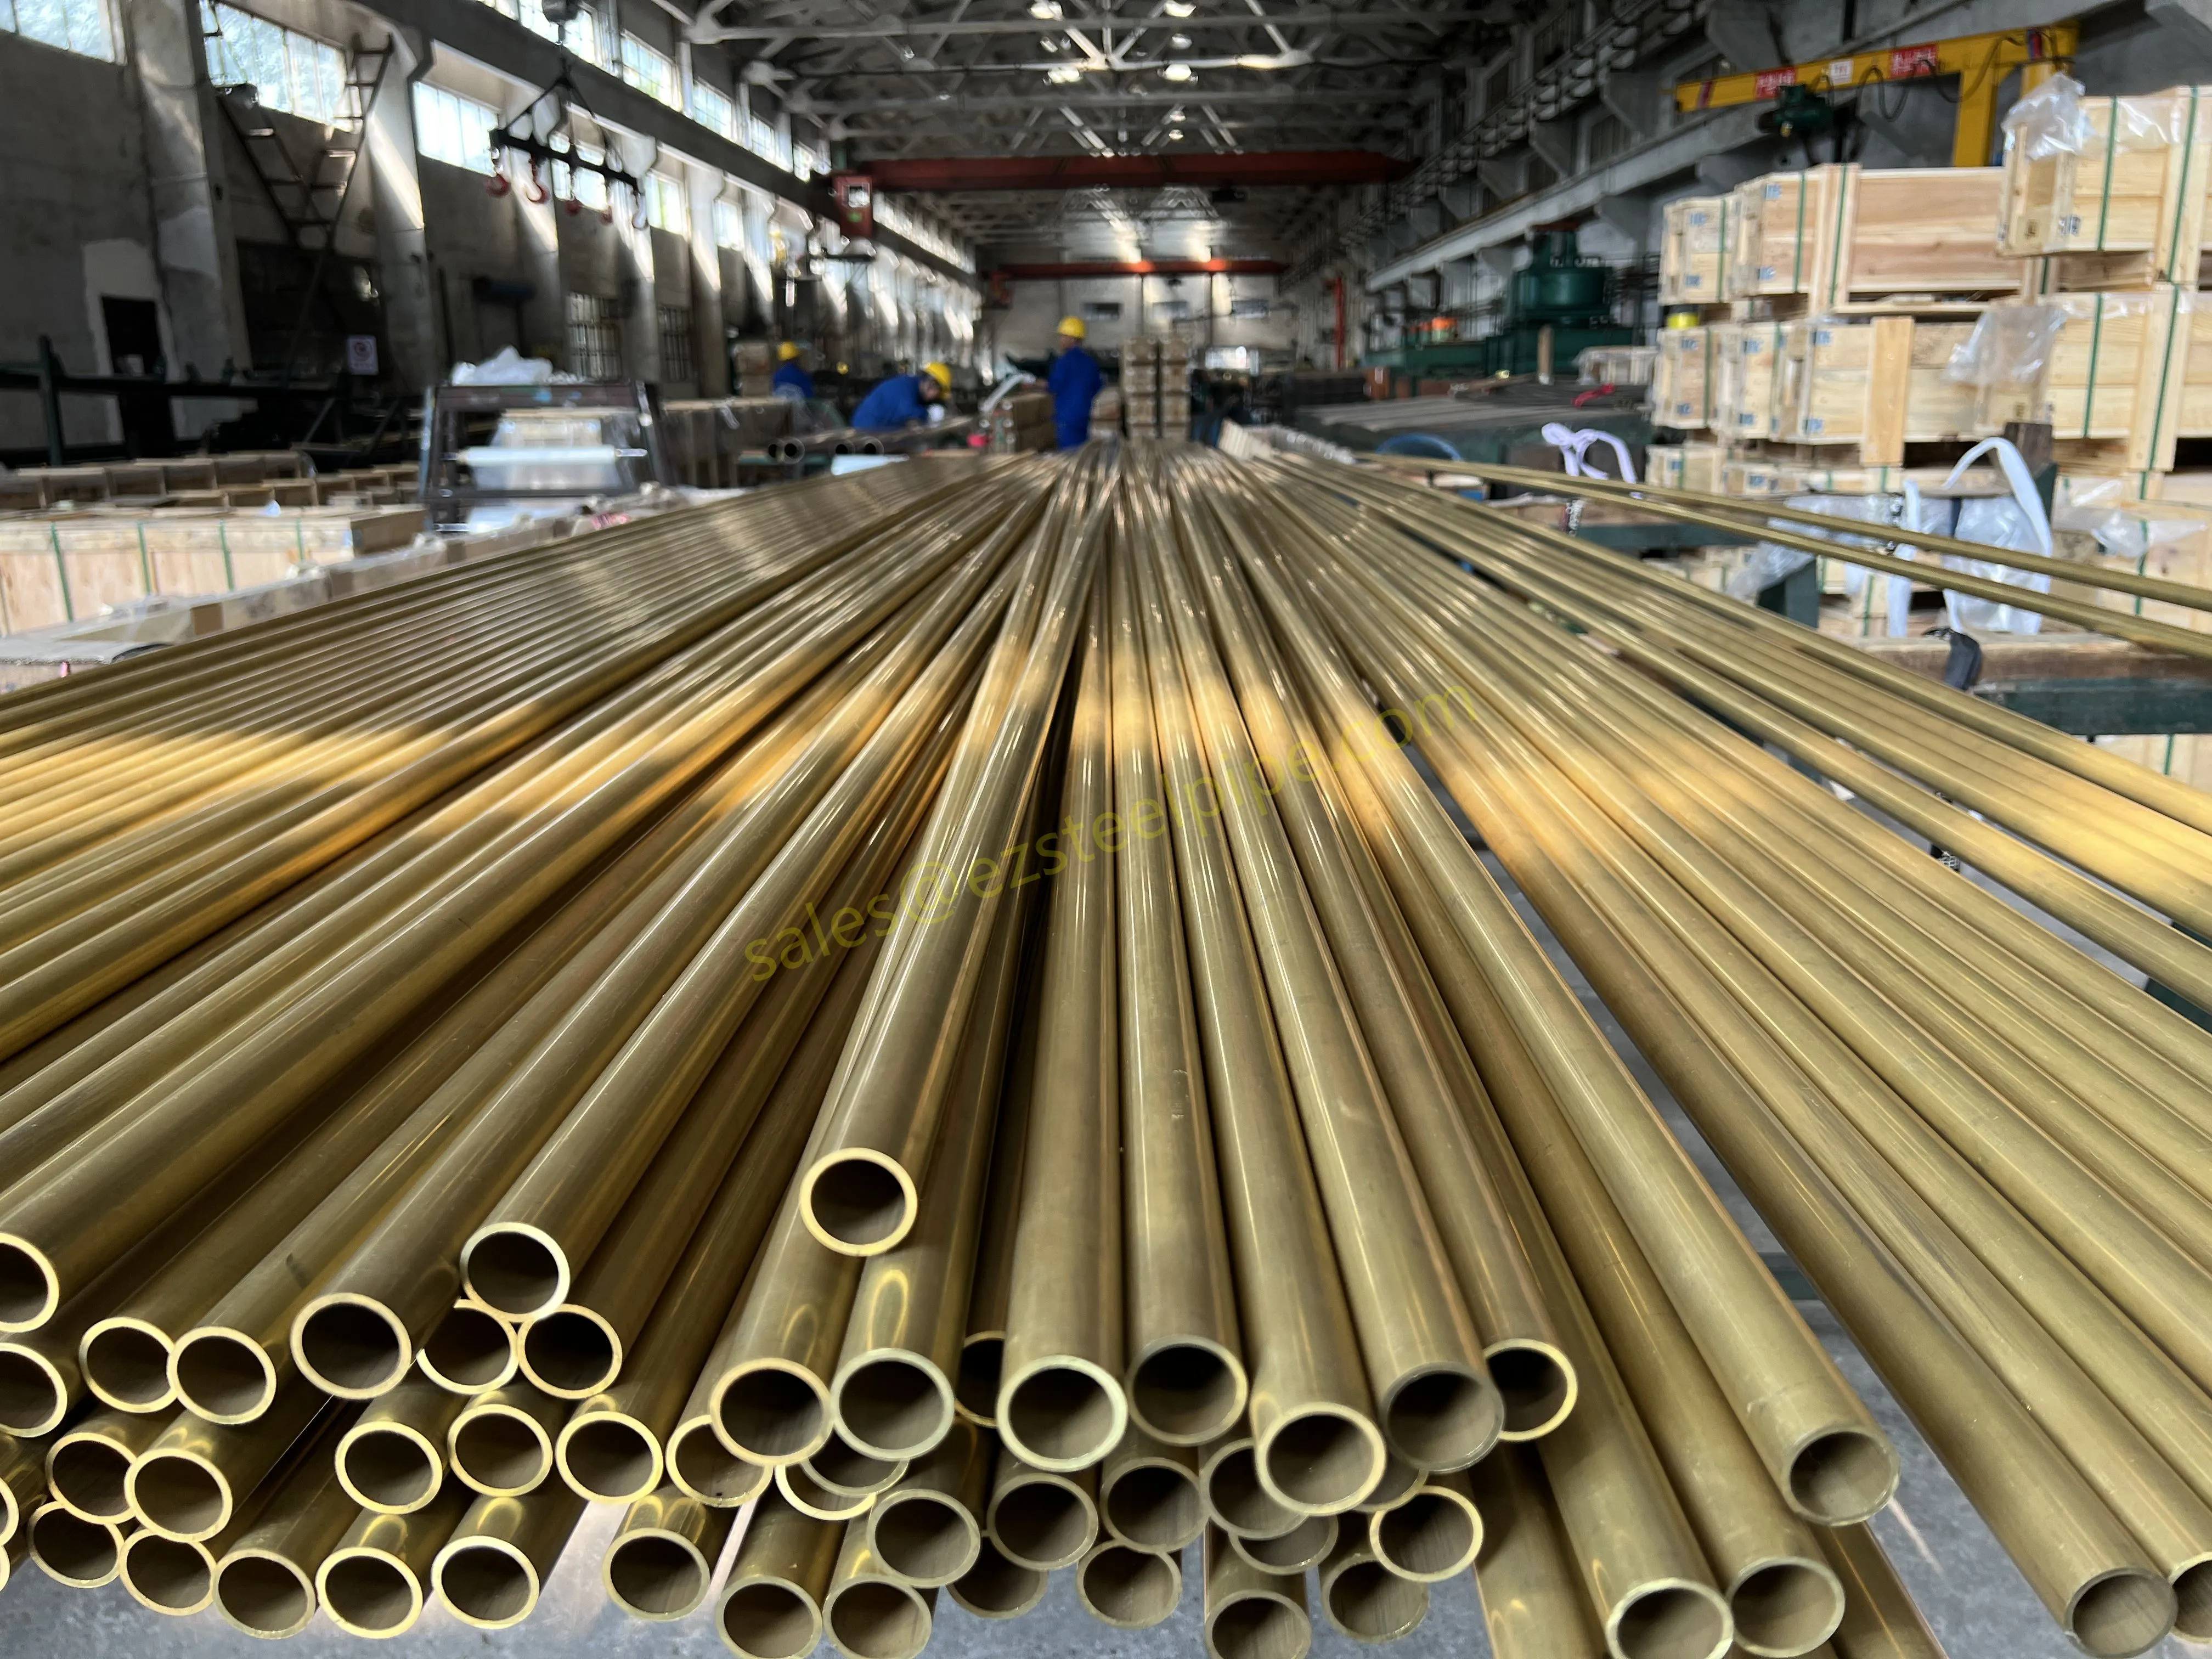
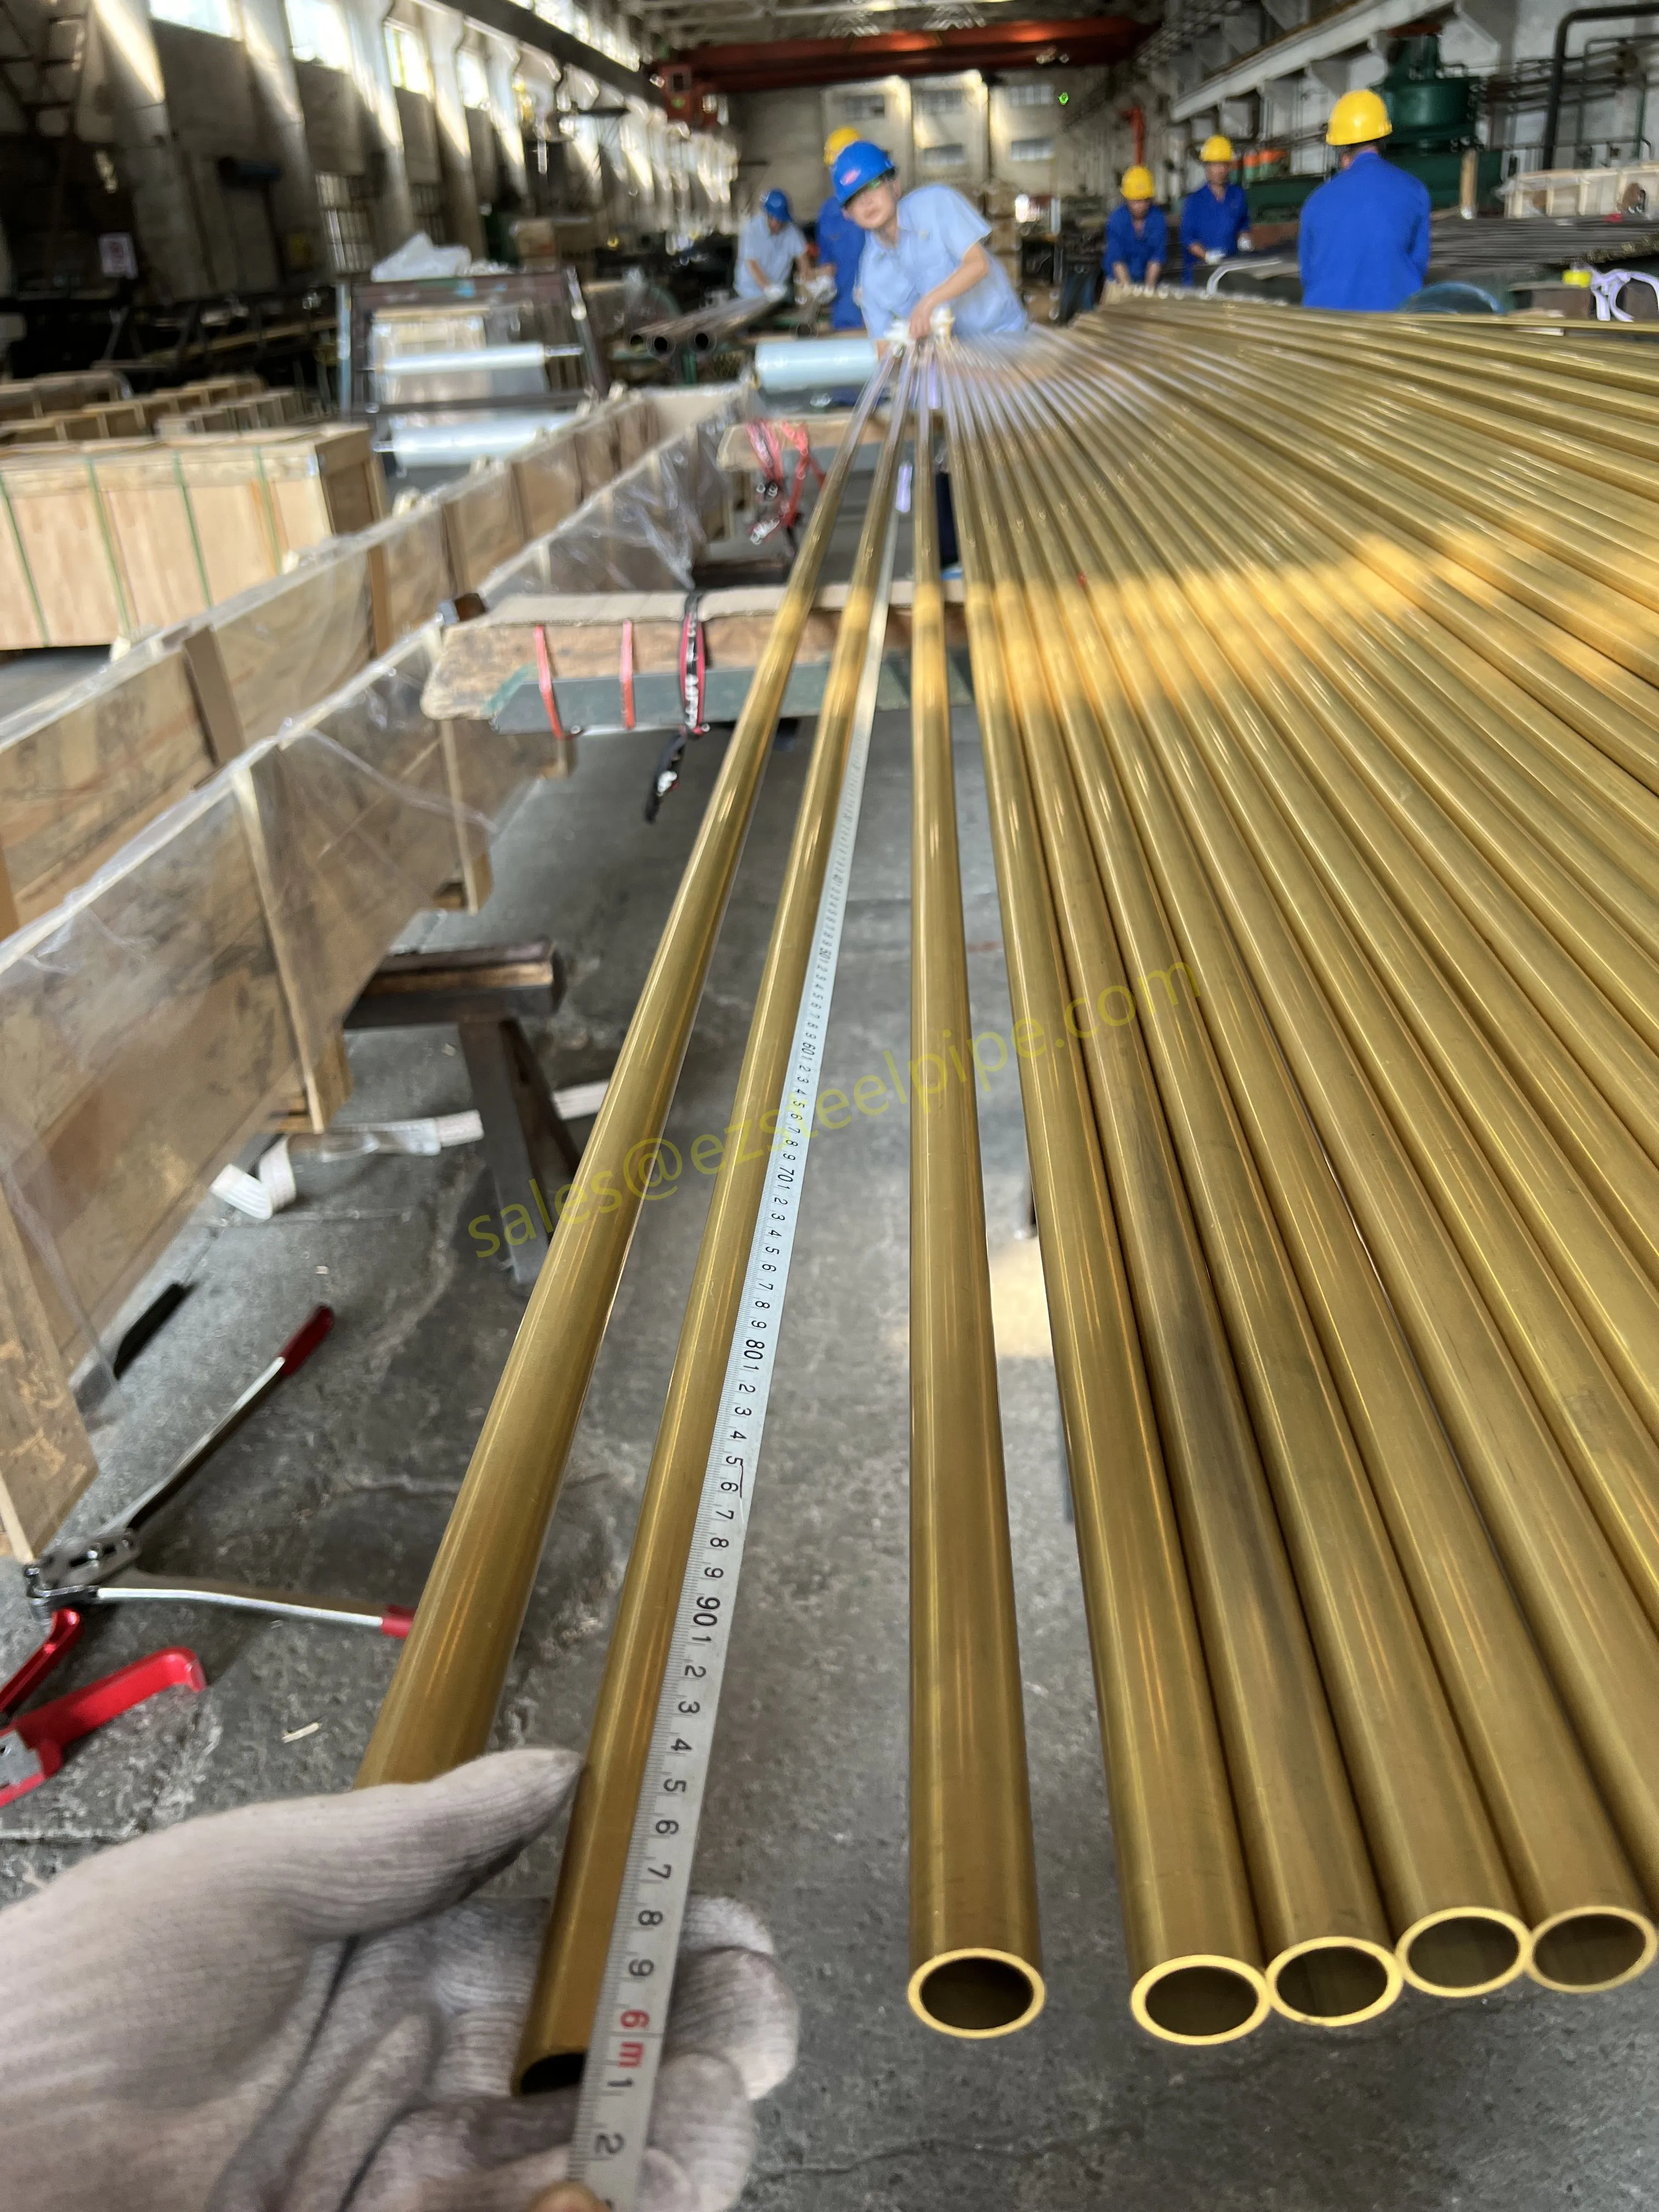
Count the number of failed tubes and compare it with the total in the bundle. If only a small number of tubes are affected, in-place repair is usually the right call. If the damage is widespread, re-tubing or bundle replacement may be more economical. As a general rule of thumb, once a significant share of the bundle is out of service, the loss of heat transfer area begins to hurt performance, and replacement heat exchanger tubes become the better investment. The decision should weigh the cost of downtime, the remaining life of the bundle, and the expected service life of the repair.
Step 3: Tube plugging — the fastest fix
Tube plugging is the most common short-term repair. Tapered or mechanical plugs are driven into both ends of the leaking tube to seal it from the process. The procedure is straightforward:
Clean the tube inner diameter first with a tube brush to remove loose scale and corrosive oxides. Two or three passes are enough — the goal is to remove loose material, not to re-size the tube.
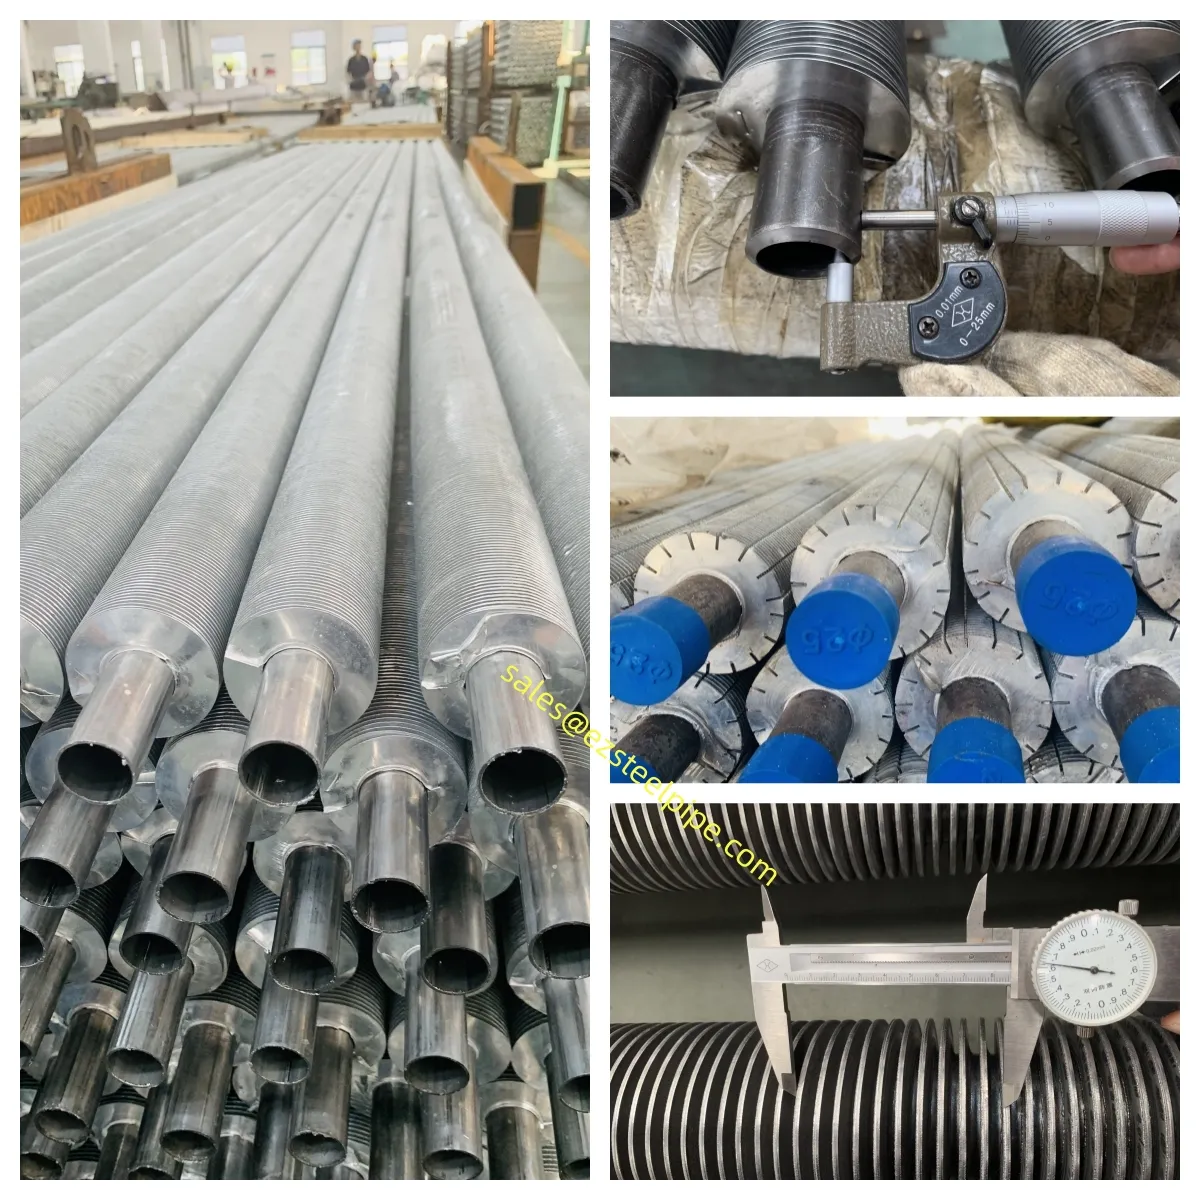
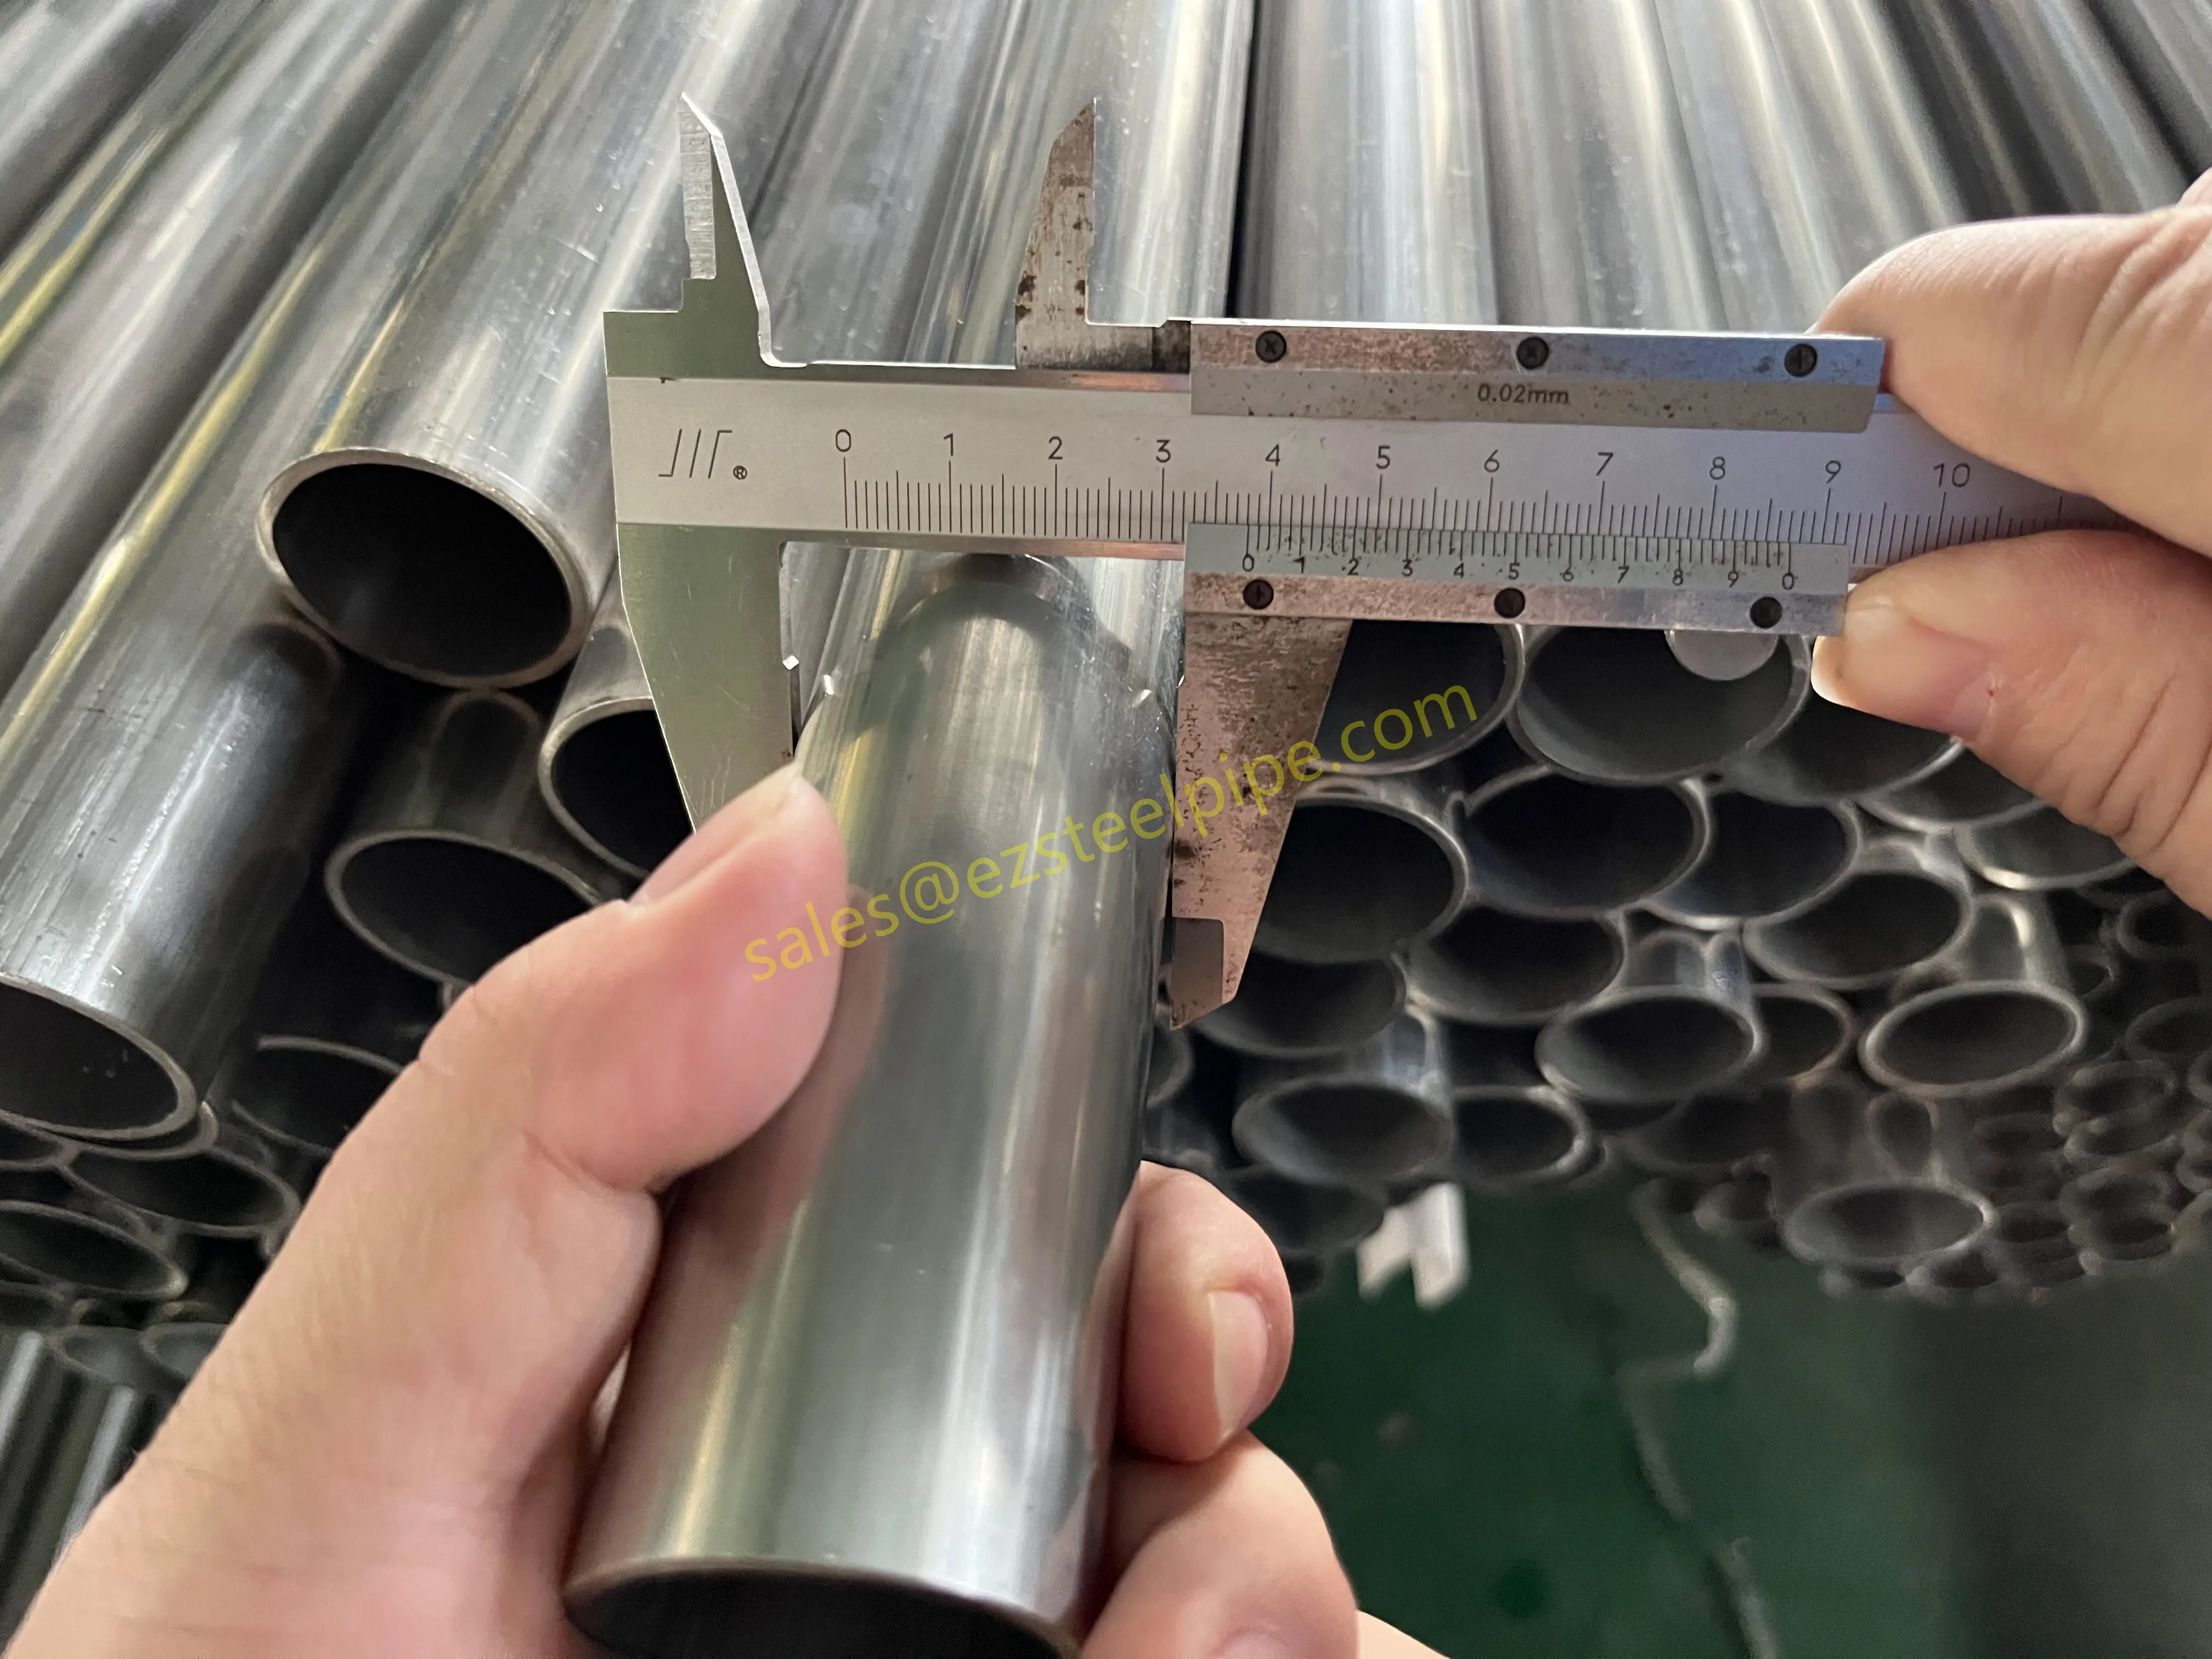
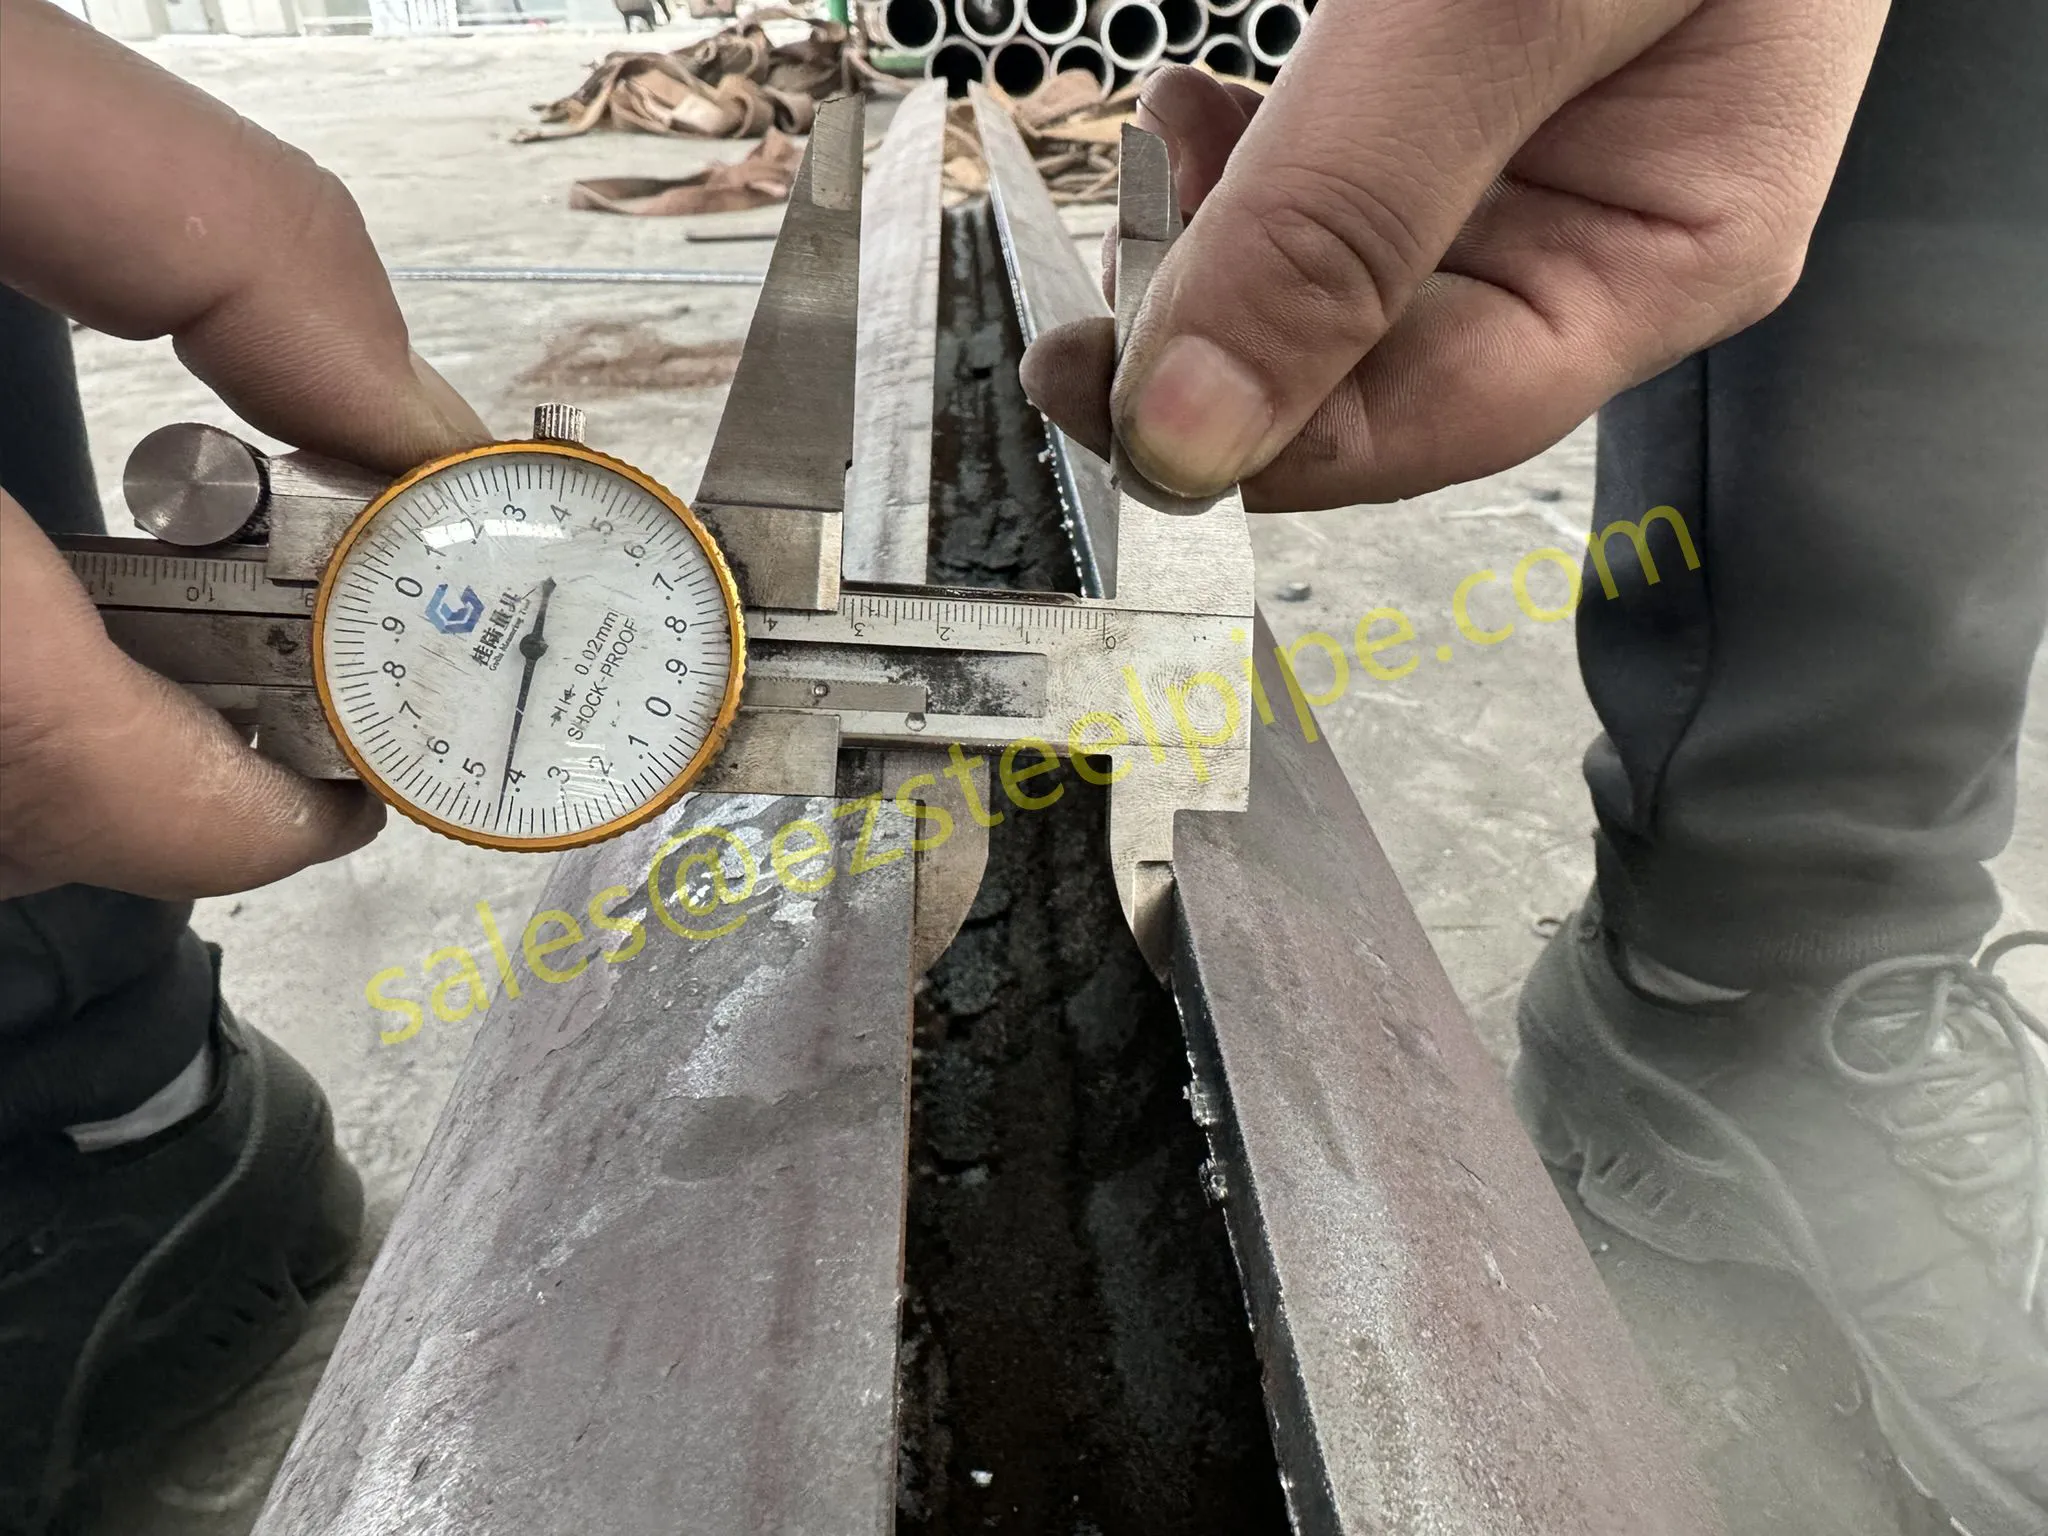
Measure the tube inner diameter with a three-point micrometer or caliper. Take several readings and average them, then confirm the result against the exchanger nameplate or design data sheet.
select a plug that matches the tube size and material — carbon steel, stainless steel, copper-nickel, or brass — so the plug is compatible with the tube and the process fluid.
Install the plug at each end and tighten it to the torque recommended by the plug manufacturer.
Plugging is quick and inexpensive, but it permanently removes the tube from service and reduces the heat transfer area. Use it for a small number of isolated leaks, and treat it as a temporary measure while planning a more permanent repair.
Step 4: Tube sleeving — keep the tube in service
Sleeving is a permanent repair that keeps the tube in service. A smaller-diameter sleeve is inserted into the damaged section of the tube and expanded or welded in place, restoring pressure integrity without replacing the whole tube. Sleeving is ideal for localized pitting or corrosion in the middle of a tube where the rest of the tube is still sound. It is a good middle ground between plugging and full re-tubing, and it preserves most of the original heat transfer area.
Step 5: Re-rolling the tube-to-tubesheet joint
Many leaks occur not in the tube body but at the tube-to-tubesheet joint. Over time, vibration, thermal cycling, and corrosion can loosen the rolled joint. In these cases, re-rolling the tube end with a roller expander can restore the seal. The expander is inserted into the tube end and rolled to expand the tube against the tubesheet hole. Care must be taken not to over-roll: wall thinning should stay within the limits recommended by the expander manufacturer and by ASME Section VIII, and the joint should be verified with a hydrostatic test after rolling.
Step 6: Weld repair for tubesheet and tube-end leaks
For leaks at the tubesheet face or in the tubesheet itself, weld repair or weld overlay can seal the leak. Tube ends can also be seal-welded to the tubesheet. This work requires qualified welders and an approved procedure, and the repair should be followed by non-destructive testing and a pressure test before the exchanger is returned to service.
Step 7: Prevention — the best repair is the one you never need
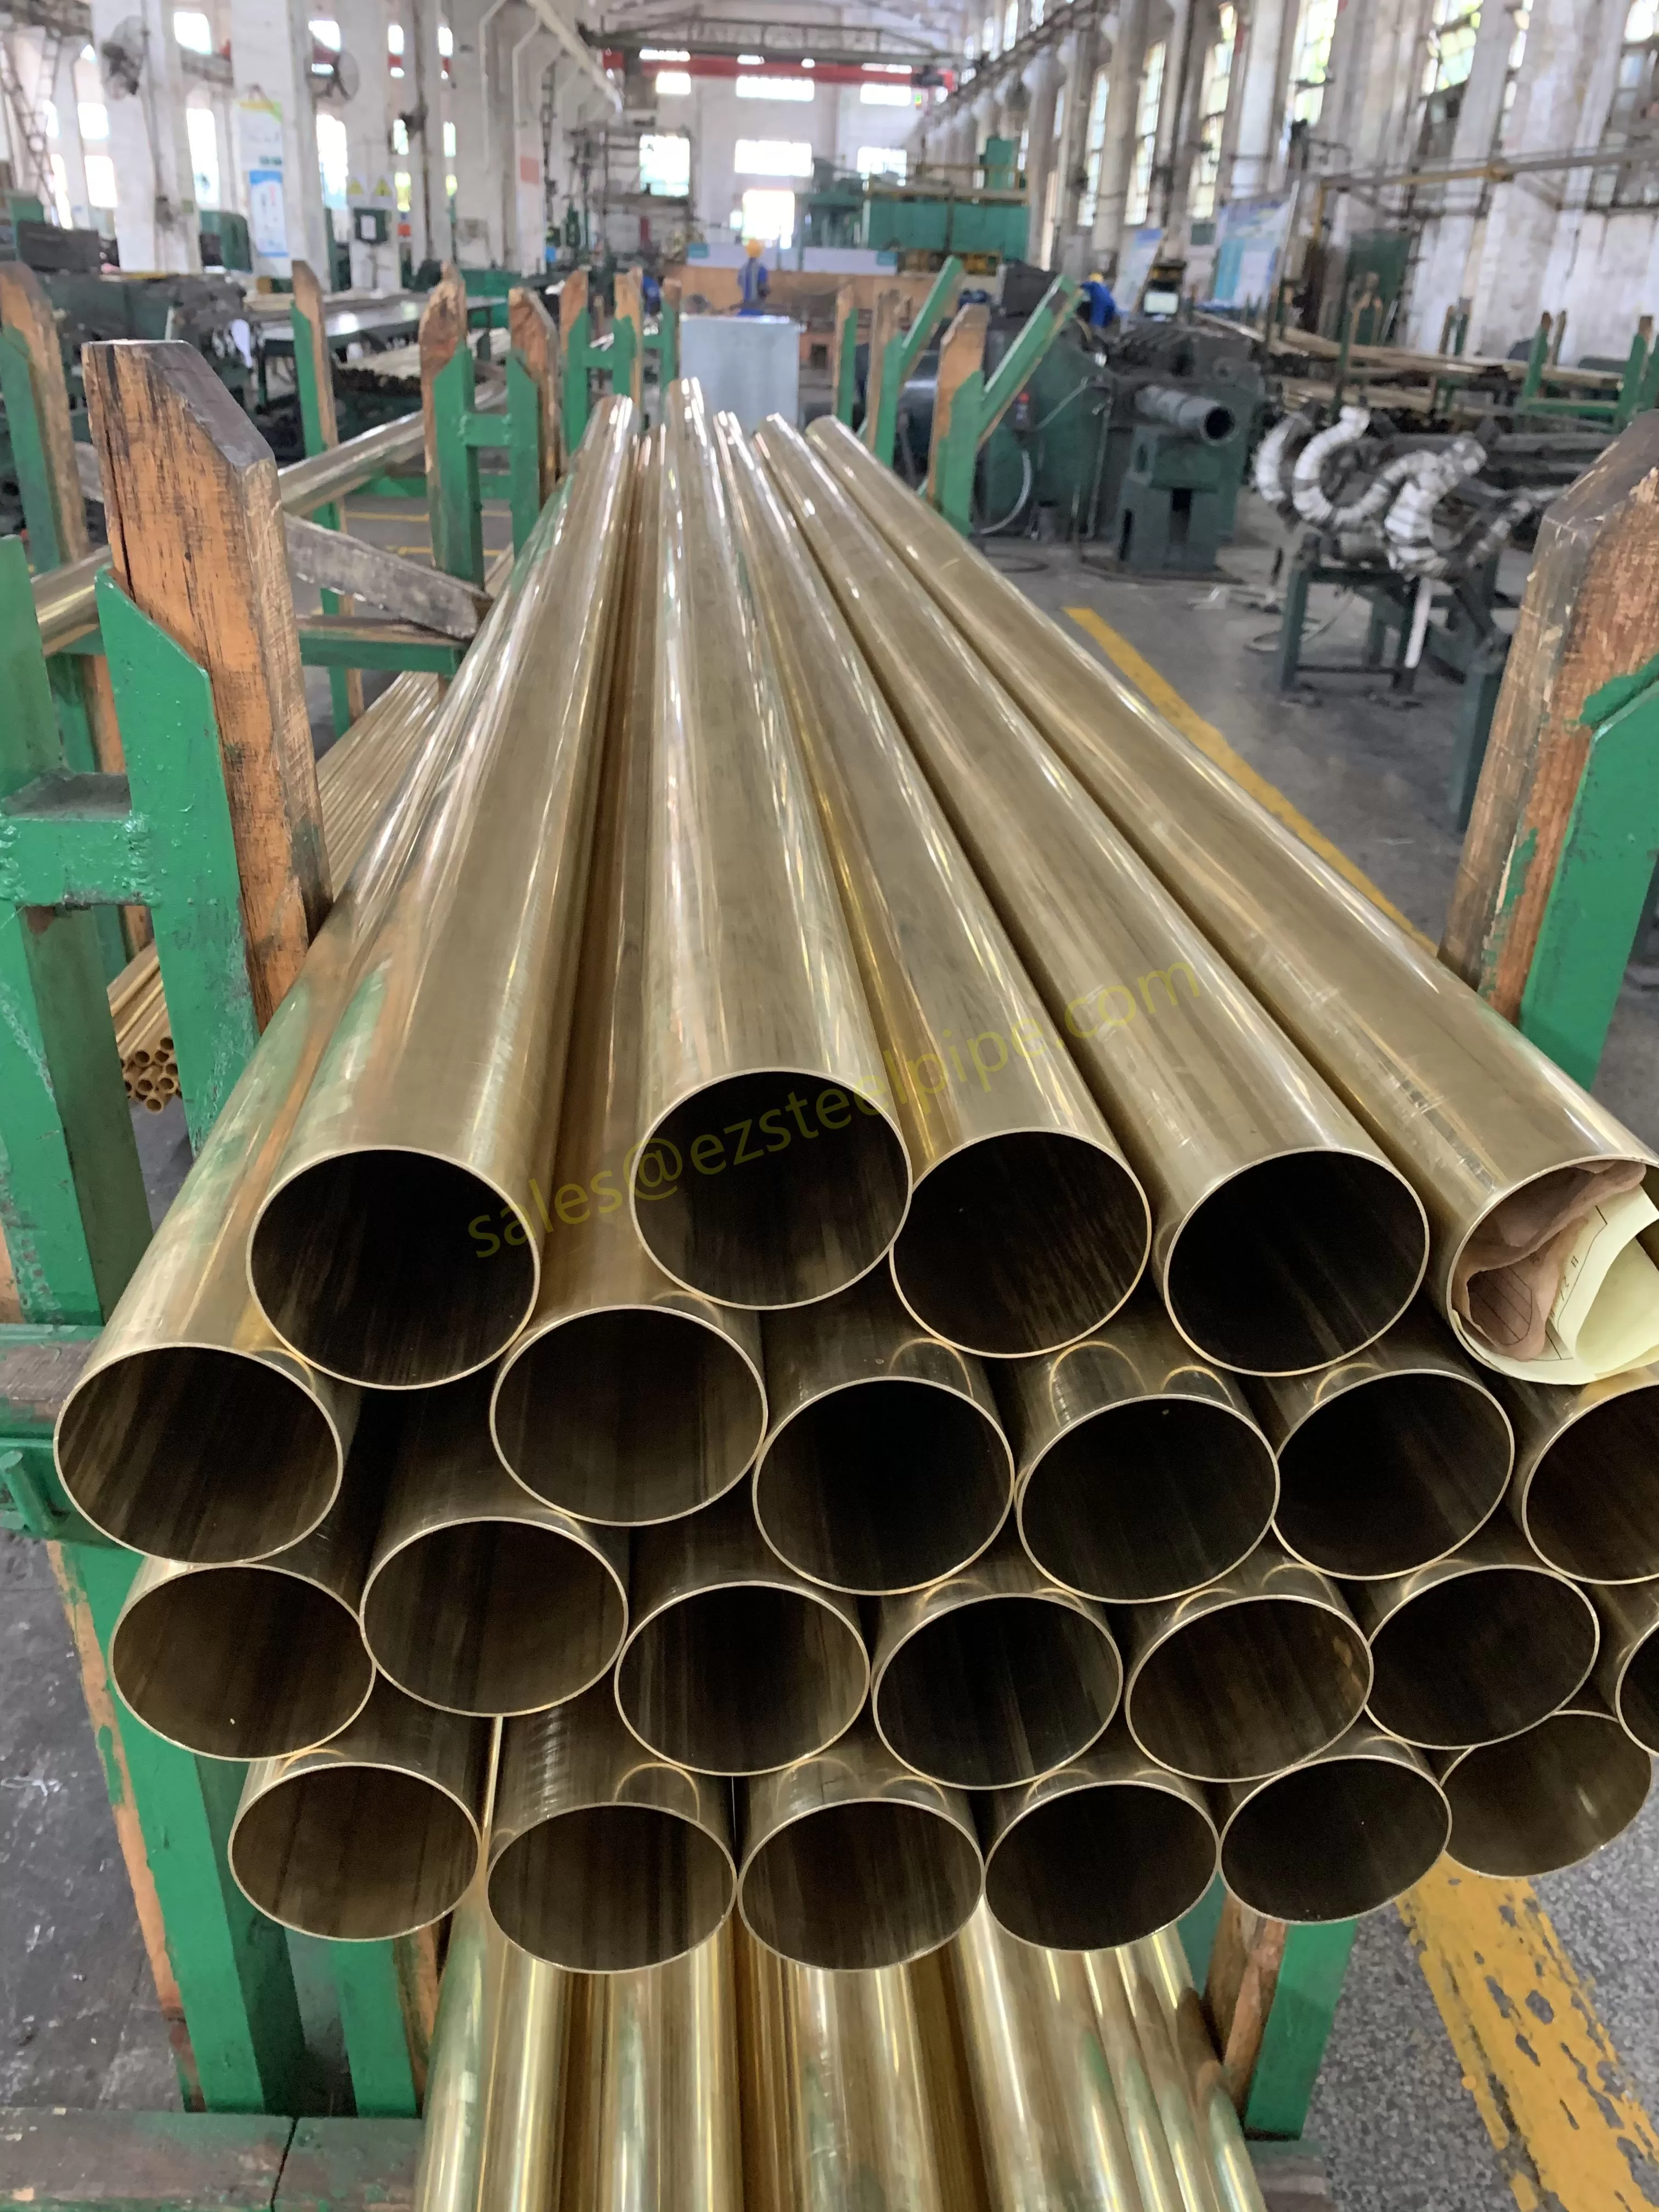
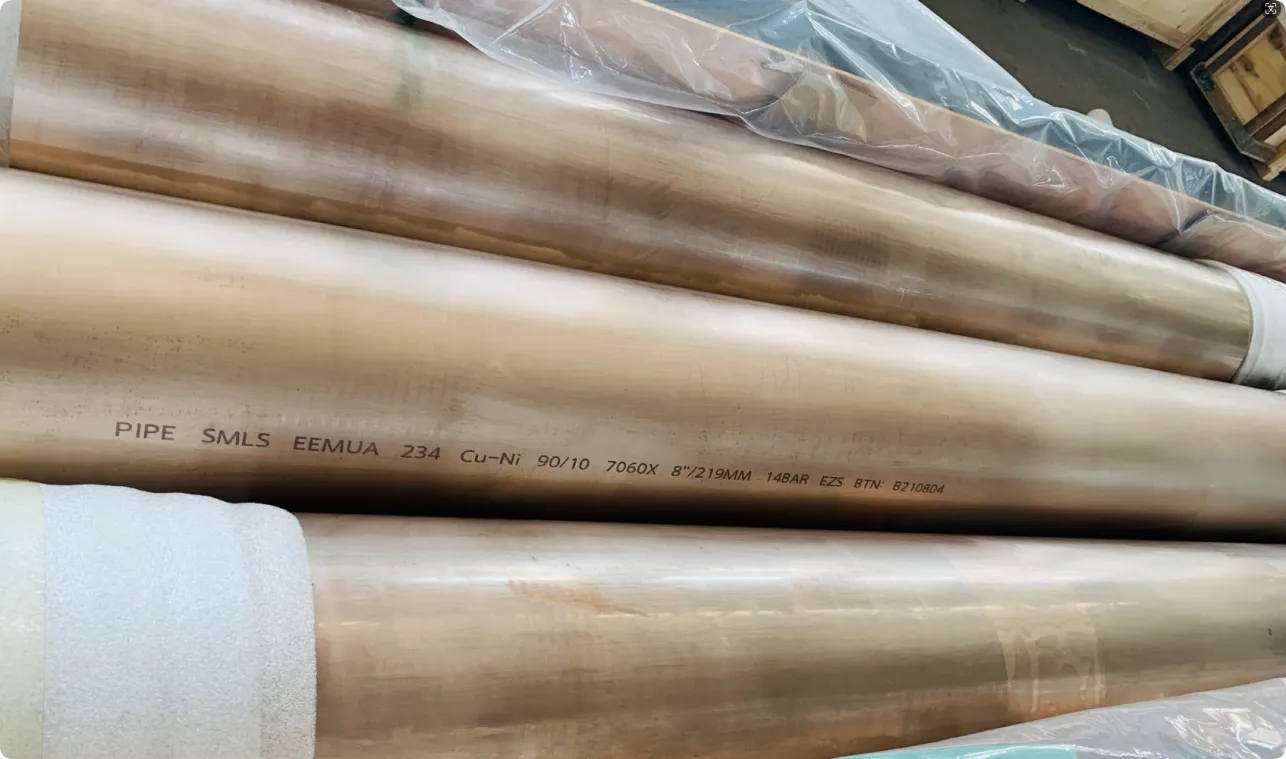
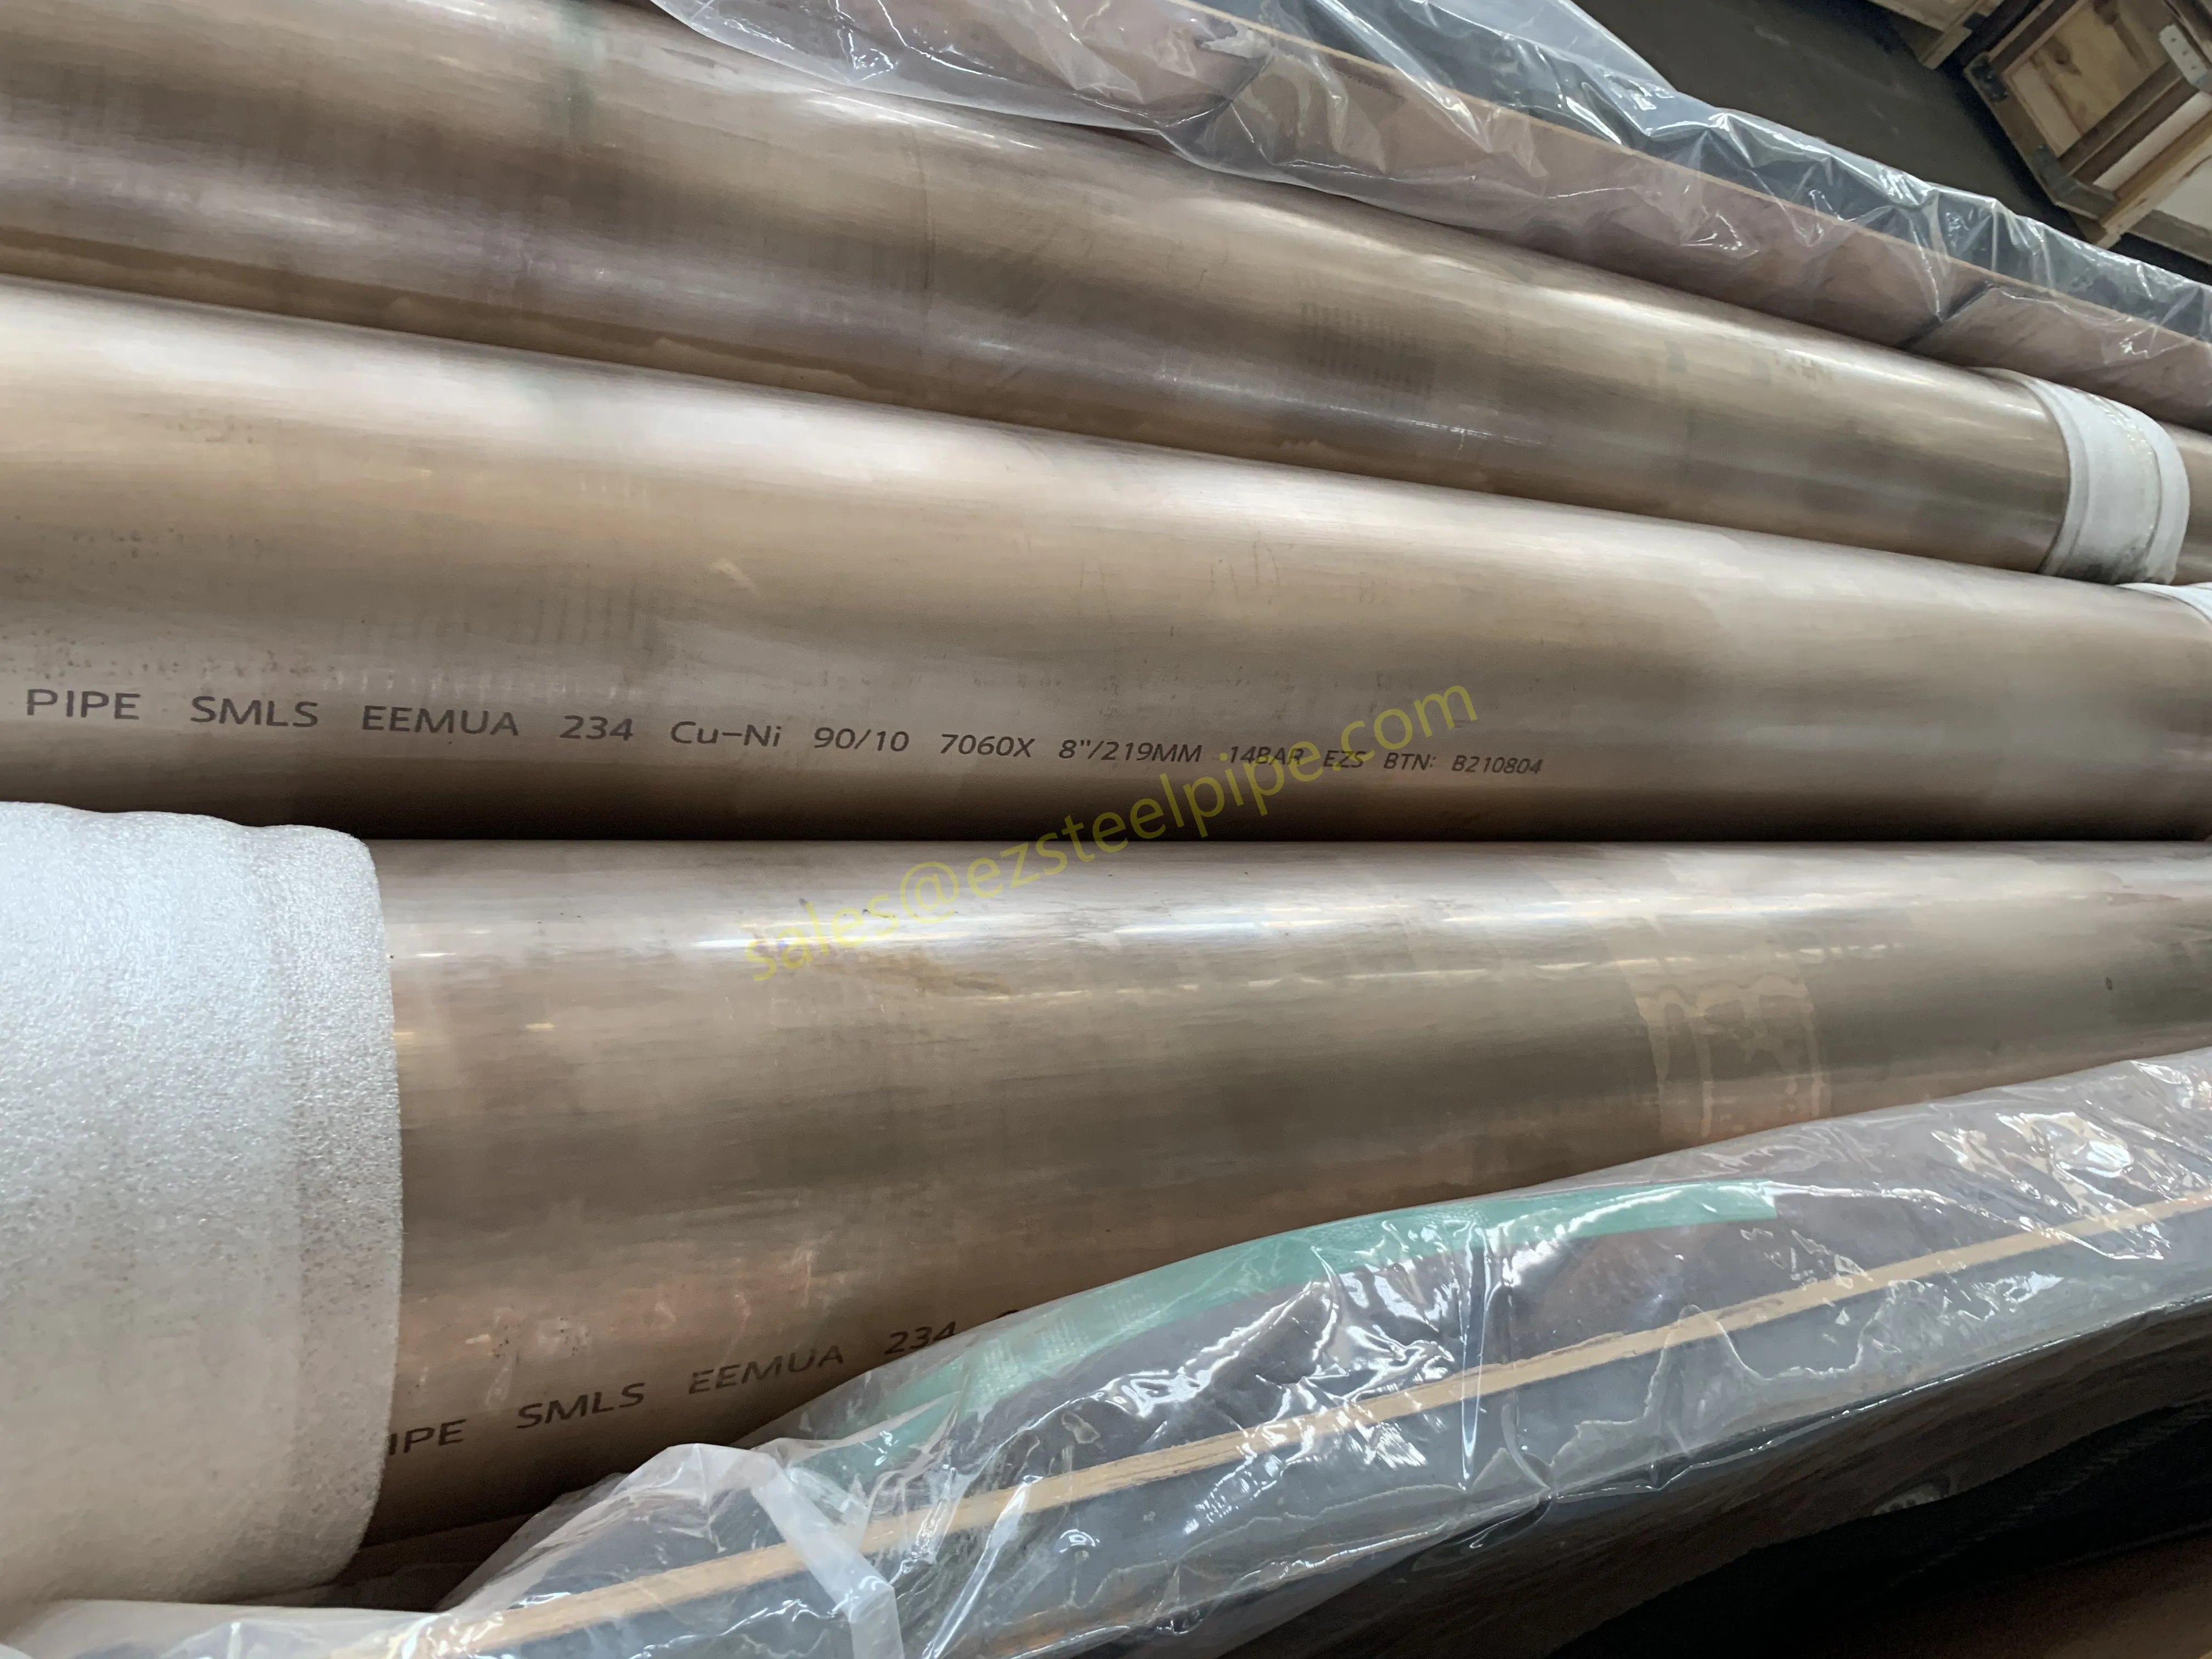
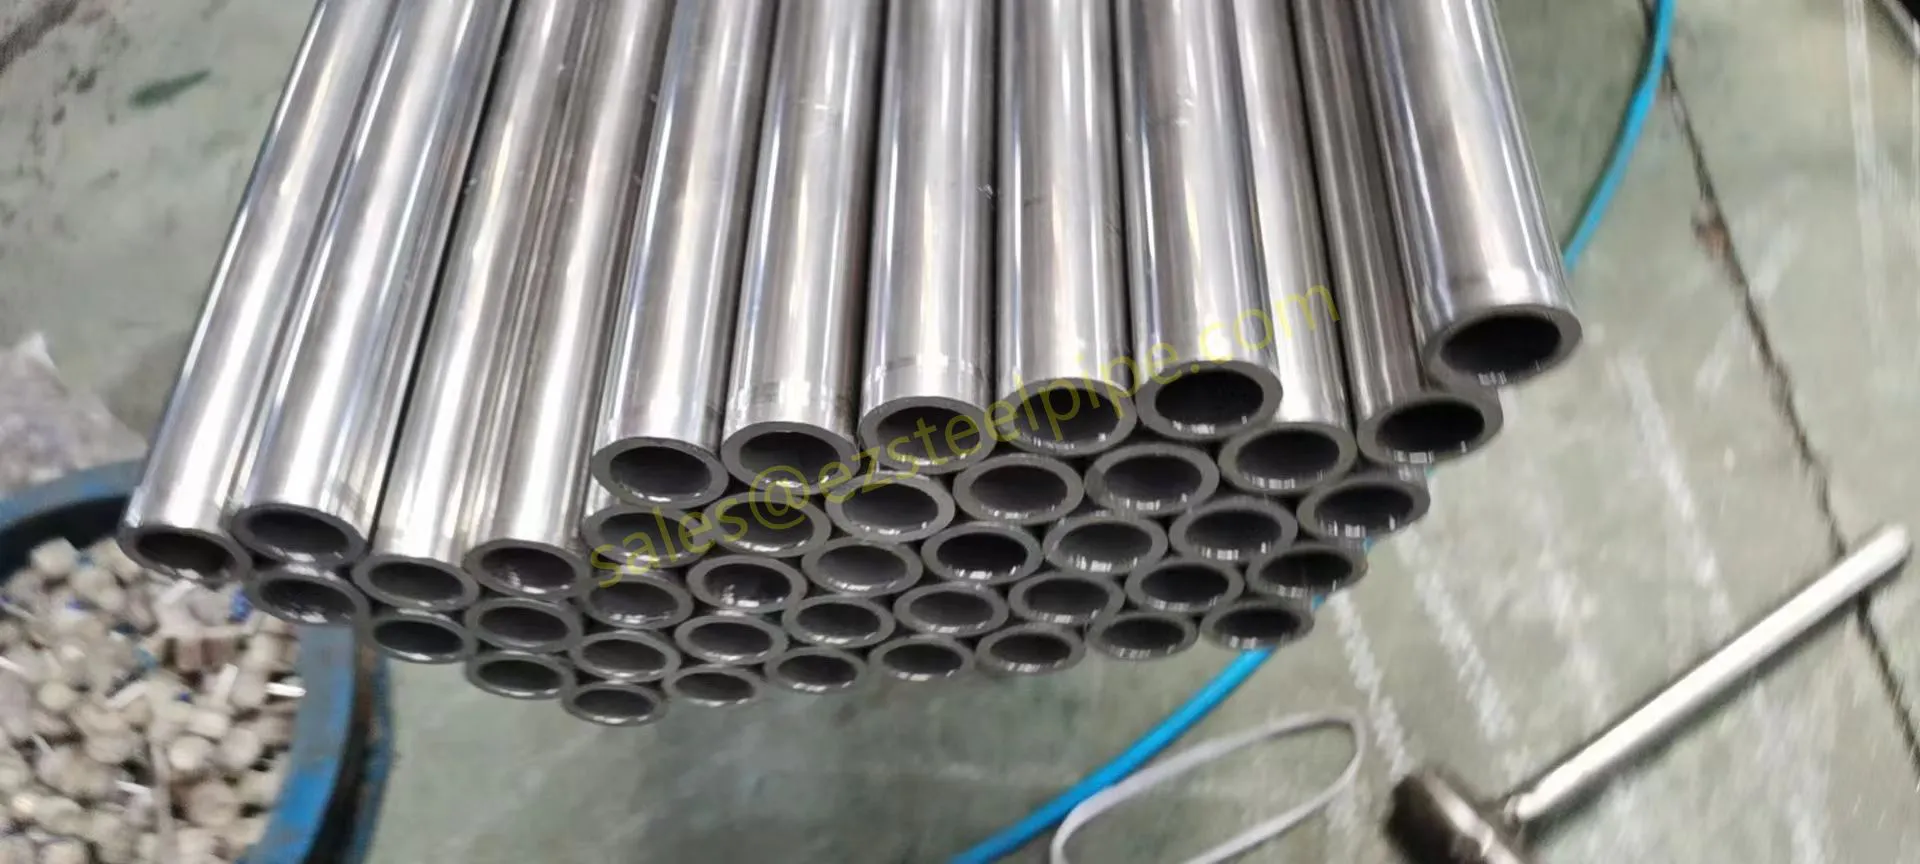
Choose the right tube material for the service. Carbon steel suits general high-temperature and high-pressure duty, stainless steel resists corrosive and high-temperature service, and copper-nickel alloys are the standard choice for seawater and marine systems. Matching the material to the environment prevents most corrosion-driven failures.
Control water chemistry. Deaeration, pH control, corrosion inhibitors, and biocides prevent pitting and under-deposit corrosion in cooling water systems.
Keep flow velocity up to prevent deposits from settling and shielding the tube surface.
Inspect on a schedule. Regular ultrasonic wall-thickness checks and eddy current testing catch thin walls before they become leaks.
Protect the water boxes with cathodic protection and protective coatings to extend tubesheet and tube-end life.
When to replace the bundle instead
Repair is not always the answer. If the damage is widespread, if the shell or tubesheet is badly corroded, or if the exchanger is near the end of its design life, re-tubing or full replacement is the more economical choice. A good rule of thumb is to compare the cost of the repair and the remaining life it delivers against the cost of new condenser tubes and the downtime required to install them.
Conclusion
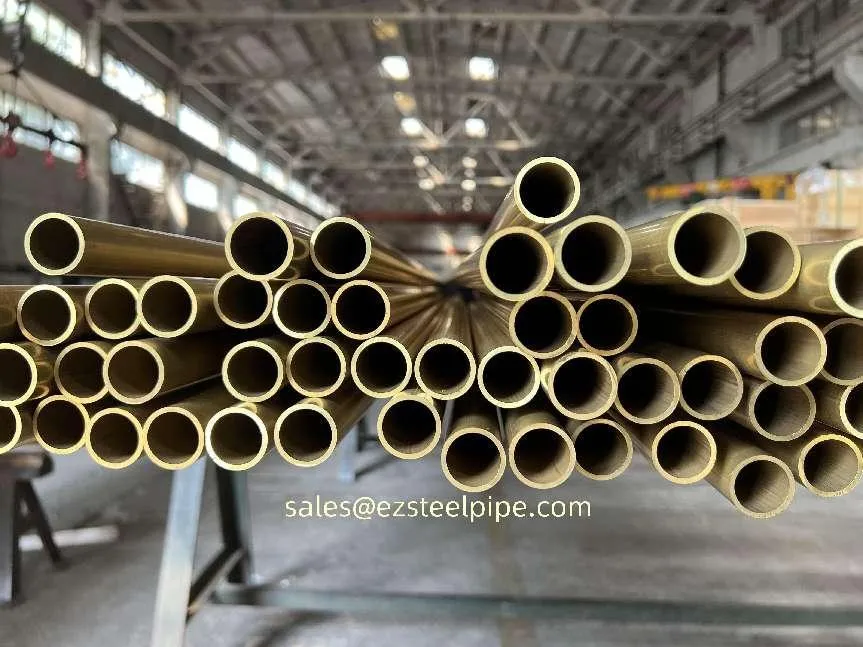
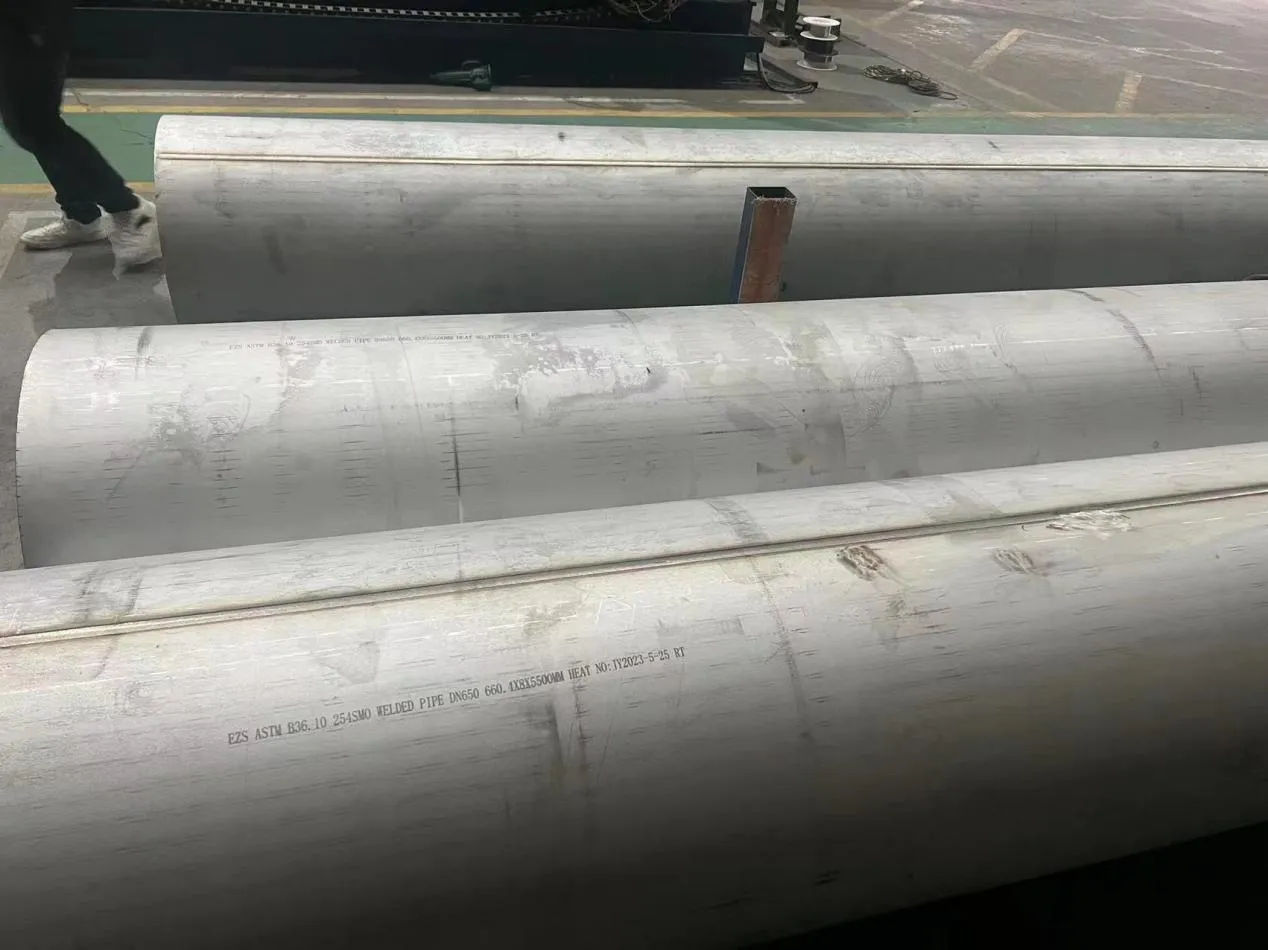
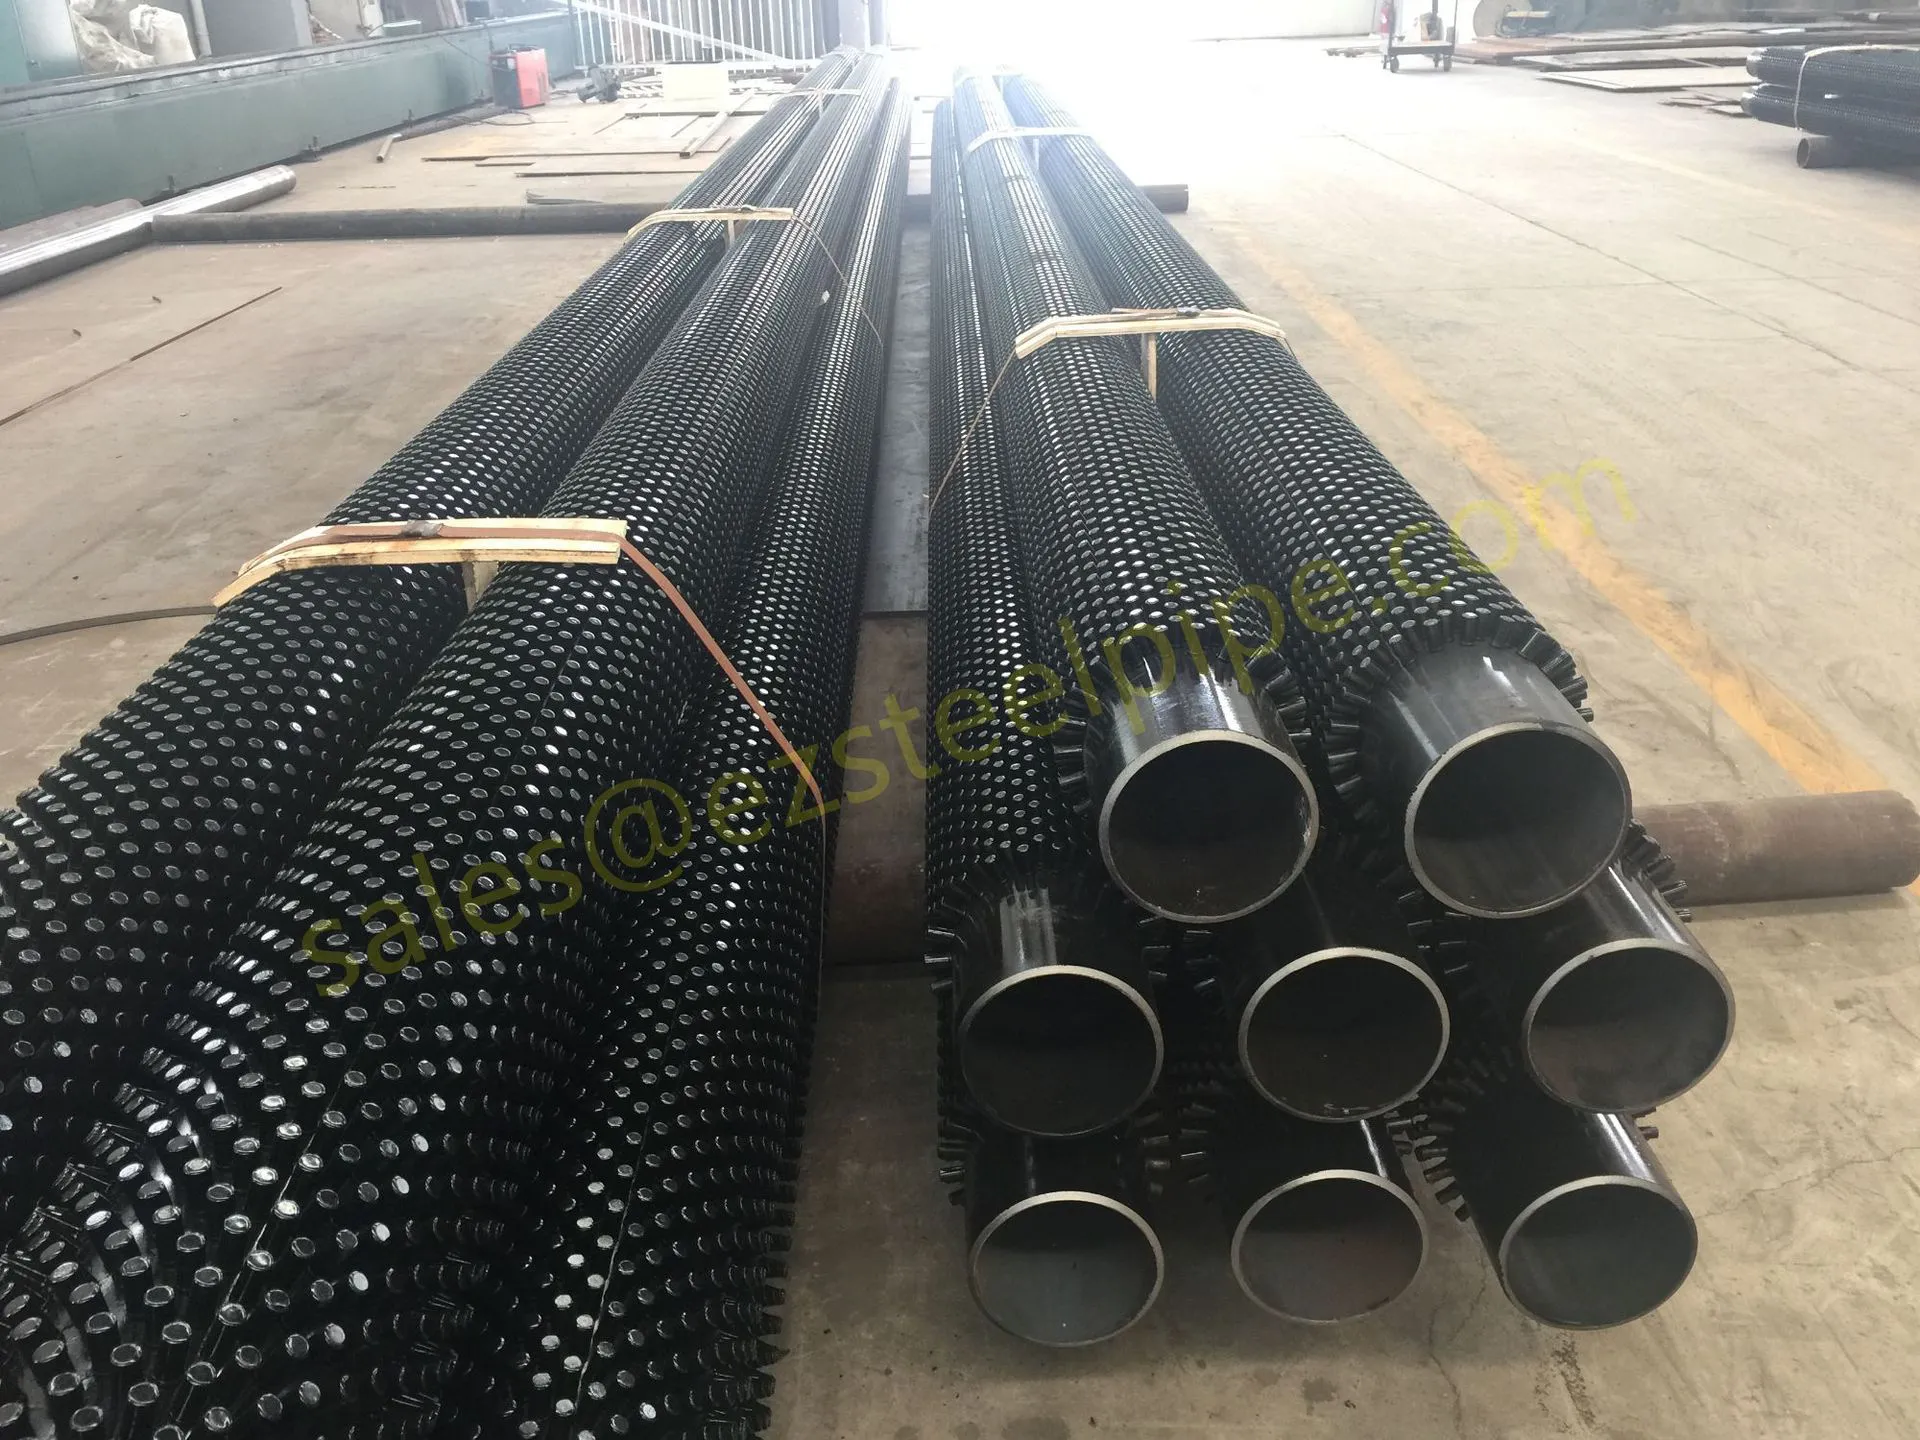
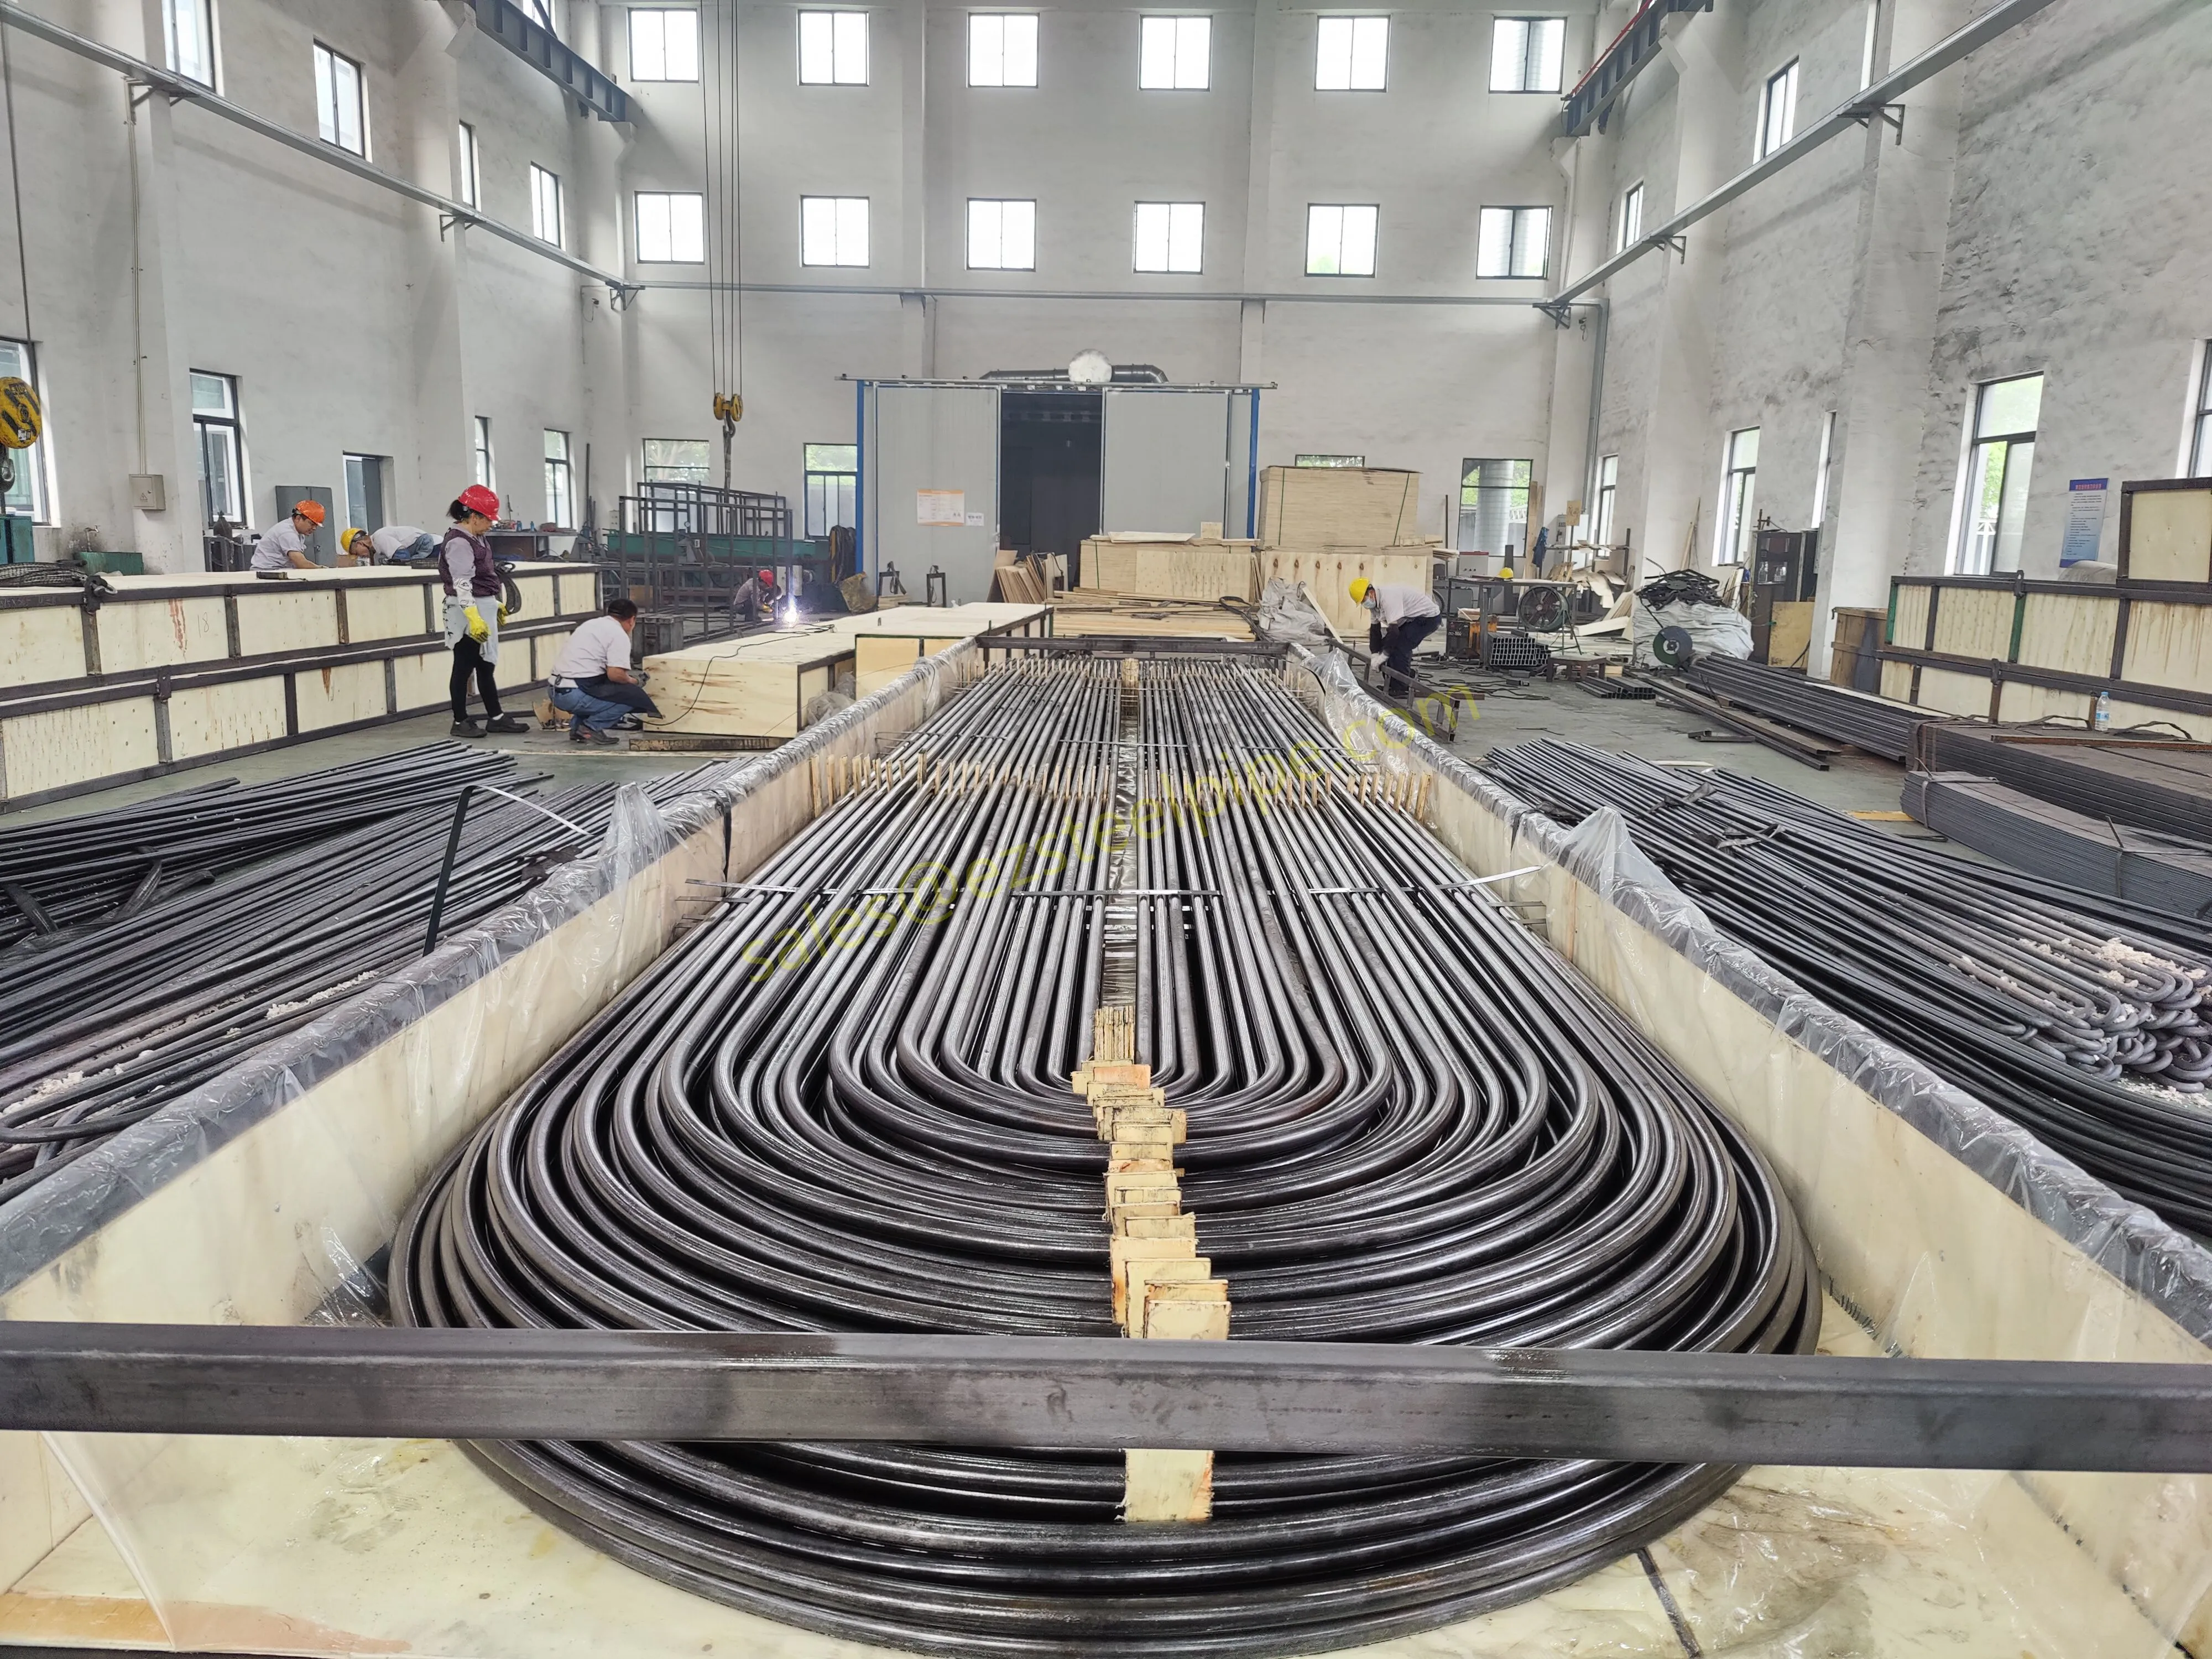
A leaking heat exchanger tube does not always mean a full re-tube. With proper inspection, tube plugging, sleeving, re-rolling, and weld repair, most bundles can be returned to service quickly and economically. And when replacement tubes are needed, choosing a reliable manufacturer with the right material, standard, and quality certification makes all the difference. EZ Steel Industrial supplies heat exchanger tubes, condenser tubes, boiler tubing, and U-bend tubes in carbon steel, stainless steel, and copper-nickel alloys, manufactured to ASTM, ASME, API, EN, JIS, and other international standards, with full mill test certificates and non-destructive testing on every order.
Hey there! Your message matters! It'll go straight into our CRM system. Expect a one-on-one reply from our CS within 7×24 hours. We value your feedback. Fill in the box and share your thoughts!
The cookies are to be collected for better browsing experience and website traffic analysis. To continue, are you to accept the policy ?