export@ezsteelpipe.com
 +86 731 8870 6116


 export@ezsteelpipe.com+86 731 8870 6116


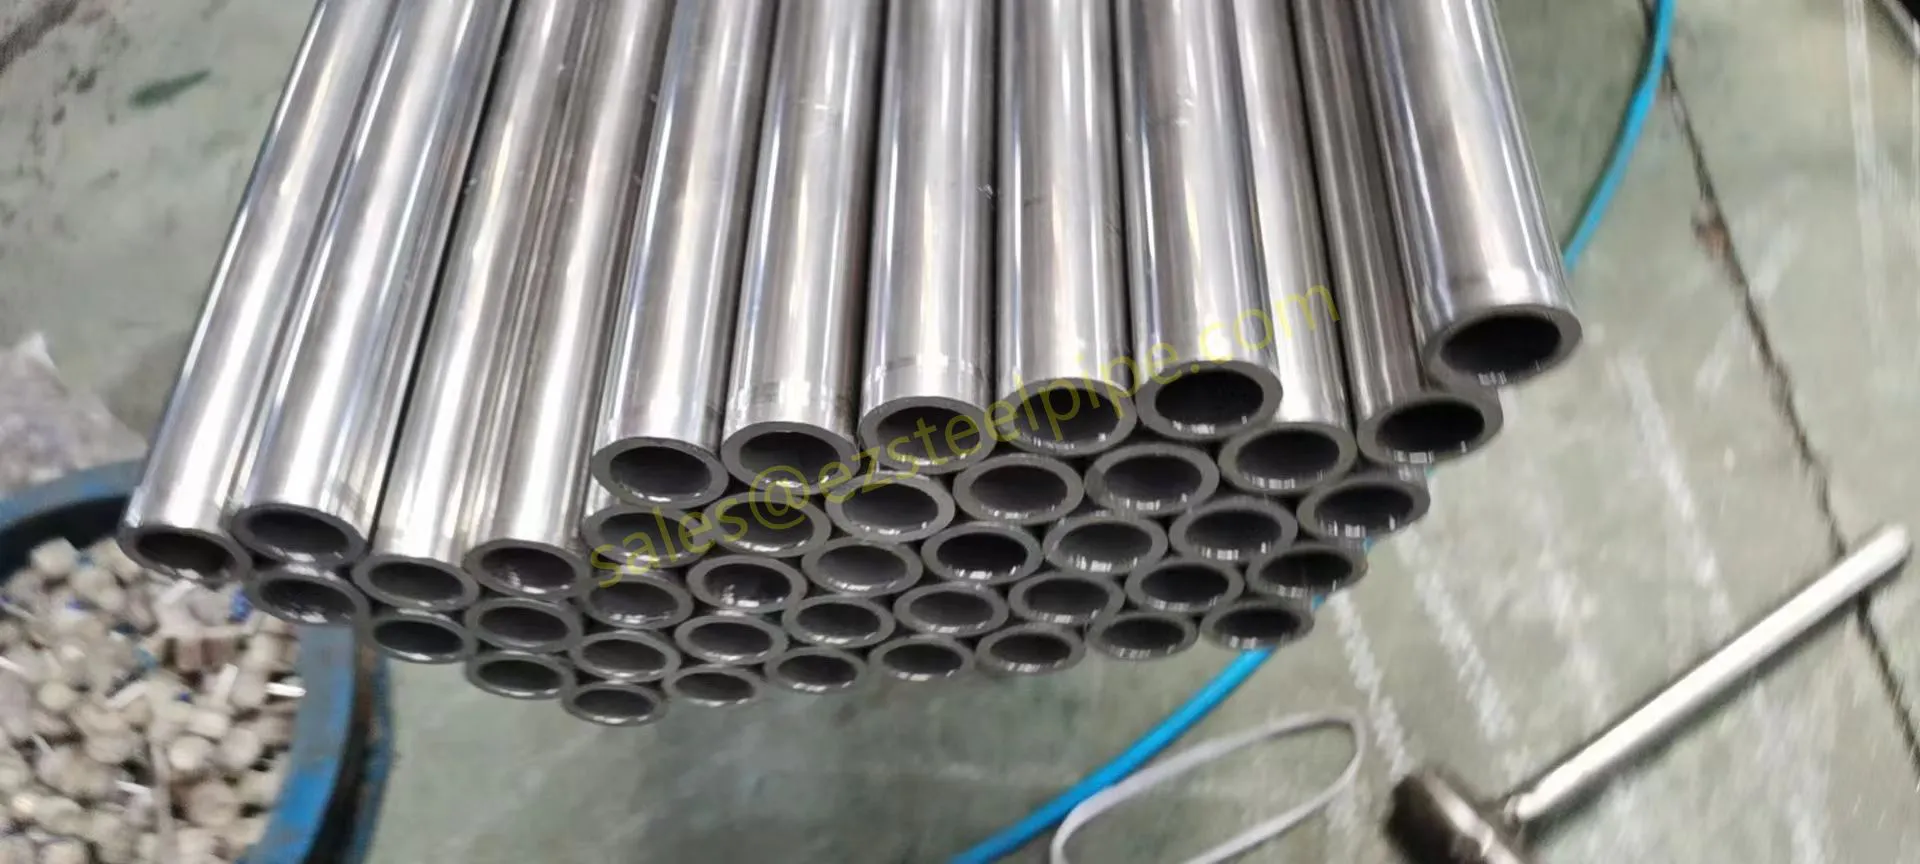
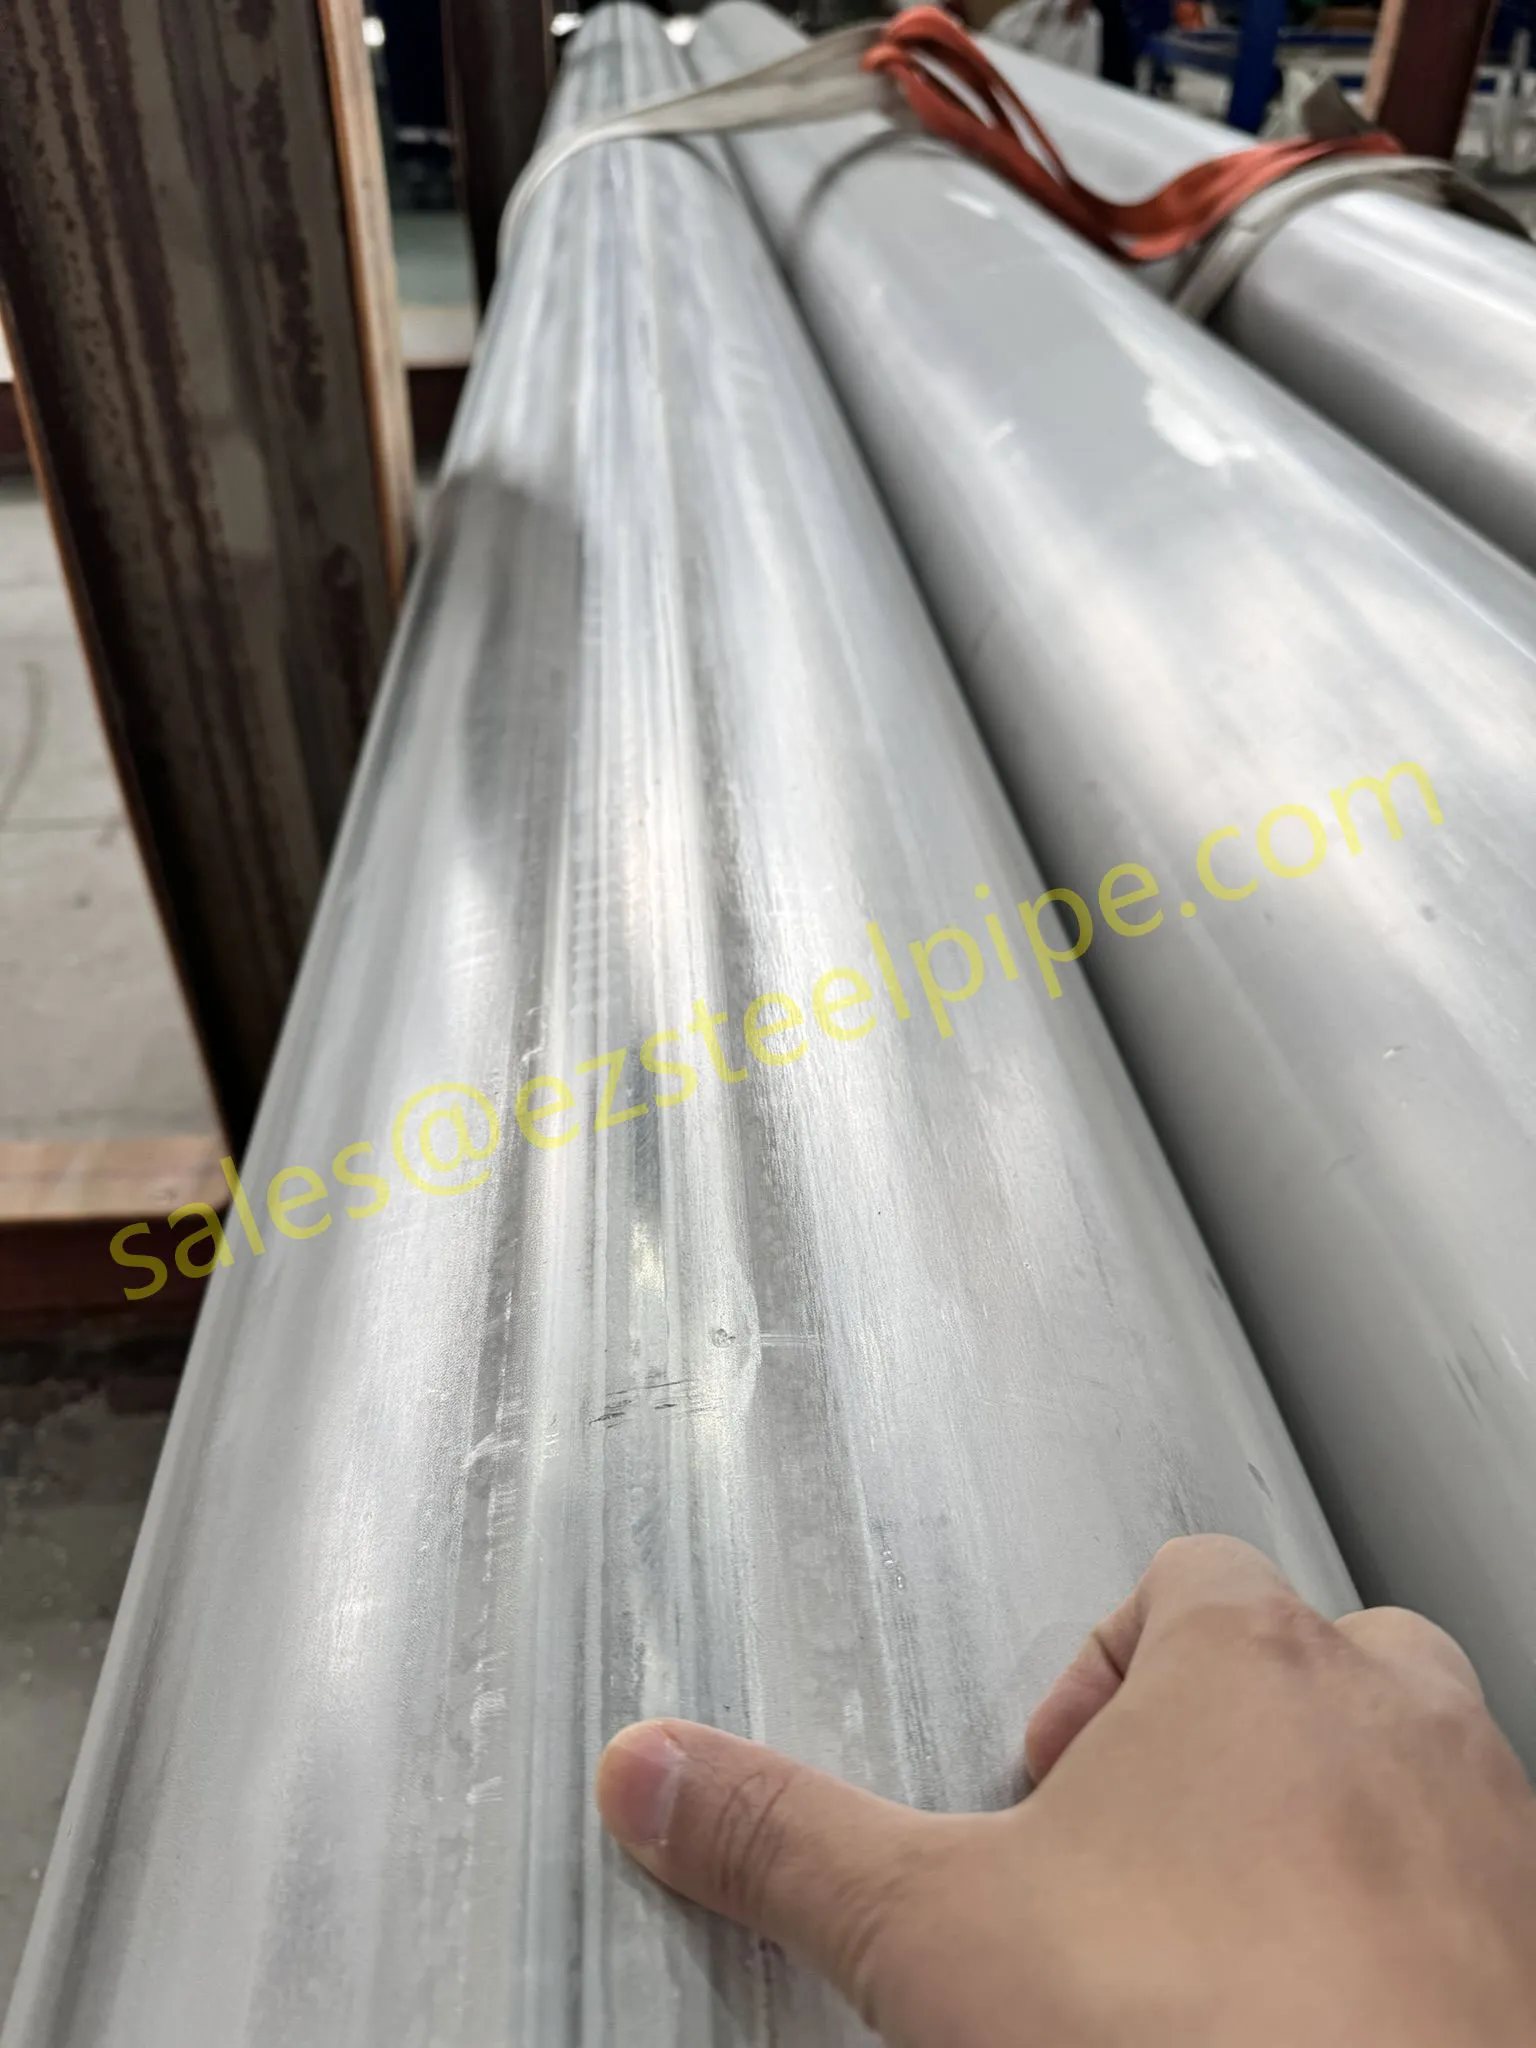
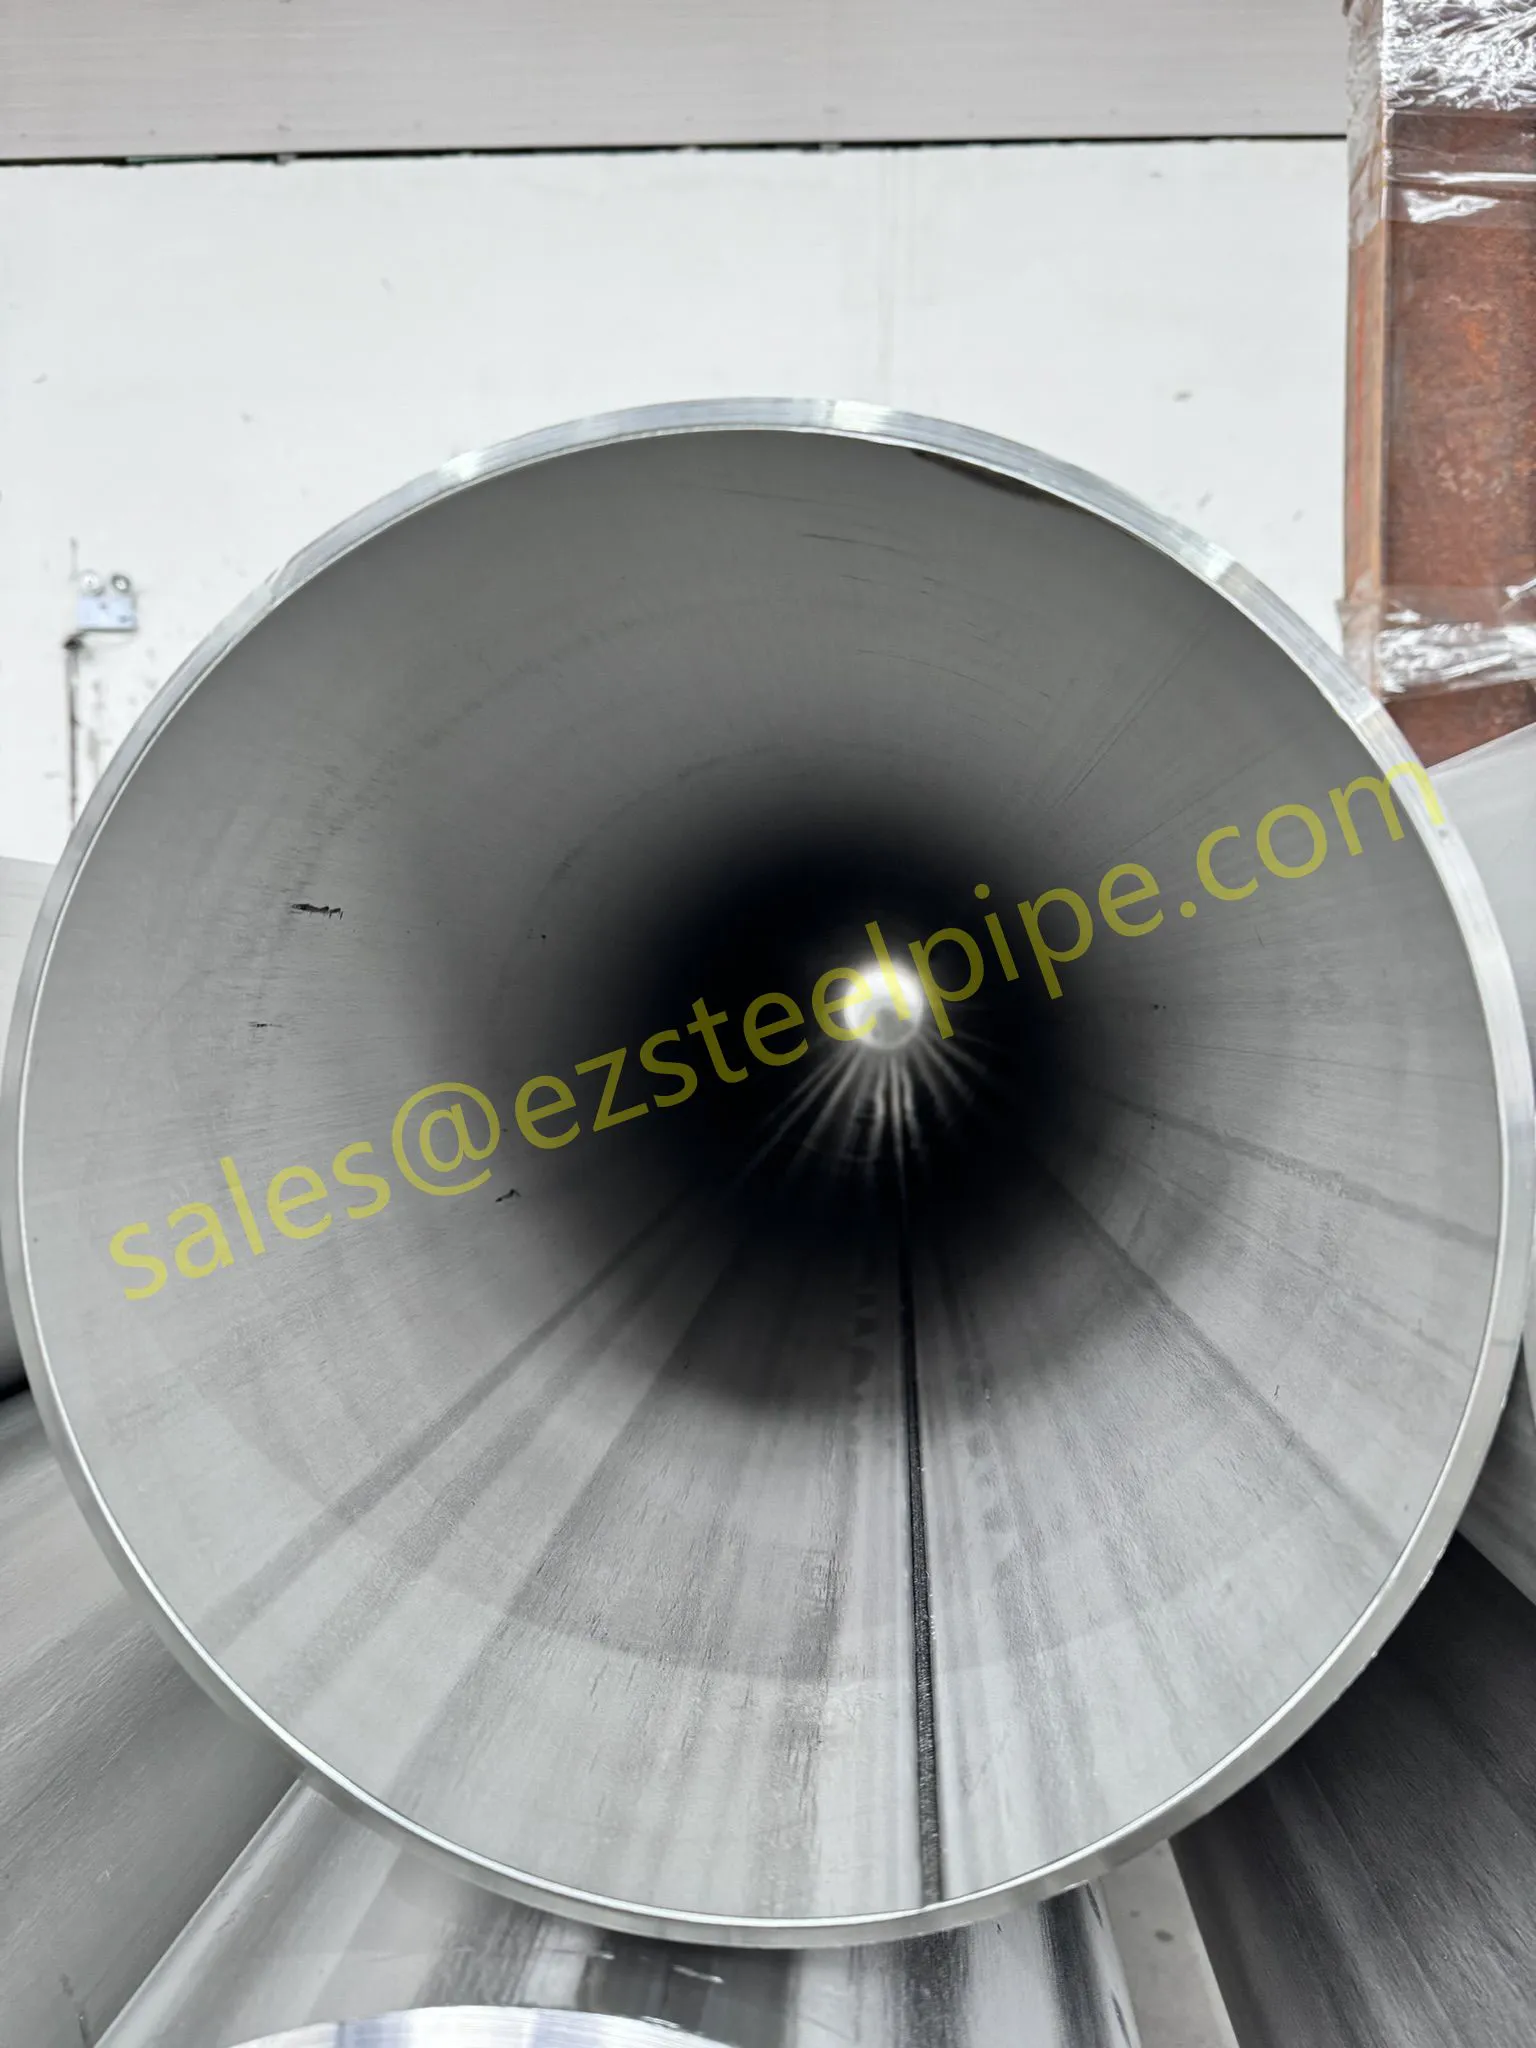
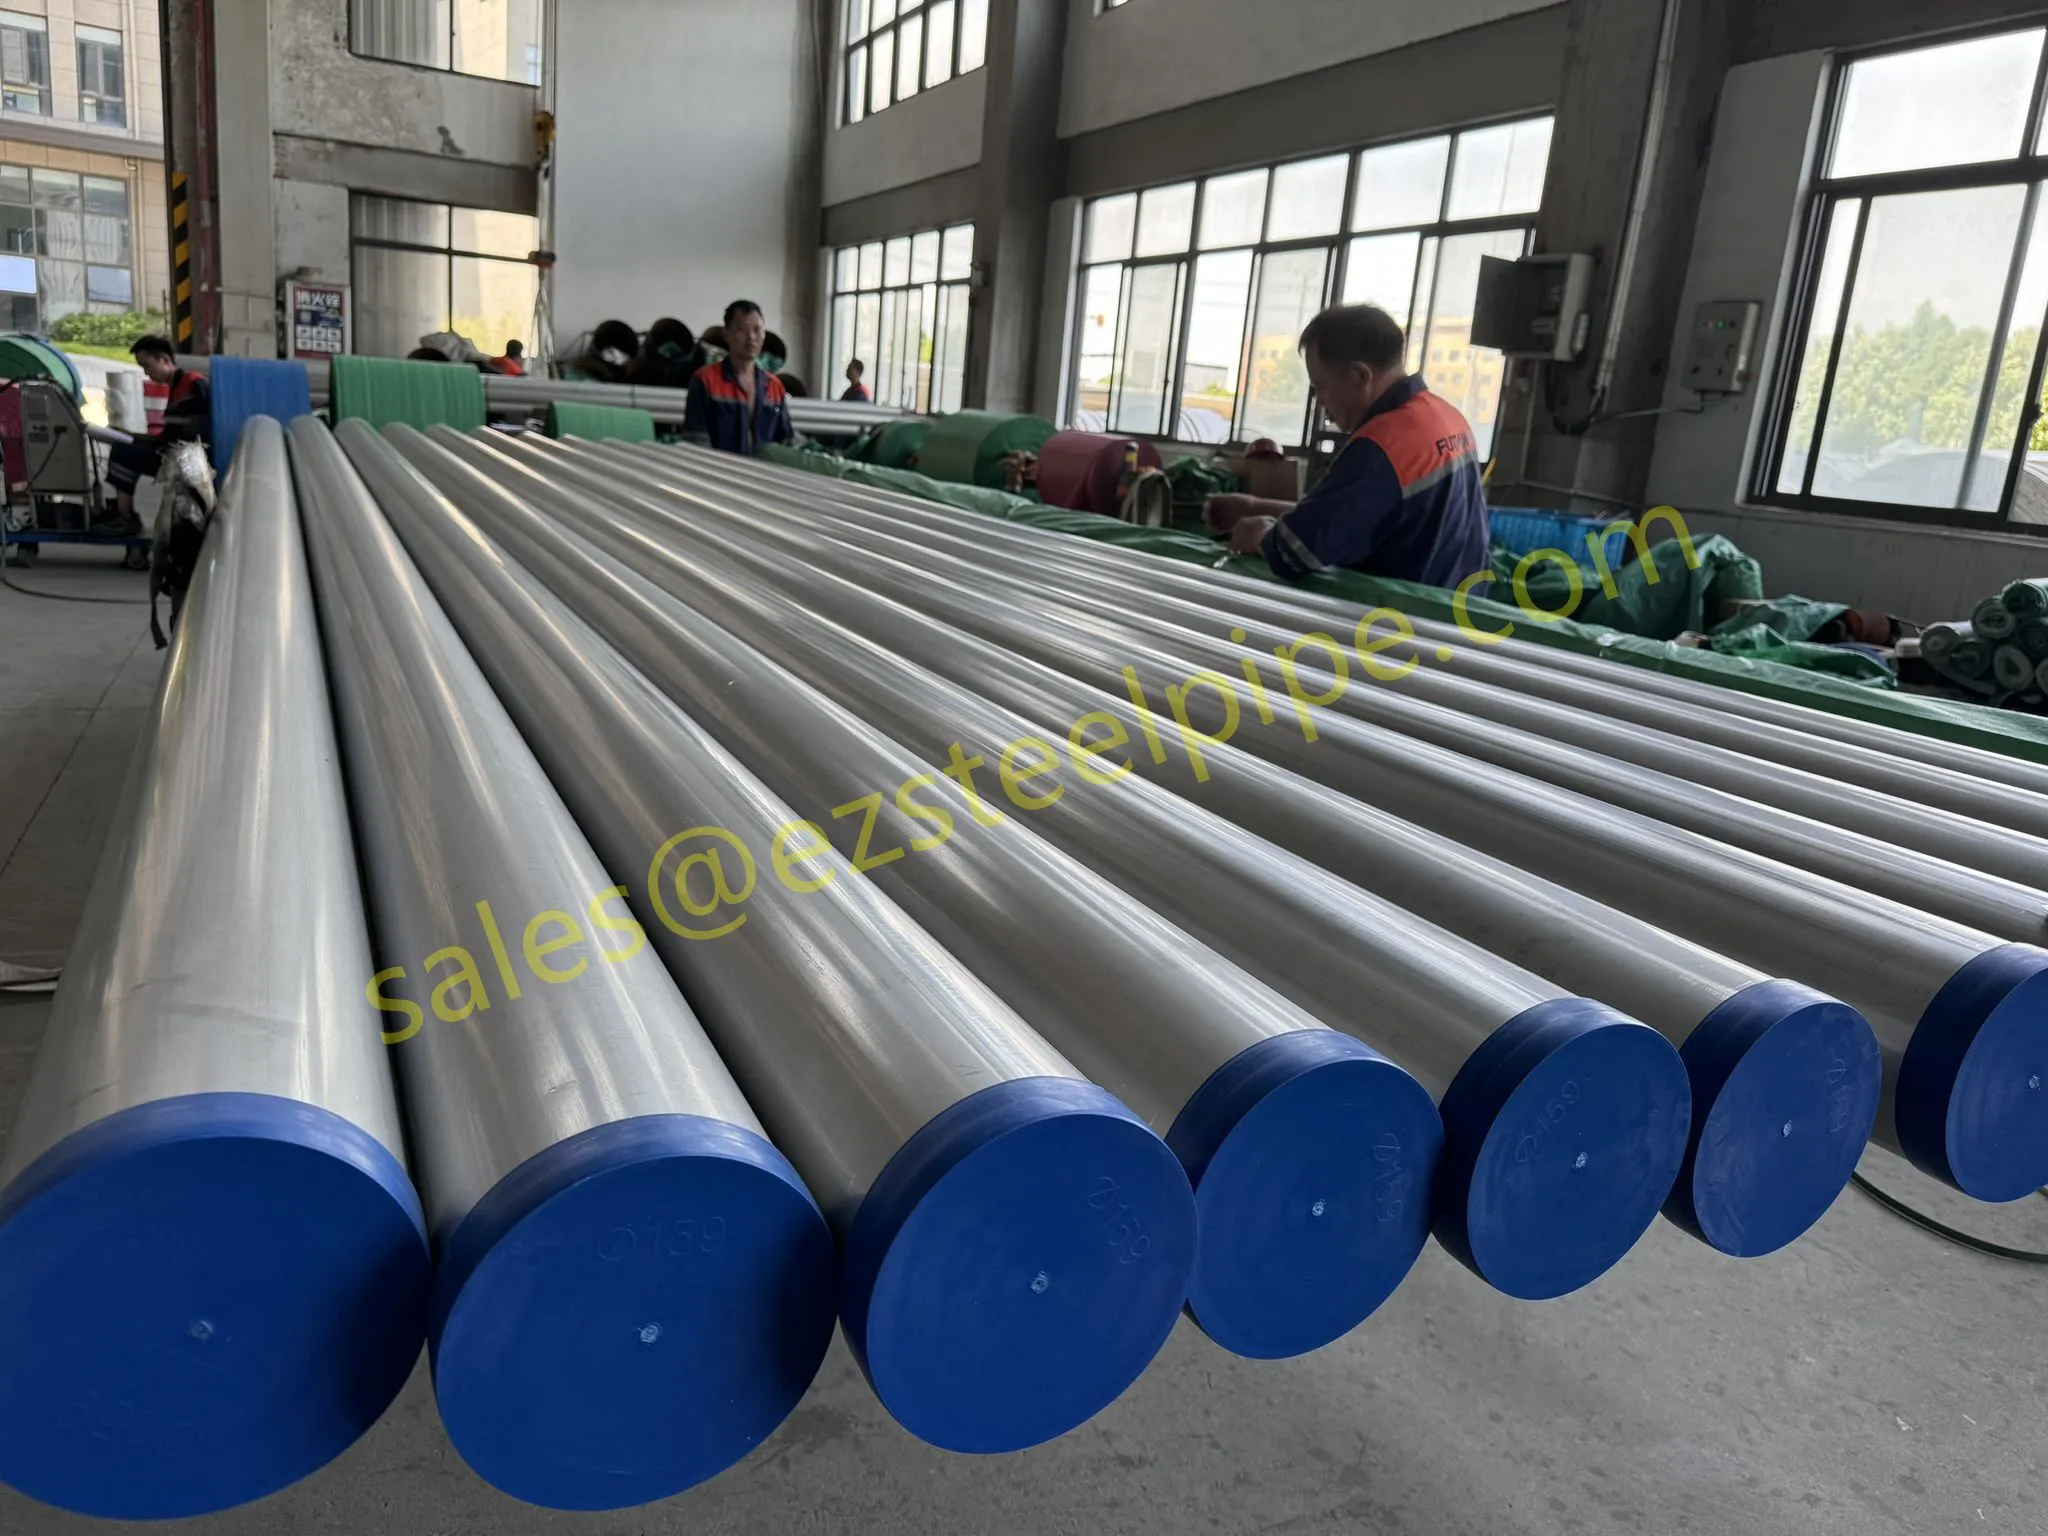
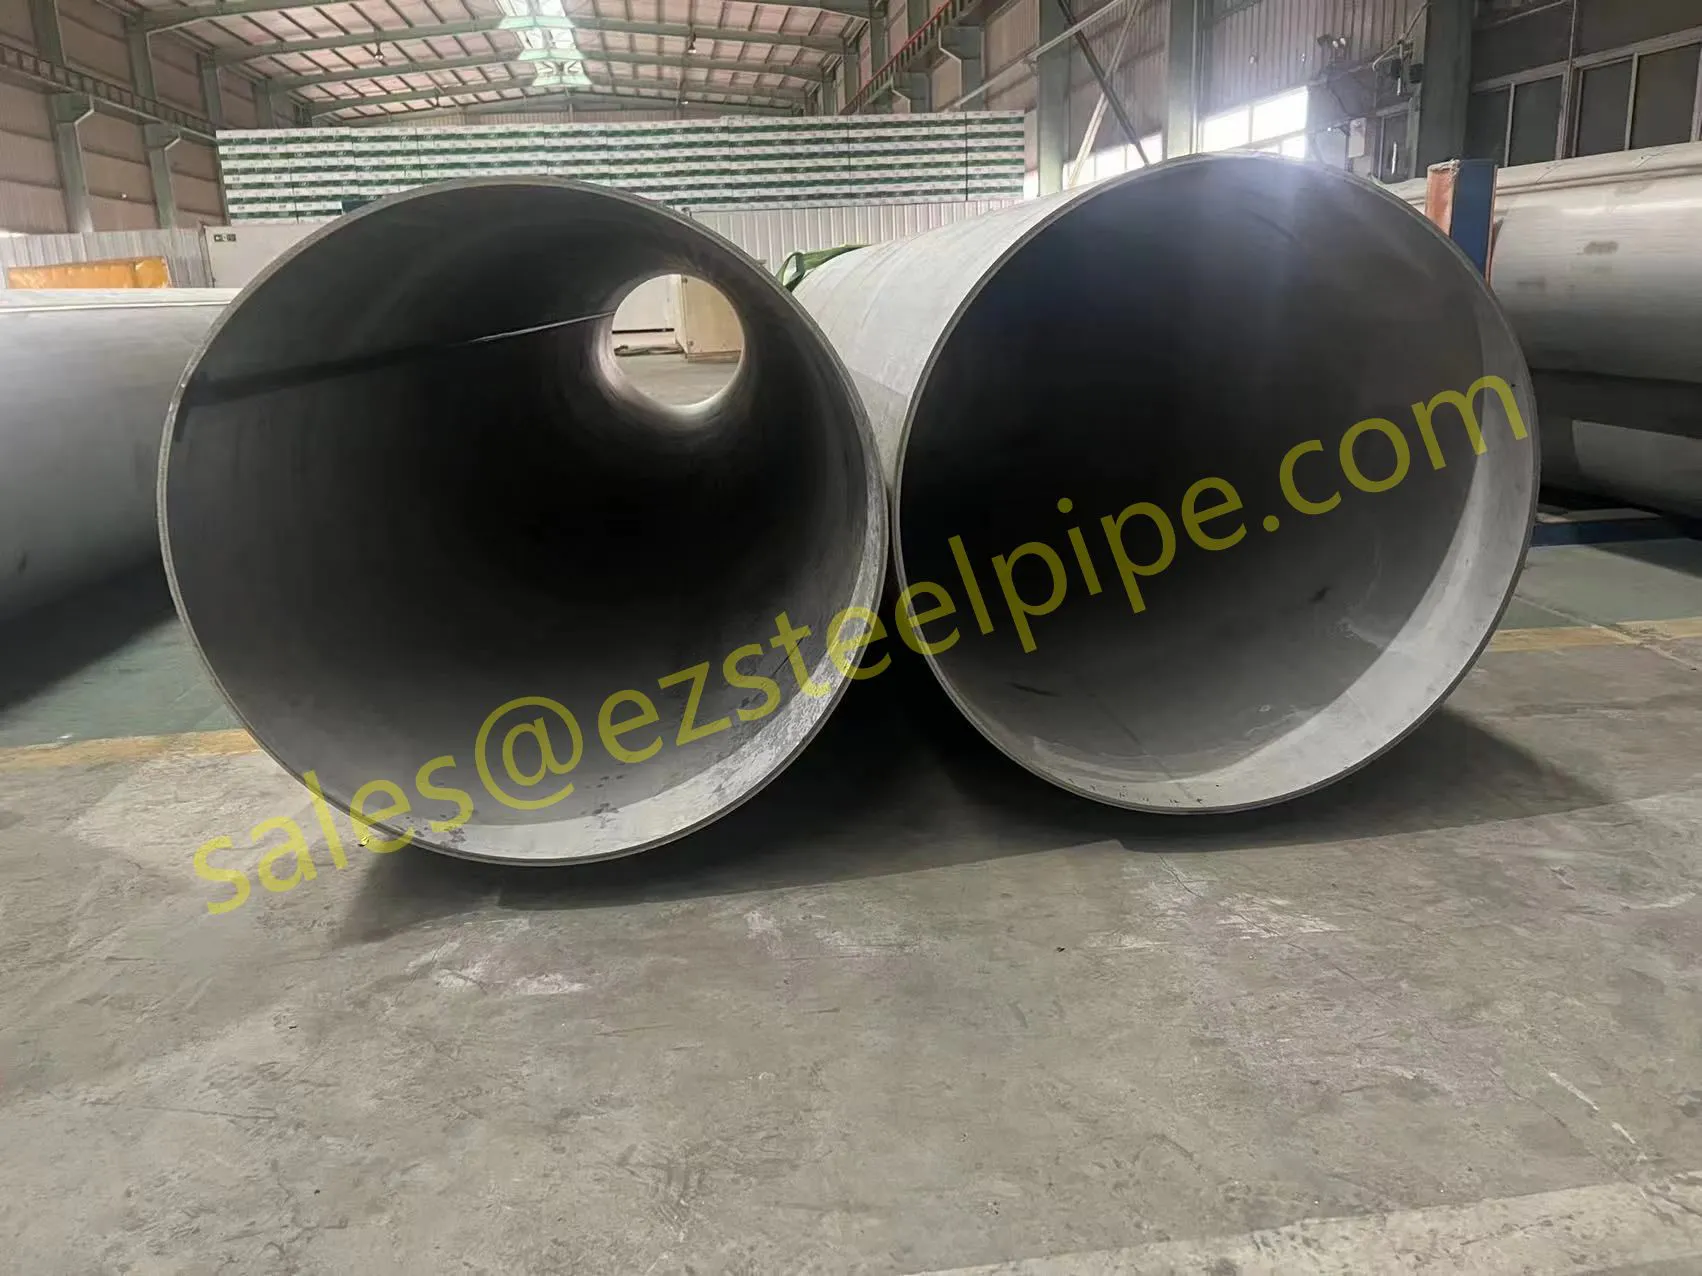
Surface scratches on a freshly delivered stainless steel tube are one of the most common headaches on an installation site. They show up after the bundle is cut open, after crane handling, after the tube is rolled on racks, or after the fitter slides a fitting over the end. Most of the time the tube underneath is perfectly fine. The damage is cosmetic, and the right approach can usually bring the surface back without reordering material or re-doing the hydrostatic test.
This guide walks through how to assess a scratch on site, the methods that work for light, moderate, and deeper damage, and when the tube should be set aside for repair or replacement. It also covers the documentation and re-passivation steps that protect corrosion performance after the surface is refinished, which matters for any heat exchanger tube or condenser tube that has to hold up in service.
Before any abrasive touches the tube, wipe the scratched area with isopropyl alcohol or a mild detergent solution and a lint-free cloth. Let it dry. Surface contamination, especially carbon steel dust from cut ends or from nearby grinding, is the single biggest reason a small scratch turns into a rust spot a few weeks later. Once the area is clean, the true depth and length of the damage are easier to judge.
Run a fingernail across the scratch. Three rough categories cover almost every field case:
For a light scratch on a mill-finish or 2B tube, the goal is to blend the scratch with the original grain, not to polish it to a mirror finish. Always work parallel to the existing grain, never across it. Sanding across the grain leaves a brighter track that is more visible than the original scratch.
A practical sequence on site looks like this:
This is the same logic used on a boiler tubing surface after a minor handling mark. The work is fast, the material loss is negligible, and the passive film is restored so the tube can go straight into service.
When a fingernail catches the scratch, hand abrasion is no longer enough. Move to a low-speed rotary tool fitted with a felt or foam wheel and a polishing compound matched to the tube grade. Keep the tool moving and let the compound do the work. Concentrating on one spot heats the tube locally and can warp thin walls, which is a real concern on a 1 mm wall heat exchanger tube.
After the visual blend is acceptable, the surface has to be re-passivated. Mechanical polishing breaks the chromium oxide film, and until it reforms, the repaired zone is more sensitive to corrosion than the surrounding tube. Use a pickling paste or a nitric-acid-based passivation solution appropriate for the stainless grade (commonly 304/304L, 316/316L, 321, or duplex), follow the supplier's dwell time, and rinse thoroughly.
For austenitic grades, a simple field test is the water-break-free check: after the final rinse, the surface should hold a continuous film of clean water with no beading. If the water pulls away from the repaired area, the passive film is not yet uniform and the passivation step should be repeated.
If the scratch is deep enough to expose bright metal that is clearly below the original surface, or if the tube has a dent next to the scratch, stop the cosmetic repair. The tube needs engineering review. For a pressure-service tube, a local wall reduction can take the component below the minimum wall required by the design code. The tube should be tagged, removed from the installation run, and the project engineer consulted.
In most cases, the right answer is to cut out the damaged section and weld in a replacement pup using a qualified WPS, followed by the original hydrostatic and NDT requirements. For service where welding is not allowed, the section is replaced and the joint is made with a mechanical or threaded coupling that matches the rest of the piping class. The point is that a deep gouge is no longer a surface issue, and treating it as one is how small problems turn into in-service leaks.
A few service conditions change the rules:
Most site scratches are preventable. A few habits make a measurable difference on large erection campaigns:
Even a simple touch-up belongs in the project record. For each repaired tube, the QA file should include the tube heat number, the location of the scratch, a short description of the repair method, the products used for passivation, and the inspector's sign-off. Photographs before and after the work are cheap insurance when the tube is part of a packaged supply that also includes pipe fittings, flanges, and gaskets from the same project. If a tube is scrapped and replaced, the same record is kept so the as-built isometric matches what was actually installed.
A field repair is fine for light and moderate surface marks, and it is the right call for most installation damage. The supplier should be involved when:
A scratch on a stainless steel tube is rarely a reason to scrap the tube, and it is rarely a reason to leave the tube as delivered either. A quick assessment, the right abrasive sequence, and a proper re-passivation step will put the surface back into a condition that matches the rest of the tube and holds up under service. The keys are to work with the grain, to keep the wall thickness untouched, and to restore the passive film before the tube is pressurized. Done that way, an installation mark becomes a five-minute fix instead of a re-order.
 Related Products