export@ezsteelpipe.com
 +86 731 8870 6116





Industrial Valve Actuator Matching: How to Pick Pneumatic, Electric, and Manual Actuators to Real Service Loads
A practical engineering walkthrough on selecting actuators that actually move the industrial valves you specified — and that keep moving them through a million cycles in the field.
Most actuator problems on real projects are not actuator problems. They are valve-spec problems that only show up once the actuator is asked to do the work. The valve was sized for the line but never for the operating torque at the worst-case differential pressure. The seat material was selected for the fluid but the friction coefficient quietly doubled after a year of service. The pneumatic supply was sized at 6 bar when the line dead-ends at 4.2 bar on a cold morning. None of that is an actuator failure; it is an actuator-matching failure.
This walkthrough is built around the way projects actually close out: starting with the torque the industrial valves really demand, then layering in the safety factor, the energy source, the control philosophy, and finally the integration with the mating pipe flanges and the gasket stud bolt and nut package. Each step has a trap, and most of them are avoided by treating the valve and the actuator as one assembly, not two separate purchase orders.
Step 1: Build the Real Torque Envelope Before Choosing the Actuator
The single biggest mistake on actuator RFQs is quoting the catalog breakaway torque at clean-room conditions. The actuator you actually need has to overcome the torque at the worst-case combination of differential pressure, fluid temperature, seat wear, and corrosion product on the stem threads. The only honest way to size an actuator is to build a torque envelope that includes every term in the running load.
The four torque terms to add together
- Seat torque — the force needed to unseat the disc or ball against the full differential pressure. For resilient seated ball and butterfly valves, this is often 60–80% of the total. For metal-seated gate and globe valves, it is closer to 40–55%.
- Stem-friction torque — a function of stem diameter, thread pitch, packing friction, and corrosion product. Always use the manufacturer’s value at hot, dirty conditions, not at bench-test conditions.
- Bearing and bushing torque — usually small on quarter-turn valves, but on multi-turn rising-stem valves in slurry service it can double the total.
- Dynamic (hydrodynamic) torque — the additional torque generated when the disc is partway open and the flow accelerates around it. This term is the reason butterfly valves need 50–100% safety factor in throttling service, not the 25% that isolation duty would suggest.
Field practice
Use the manufacturer’s maximum published torque for the valve at the maximum anticipated differential pressure, then add 30–50% for resilient-seated valves and 50–100% for metal-seated or throttling duty. Sizing to the catalog mean value is the single most common cause of stalled pneumatic actuators and tripped electric actuators in the first year of service.
Step 2: Match the Actuator Type to the Service Duty
Actuator type is a function decision before it is a brand decision. The four common service families and the actuator types that consistently deliver in each are summarized below.
| Service Duty | Recommended Actuator | Why It Fits |
|---|---|---|
| On/off isolation, infrequent operation | Manual handwheel, gear operator, or spring-return pneumatic | Low cost, low maintenance. Spring return gives fail-safe on power loss without auxiliary controls. |
| On/off isolation, frequent or remote operation | Double-acting pneumatic or electric with limit switches | Faster cycling, ESD-ready, easy integration with DCS, consistent torque across the full stroke. |
| Modulating / throttling | Pneumatic diaphragm with positioner, or electric with analog input | Linear or equal-percentage control characteristic, accurate stem positioning, repeatable response. |
| Hazardous or remote service | Electric actuator with smart positioner, or hydraulic | No compressed-air utility required, can hold position under load without continuous air consumption. |
The decision tree behind this table is short. If the line needs to close within a defined time on power or signal loss, a spring-return pneumatic or a stored-energy electric actuator is mandatory. If the line modulates continuously, a modulating-class electric or pneumatic actuator is required, not a standard on/off unit. If the line is in a hazardous area, the actuator must be certified to the zone classification before the spec is even quoted.
Step 3: Pneumatic Actuator Sizing Done Right
Pneumatic actuators are still the workhorse on most greenfield industrial valves in oil and gas, petrochemical, and power plants, because they are simple, intrinsically safe in many cases, and fast. The two sizing errors that show up in the field are easy to avoid.
Use the minimum supply pressure, not the nominal
Many plants quote 6 bar air supply, but the air receiver at the end of a long distribution loop can drop to 4.2 bar on a cold start when every instrument is purging. The actuator output torque is directly proportional to supply pressure, so a 30% drop in supply pressure is a 30% drop in available torque. Either specify a 5 bar minimum or oversize the actuator by the same factor.
Account for the accessory pressure drop
Solenoid valves, speed controllers, positioners, and quick-exhaust valves all add pressure drop. Each one of these can take 0.2 to 0.6 bar out of the line at the actuator inlet. Stacking four accessories in series is enough to leave the actuator with the wrong torque at the wrong moment — usually when the valve is trying to open against a high differential. The cleanest fix is to add a volume tank (reservoir) immediately upstream of the actuator and to verify the pressure at the actuator port under full flow, not at the regulator.
Common field error: selecting a single-acting (spring-return) actuator for ESD duty on the basis of nominal torque, then discovering the spring only delivers 70% of nominal at the end-of-stroke closing position. For ESD-1 and ESD-2 valves, the actuator must be sized on spring end-of-stroke torque at minimum supply, with at least 25% margin.
Step 4: Electric Actuator Sizing Done Right
Electric actuators are increasingly specified because they do not need an air utility, integrate cleanly with modern DCS systems, and provide real-time position feedback. The trade-offs are slower stroking speed, more sensitive to ambient temperature, and a higher price per unit of torque.
Match the duty rating to the cycle frequency
Electric actuators are rated by duty class: ON-OFF, Class A, B, or C modulating. A Class C modulating actuator can be cycled continuously; an ON-OFF actuator used in modulating service will burn out its motor in a matter of weeks. The cost difference between a Class A and a Class C is significant, but the cost of an unplanned shutdown to replace a failed actuator is far higher.
Verify the supply voltage at the actuator terminals
A 480 V three-phase actuator at the end of a long feeder can see 430 V or less under load. Voltage drop at the terminals causes the motor to draw more current to deliver the same torque, and the overload protection trips before the valve has fully stroked. Specify the maximum allowable voltage drop in the procurement document, not just the nominal voltage.
Step 5: Manual and Gear Operators Are Not a Default
Manual handwheels and gear operators are routinely specified on small-bore industrial valves below NPS 2 and on infrequent-isolation valves of any size. The trap is assuming that “manual” means “no engineering.” It does not. A handwheel on a high-pressure rising-stem gate valve can require 400 N·m or more of handwheel rim effort, which is beyond the practical limit of a single operator. A gear operator is mandatory in that case, and the gear ratio must be matched to the available operator effort and the required number of turns.
A second trap is the chain-wheel operator. It is a useful tool for high, awkward, or infrequently operated valves, but it changes the operator’s tactile feedback from the valve. Operators cannot feel the seat load through a chain the way they can through a handwheel, so jammed seats and over-torqued stems are more common. Specify chain-wheel operators only where physical access genuinely demands them, and add visual position indication at the chain operator.
Step 6: Treat the Flange and Bolting Package as Part of the Actuator Mount
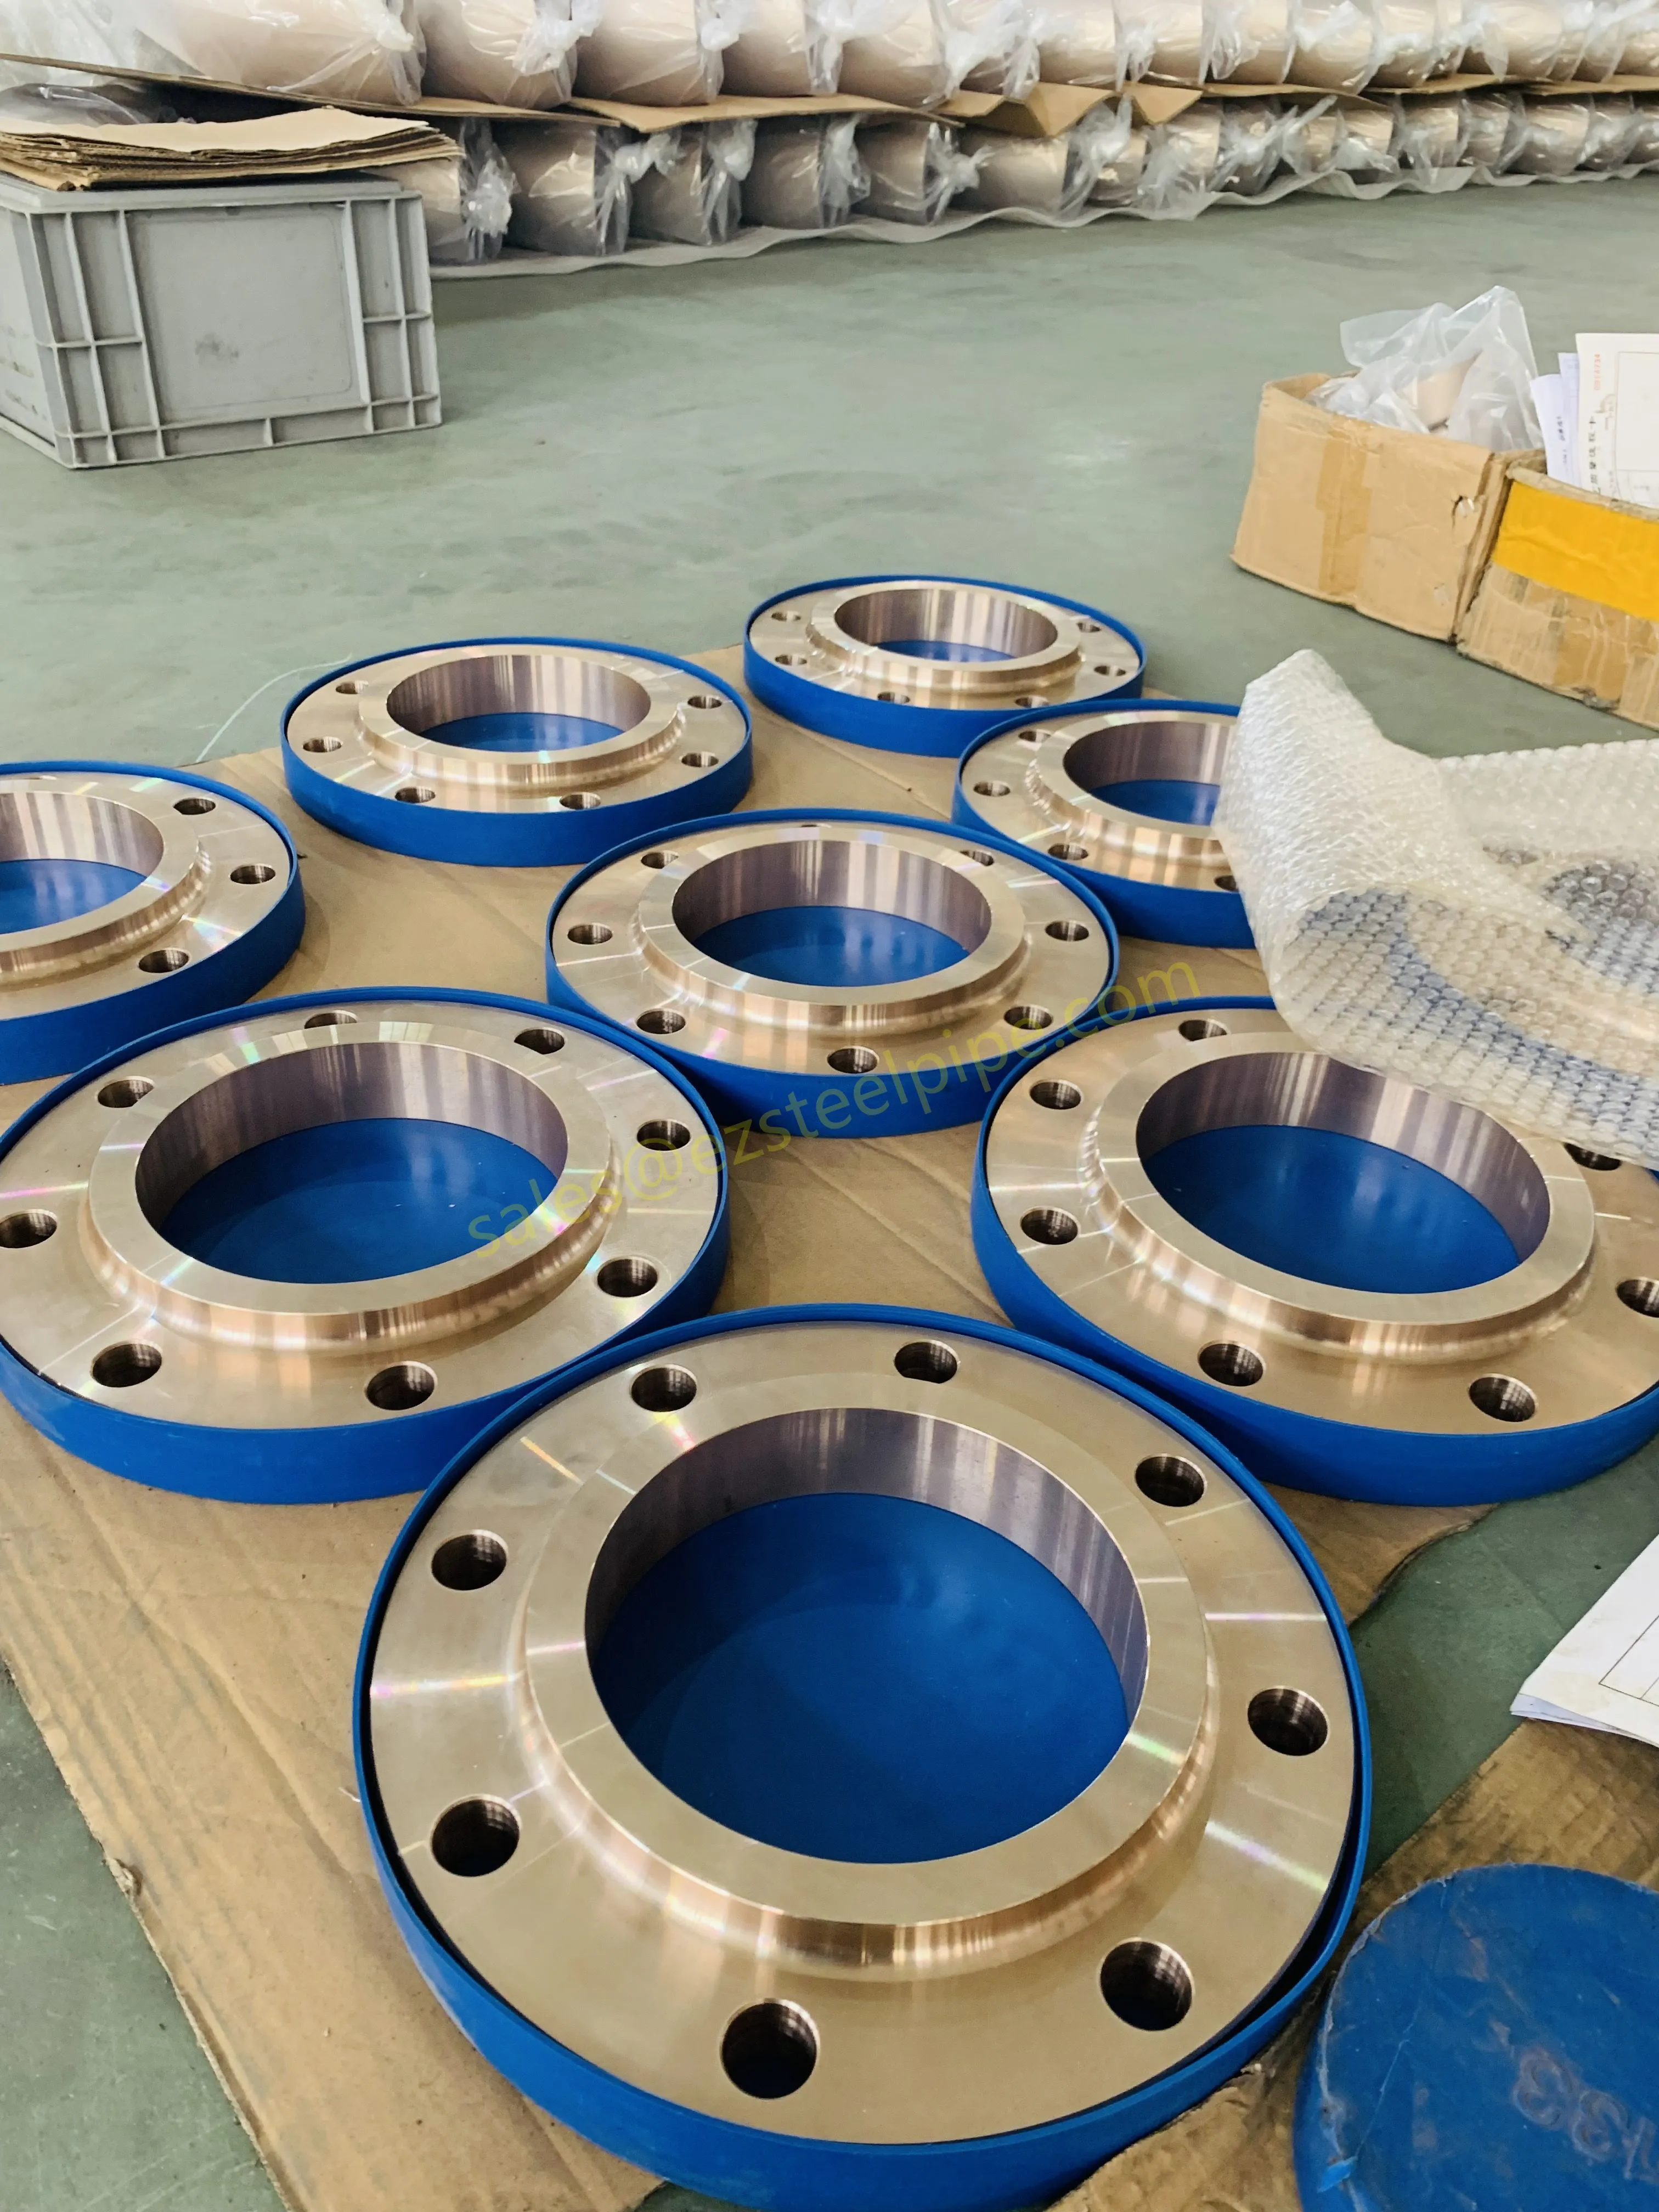
The actuator does not float in space. It sits on a yoke or mounting flange that bolts to the valve bonnet or body, and the same pipe flanges on either side of the valve carry the line load. Three integration points need to be checked before the package is released for fabrication.
- Mounting flange compatibility. ISO 5211 defines the actuator-to-valve mounting interface. The valve yoke and the actuator must share the same mounting standard, or the bracket will need a custom adapter that no one wants to take responsibility for.
- Stem-to-drive connection. Square, keyed, splined, or double-D drives are all in service. The actuator output and the valve stem must be matched, and the engagement length must be sufficient to carry the torque without key shear or fretting.
- Side loads on the mating flanges. Large heavy actuators on quarter-turn valves create a moment on the valve body, which is transferred into the pipe flange joint. Verify that the flange, the gasket, and the gasket stud bolt and nut assembly can carry the combined operating torque plus the actuator weight without exceeding the gasket allowable stress.
Why this matters
A typical miscalculation is sizing a Class 150 RF flange with a spiral-wound gasket and B7/2H bolting, then mounting a 90 kg electric actuator on a 6-inch ball valve. Under thermal cycling, the actuator weight plus the operating torque can crack a non-metallic gasket or distort the flange face. The valve passes the bench test, but the joint leaks on start-up because the flange and bolt package was never reviewed as a system.
Step 7: Document the Actuator Package the Same Way You Document the Valve
An actuator specification that lives in the I&E cabinet rather than the project documentation is a maintenance liability. For every actuated industrial valve on the project, the as-built file should include:
- Actuator data sheet with sizing calculation, supply pressure, and torque margin at minimum and maximum conditions.
- Wiring or tubing diagram, including the positioner, the solenoid, the limit switches, and the air-set layout.
- Failure mode statement (FC or FO), set time on signal loss, and verification of torque availability at end of spring stroke.
- Maintenance intervals for lubricant, seal replacement, and stroke test, with the expected number of cycles between overhauls.
- Cross-reference to the valve and the pipe flange data sheet so the actuator, the valve, and the joint package are traceable to the same line class.
A Coordinated Valve, Actuator, and Flange Package
Actuator matching only works when it is treated as part of the same engineering package as the industrial valves, the mating pipe flanges, and the gasket stud bolt and nut assembly. EZ STEEL INDUSTRIAL supports the full chain — from line-class definition and valve selection through the actuator specification, mounting hardware, and joint assembly. Sourcing these items together eliminates the most common cause of actuated valve problems: components that were each individually correct but were never designed to work as one assembly.
For project-specific actuator sizing, mounting hardware, and integrated valve-flange-gasket packages, contact ezindustrialtube.com with your line class, fluid envelope, and actuation duty.
 Related Products