export@ezsteelpipe.com
 +86 731 8870 6116


 export@ezsteelpipe.com+86 731 8870 6116


The most expensive valve on a project is rarely the one with the highest unit price. It is the one that was the wrong size, the wrong trim, or the wrong body material for the line it sits in, and which now drives a string of pump trips, cavitation callbacks, or premature corrosion calls. This walkthrough shows how to right-size industrial valves against the actual service envelope — pressure, temperature, fluid, and required Cv — and how that decision ripples through the connected pipe fittings and pipe flanges on the same spool.
It is a familiar scene on a piping isometric: an 8-inch line goes into an 8-inch valve body. The drawing looks consistent, the BOM is clean, and the requisition gets approved. Six months into operation, the pump is oversized for the duty, the line is operating at half its design flow, and the control valve is hunting because the actual pressure drop is 80% of the available system head. The valve was never the wrong type. It was the wrong size.
Right-sizing is the engineering process of matching the valve bore, the flow characteristic (Cv or Kv), and the body/trim material to the real operating point of the line, not to the nominal line size on the P&ID. It is a process that pulls together process data, control loop targets, mechanical layout, and the metallurgy of the connected carbon steel pipe or stainless steel pipe in the same run. Skipping any one of those inputs produces a valve that compiles cleanly on paper and underperforms in service.
Definition — Right-Sized Valve
A valve whose selected bore gives a Cv at the design operating point that lands inside the 70%–90% open range of the inherent flow characteristic, with a body pressure-temperature rating that covers the worst-case design condition and a trim material that is metallurgically compatible with the connected pipe and the process fluid.
Before any valve vendor gets a datasheet, the project engineer needs a defined service envelope. The four numbers below are non-negotiable; without them, the right-sizing calculation is guesswork dressed up as engineering.
Locking these four inputs at the line-list stage is what separates a defensible valve specification from a "select the line size" approach. It is also what lets the connected pipe package — fittings, flanges, and bolting — be specified as one engineered assembly rather than as a stack of independent SKUs.
Once the envelope is fixed, the bore selection is a Cv calculation. For liquids, the ISA/IEC 60534 standard gives the working formula; for compressible service, the same standard extends it with expansion factor Y and specific-heat ratio corrections. The simplified version of the liquid formula is enough to make the right-sizing point clear:
Cv = Q × √(SG / ΔP)
where Q is the required flow in gallons per minute, SG is the specific gravity of the fluid relative to water, and ΔP is the pressure drop available across the valve at the design flow. The selected Cv lands in the inherent flow characteristic curve at a travel between 70% and 90% open for modulating service, and 80% to 100% for on/off isolation.
Two practical rules of thumb cover most line-list decisions:
Where the calculated Cv lands outside the controllable range, the choice is not "buy the bigger valve" — it is "review the system curve." In practice, that often means revisiting the pump head, the line size, or the control strategy. The valve is the trim that makes the rest of the system work; it is not the place to compensate for a mismatched hydraulic design.
Watch Out for Cavitation and Flashing
If the available ΔP across the valve is more than about 50% of the inlet saturation pressure for the fluid, cavitation or flashing is likely. The fix is rarely "buy a stronger valve" — it is trim selection (multi-stage, anti-cavitation cages), series staging of two smaller valves, or moving the pressure drop to a different piece of equipment in the line. Right-sizing forces this conversation to happen before the PO, not after commissioning.
Material selection for the valve body is not a standalone decision. It is a function of the connected pipe, the connected pipe fittings, and the fluid that flows through all of them. Three failure modes show up when the metallurgy is mismatched inside what should be one engineered system.
| Failure Mode | What Goes Wrong | How to Avoid It |
|---|---|---|
| Galvanic corrosion at the joint | A carbon steel valve body bolted into a stainless line, or vice versa, becomes a corrosion site wherever the two dissimilar metals share an electrolyte. | Match valve body material to the line. Use the same ASTM grade family on both sides of the joint, and pair with gasket stud bolt nut assemblies rated for the more noble material. |
| Creep rupture at high temperature | An A216 WCB carbon steel body operating above 425 °C creeps over time, even if the design pressure at the original temperature looked conservative. | For sustained service above 425 °C, escalate to Cr-Mo alloys (A217 WC6 / WC9 / C12A) or austenitic stainless steels. Match the pipe grade on the same spool. |
| Chloride pitting on stainless | Standard 304/316 stainless valves in chloride-bearing service pit at the seat and the stem, regardless of how the line pipe was specified. | Escalate trim to 316L with Mo ≥ 2.5%, or move to duplex / super-duplex for seawater and brine. Pair with matching copper nickel alloy piping on offshore cooling lines. |
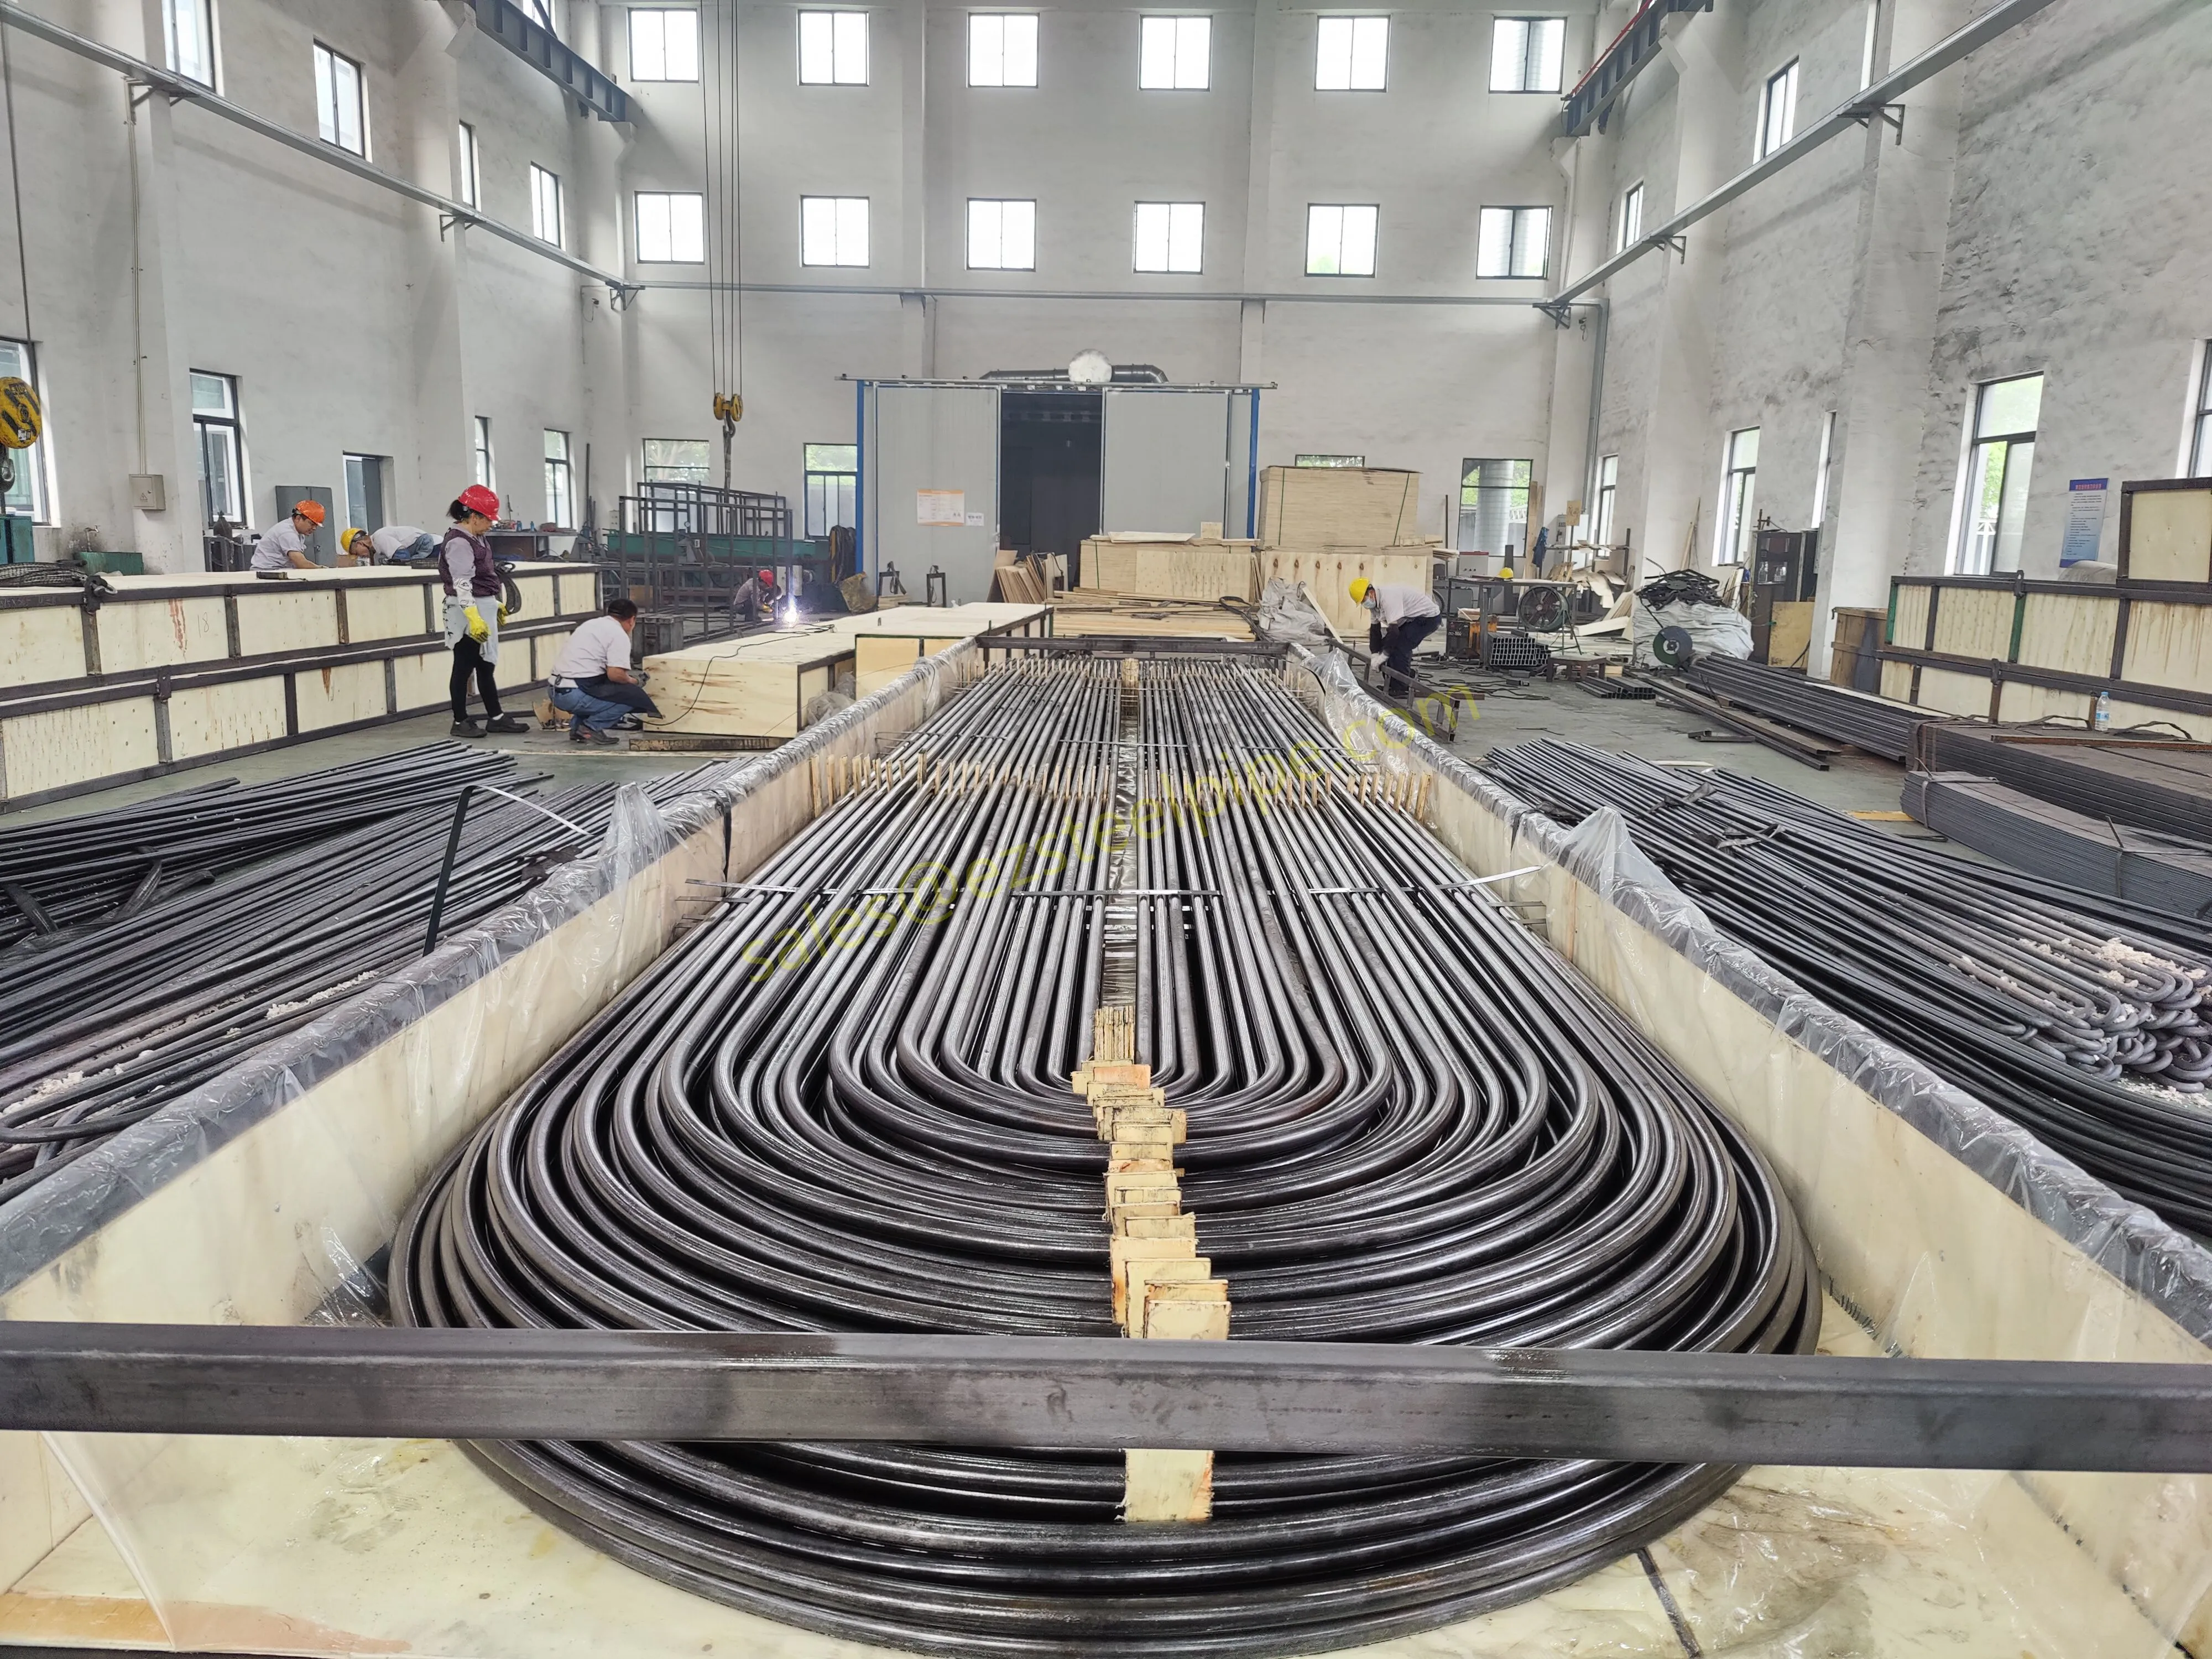
The right-sizing principle here is simple: the valve, the pipe, and the fittings on the same spool should be specified as one metallurgical system. The same logic applies to U bend tubes in heat-exchanger headers, where the valve body has to match the tube material and the tubesheet cladding to avoid a corrosion cell right at the bundle interface.
On paper, the valve is one line item and the piping is another. On a real project, they are one bolted assembly. Right-sizing a valve without sizing the bolting, the gasket, and the end preparation is a recipe for hydrotest rework. The points below are the ones that show up most often on a project closeout punch list.
Bundling the valve with its flanges, gaskets, and bolting on a single purchase order, with one heat-number trace thread running through the assembly, is the simplest way to keep this from going wrong. It also gives QA one place to look for MTCs instead of four.
Different service families stress valves in different ways. The right-sizing logic is the same, but the priority of constraints changes with the fluid. The table below shows how the same right-sizing framework lands on common process services.
| Service Family | Dominant Constraint | Right-Sizing Implication |
|---|---|---|
| Crude oil and gas transmission | Pressure containment and piggability | Full-bore ball or gate per API 6D; flanges and gasket stud bolt nut sets at the same ASME class as the line. |
| High-pressure steam (power plant) | Creep and thermal cycling | Escalate body to Cr-Mo (WC6 / WC9); specify extended bonnet to keep the packing below 200 °C. |
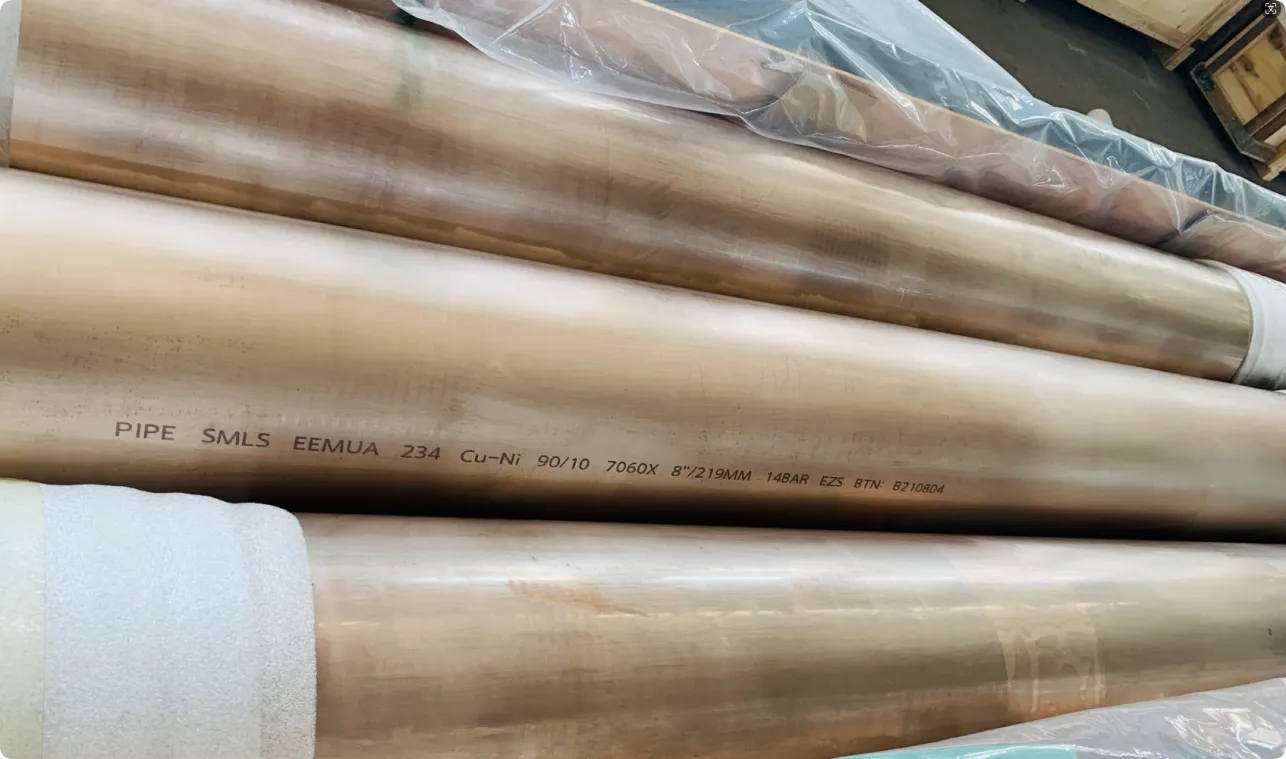
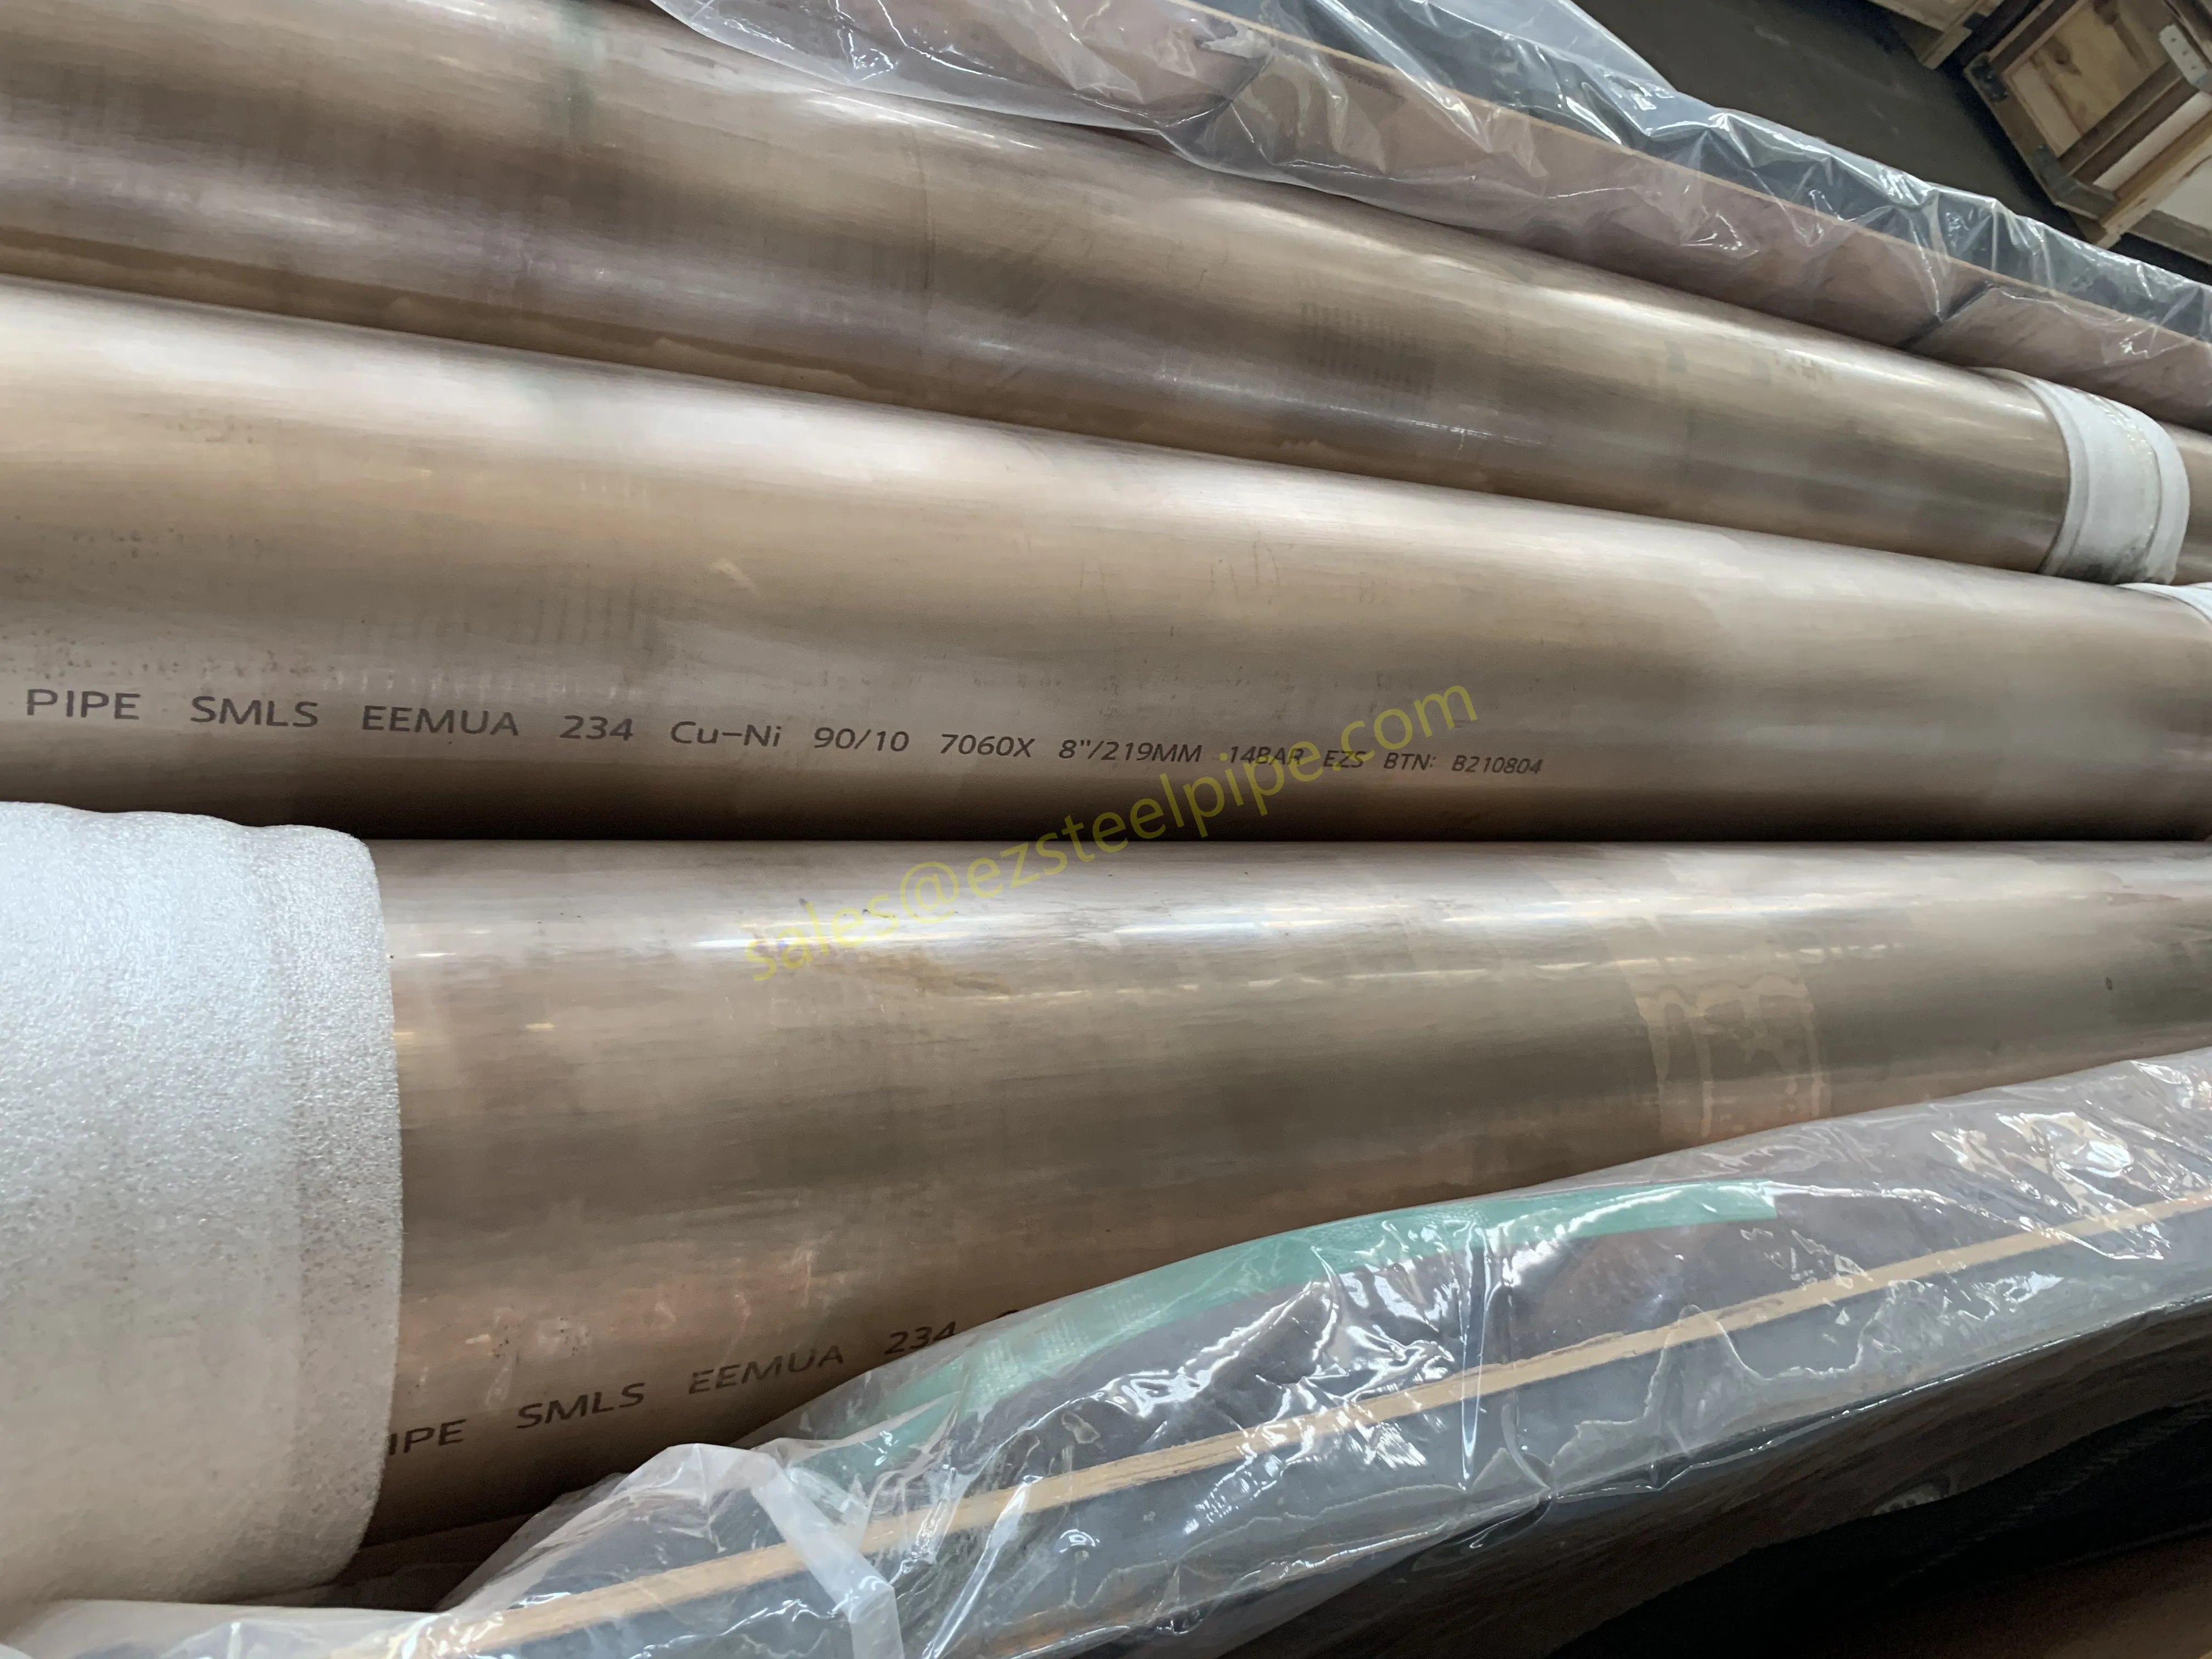
| Seawater cooling and shipboard service | Biofouling and galvanic attack | Ni-Al bronze or 90/10 Cu-Ni body; pair with copper nickel alloy piping and Cu-Ni flanges to keep the galvanic series consistent. |
| Boiler feedwater and hot condensate | Cavitation at high DP | Multi-stage or anti-cavitation trim; consider series staging of two smaller valves instead of one oversized body. |
| Chemical and pharmaceutical clean service | Contamination and cleanability | Diaphragm or PTFE-lined body; match surface finish to the connected stainless steel pipe for CIP/SIP compatibility. |
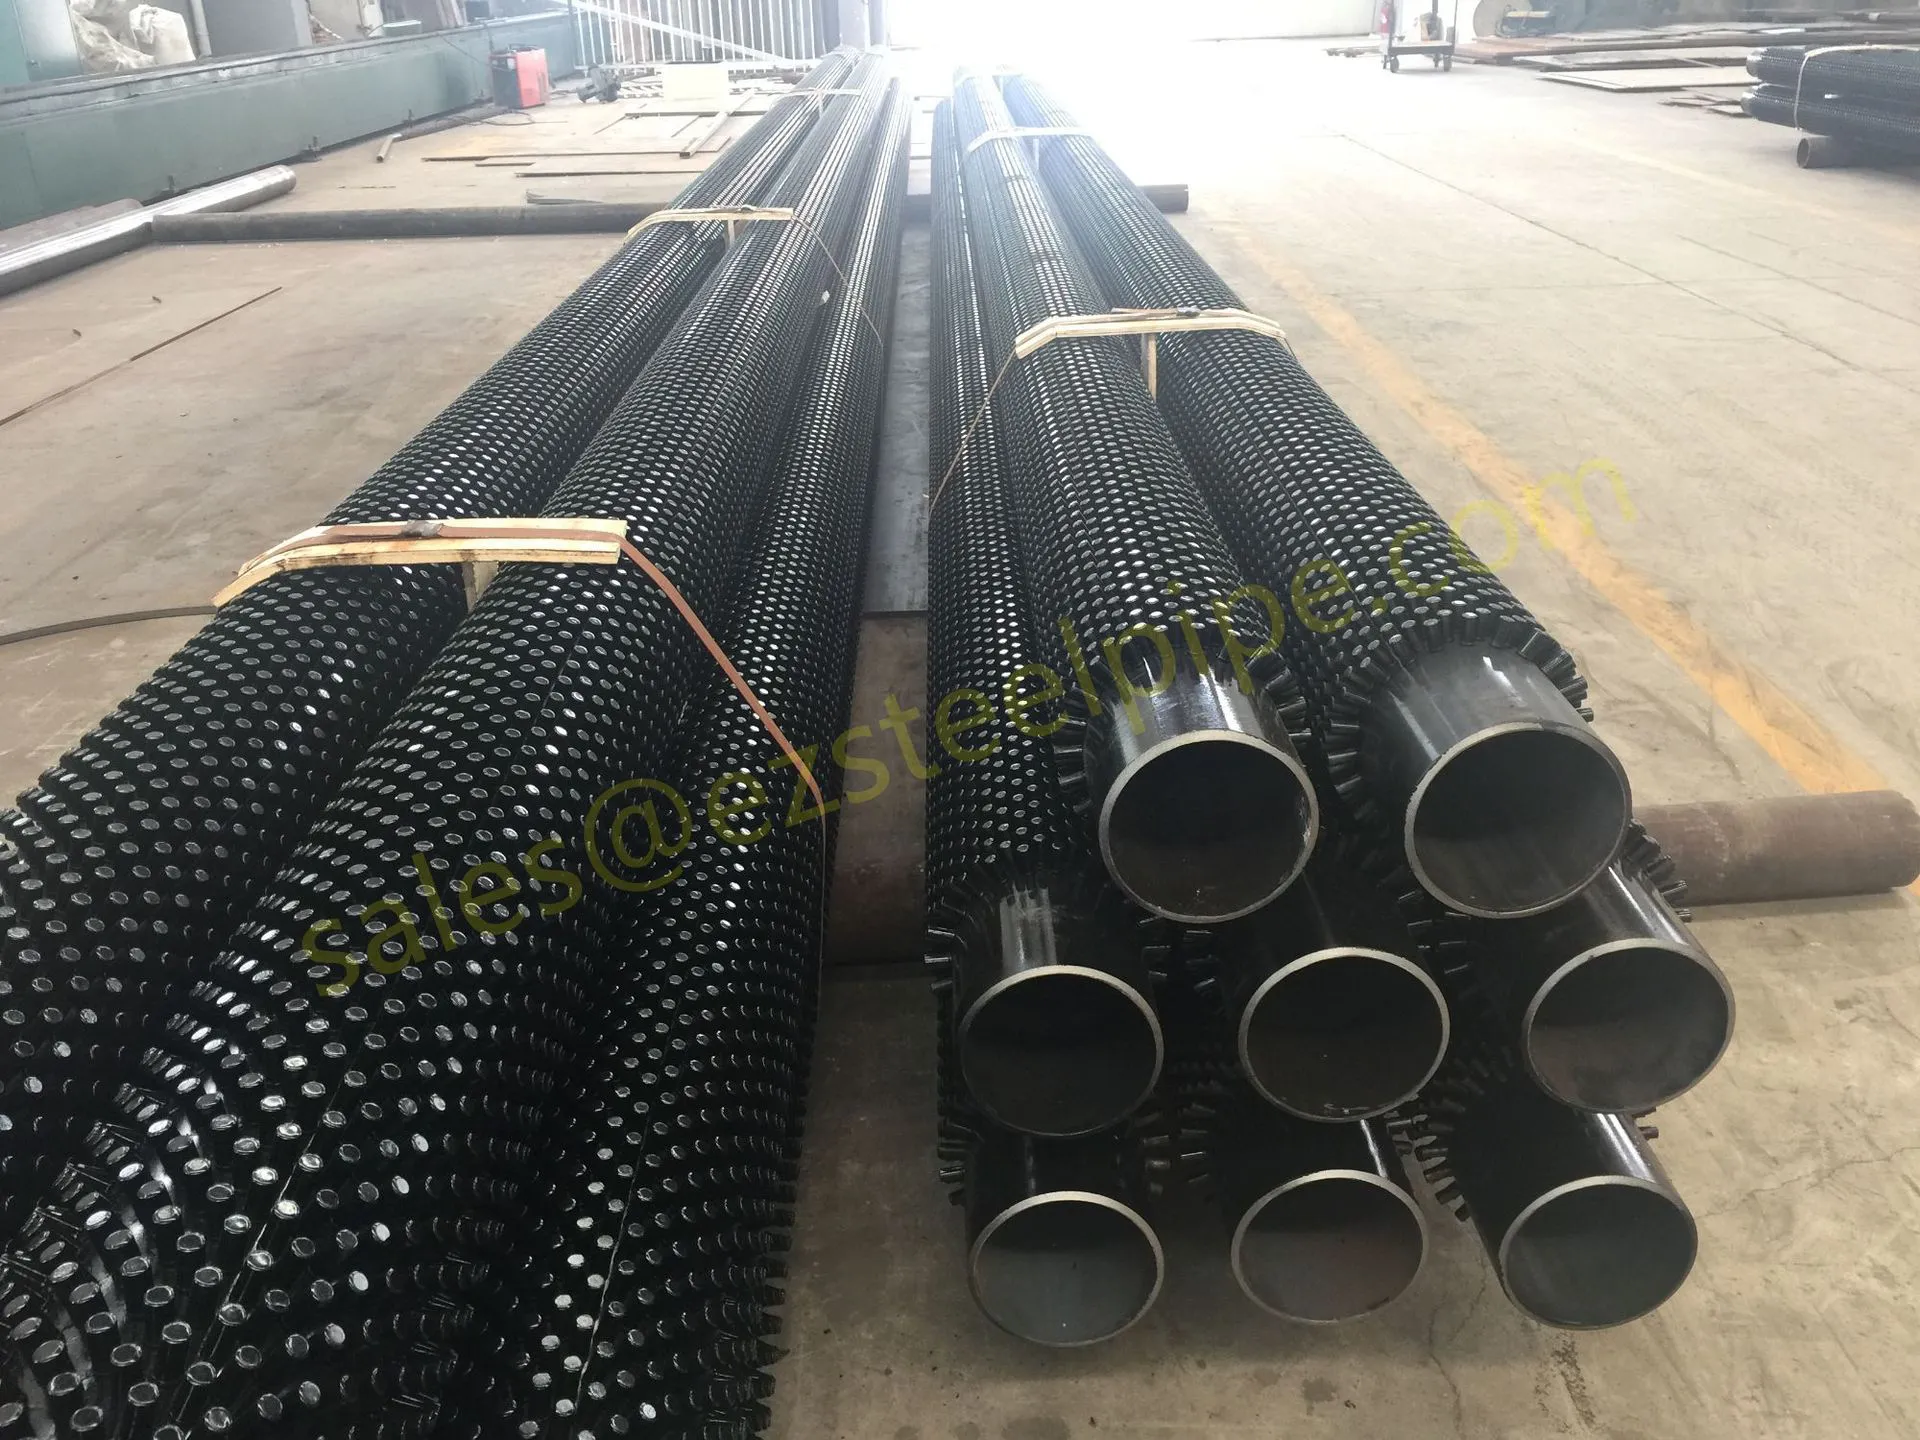
| Heat-exchanger tube-side isolation | Thermal expansion and bundle stress | Match body to finned tubes or U-tube material; verify bonnet clearance for insulation and bundle removal. |
A right-sized valve specification is only as good as the paperwork that travels with the purchase. Before the PO is released, the valve datasheet should carry — at minimum — the following entries, with no fields left for the supplier to interpret.
At goods-in inspection, three documents tell you whether the right-sized valve you ordered is the one that arrived: the MTC (heat number and chemistry must match the PO), the dimension report (bore, face-to-face, end prep), and the third-party release (where specified). If any of those three is missing or inconsistent, the valve is not the valve you specified.
The five mistakes below account for most of the right-sizing rework seen on real projects. None of them are subtle, and all of them are caught by a careful datasheet review before the PO is released.
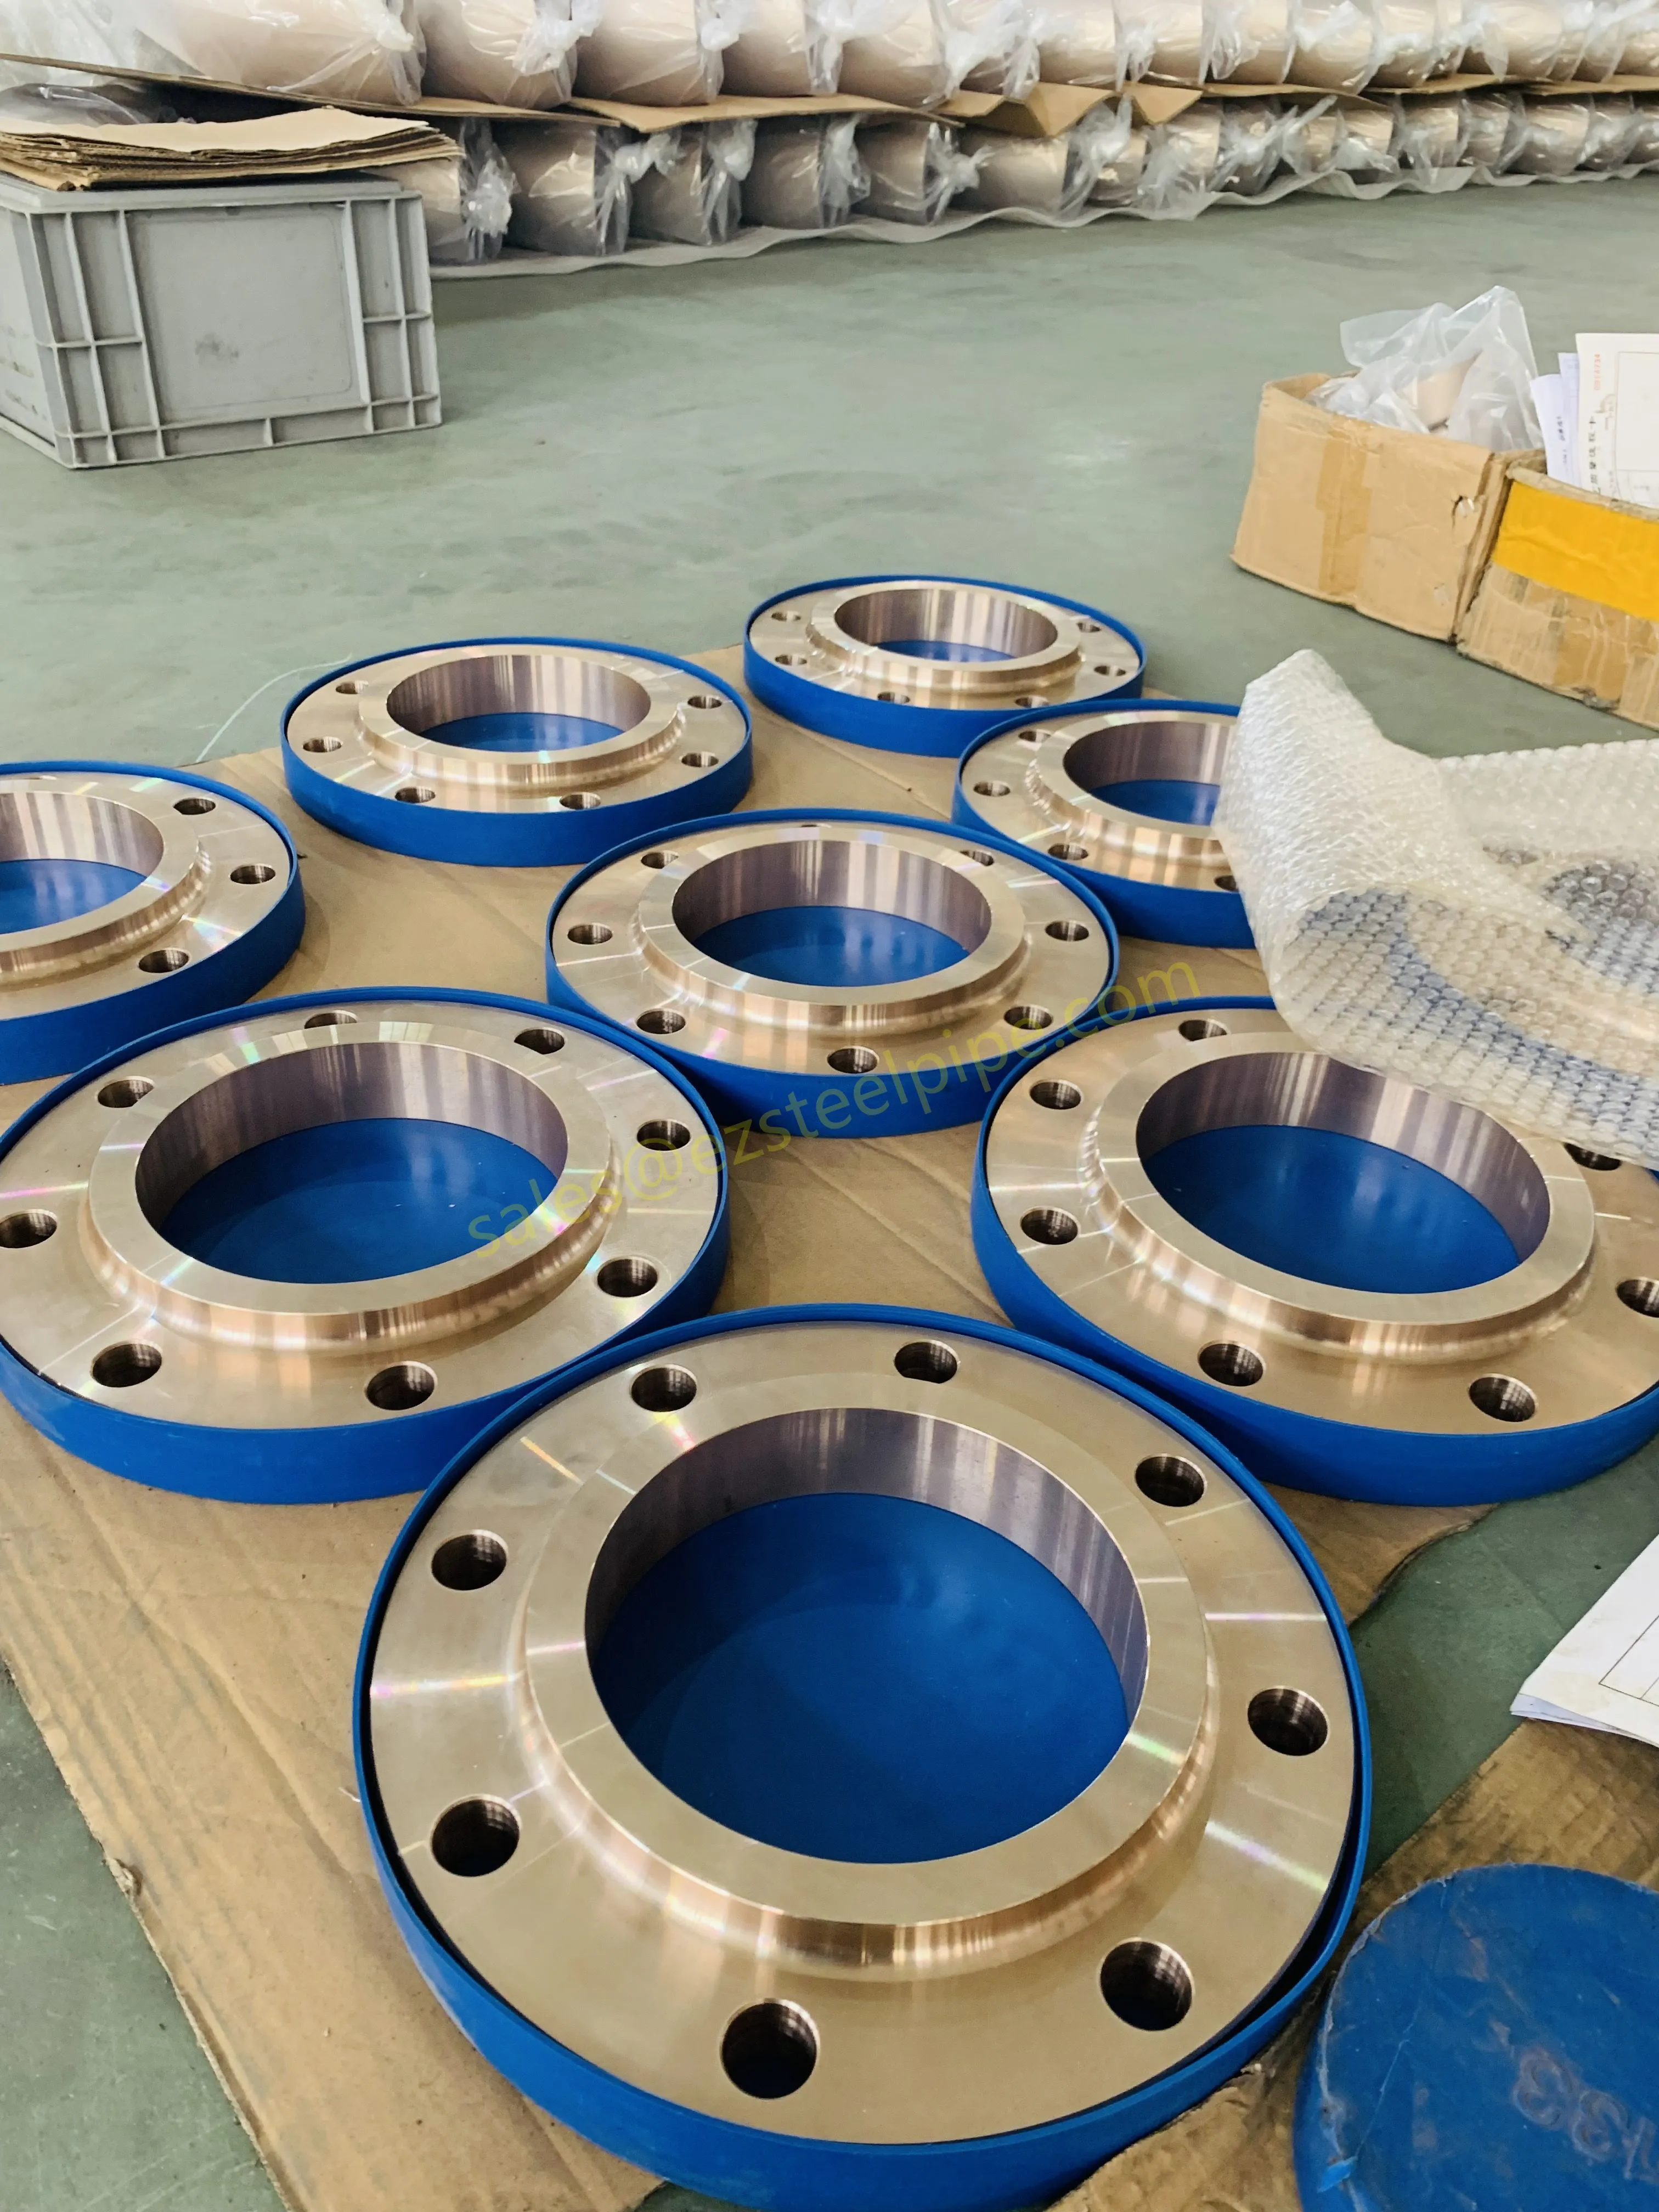
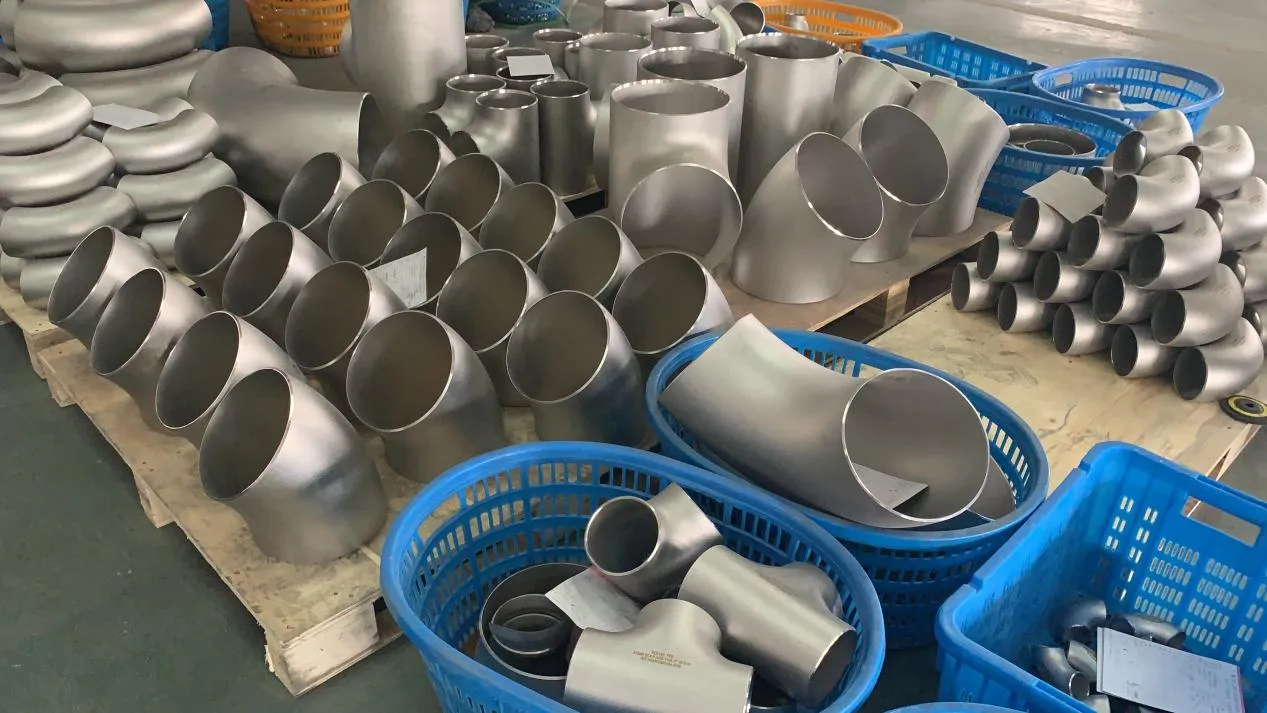
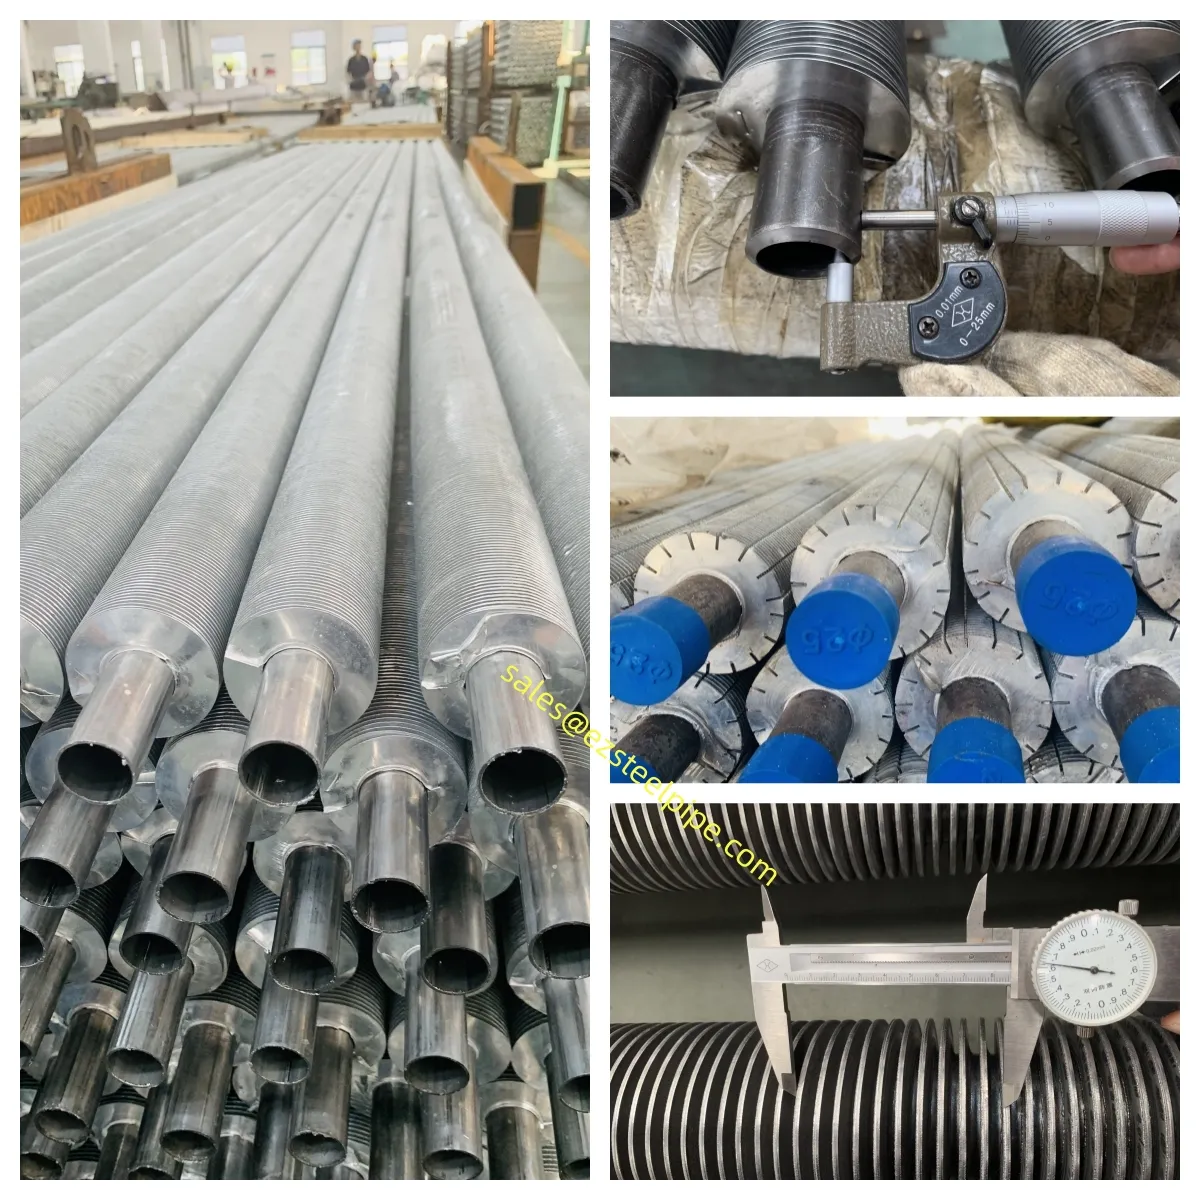
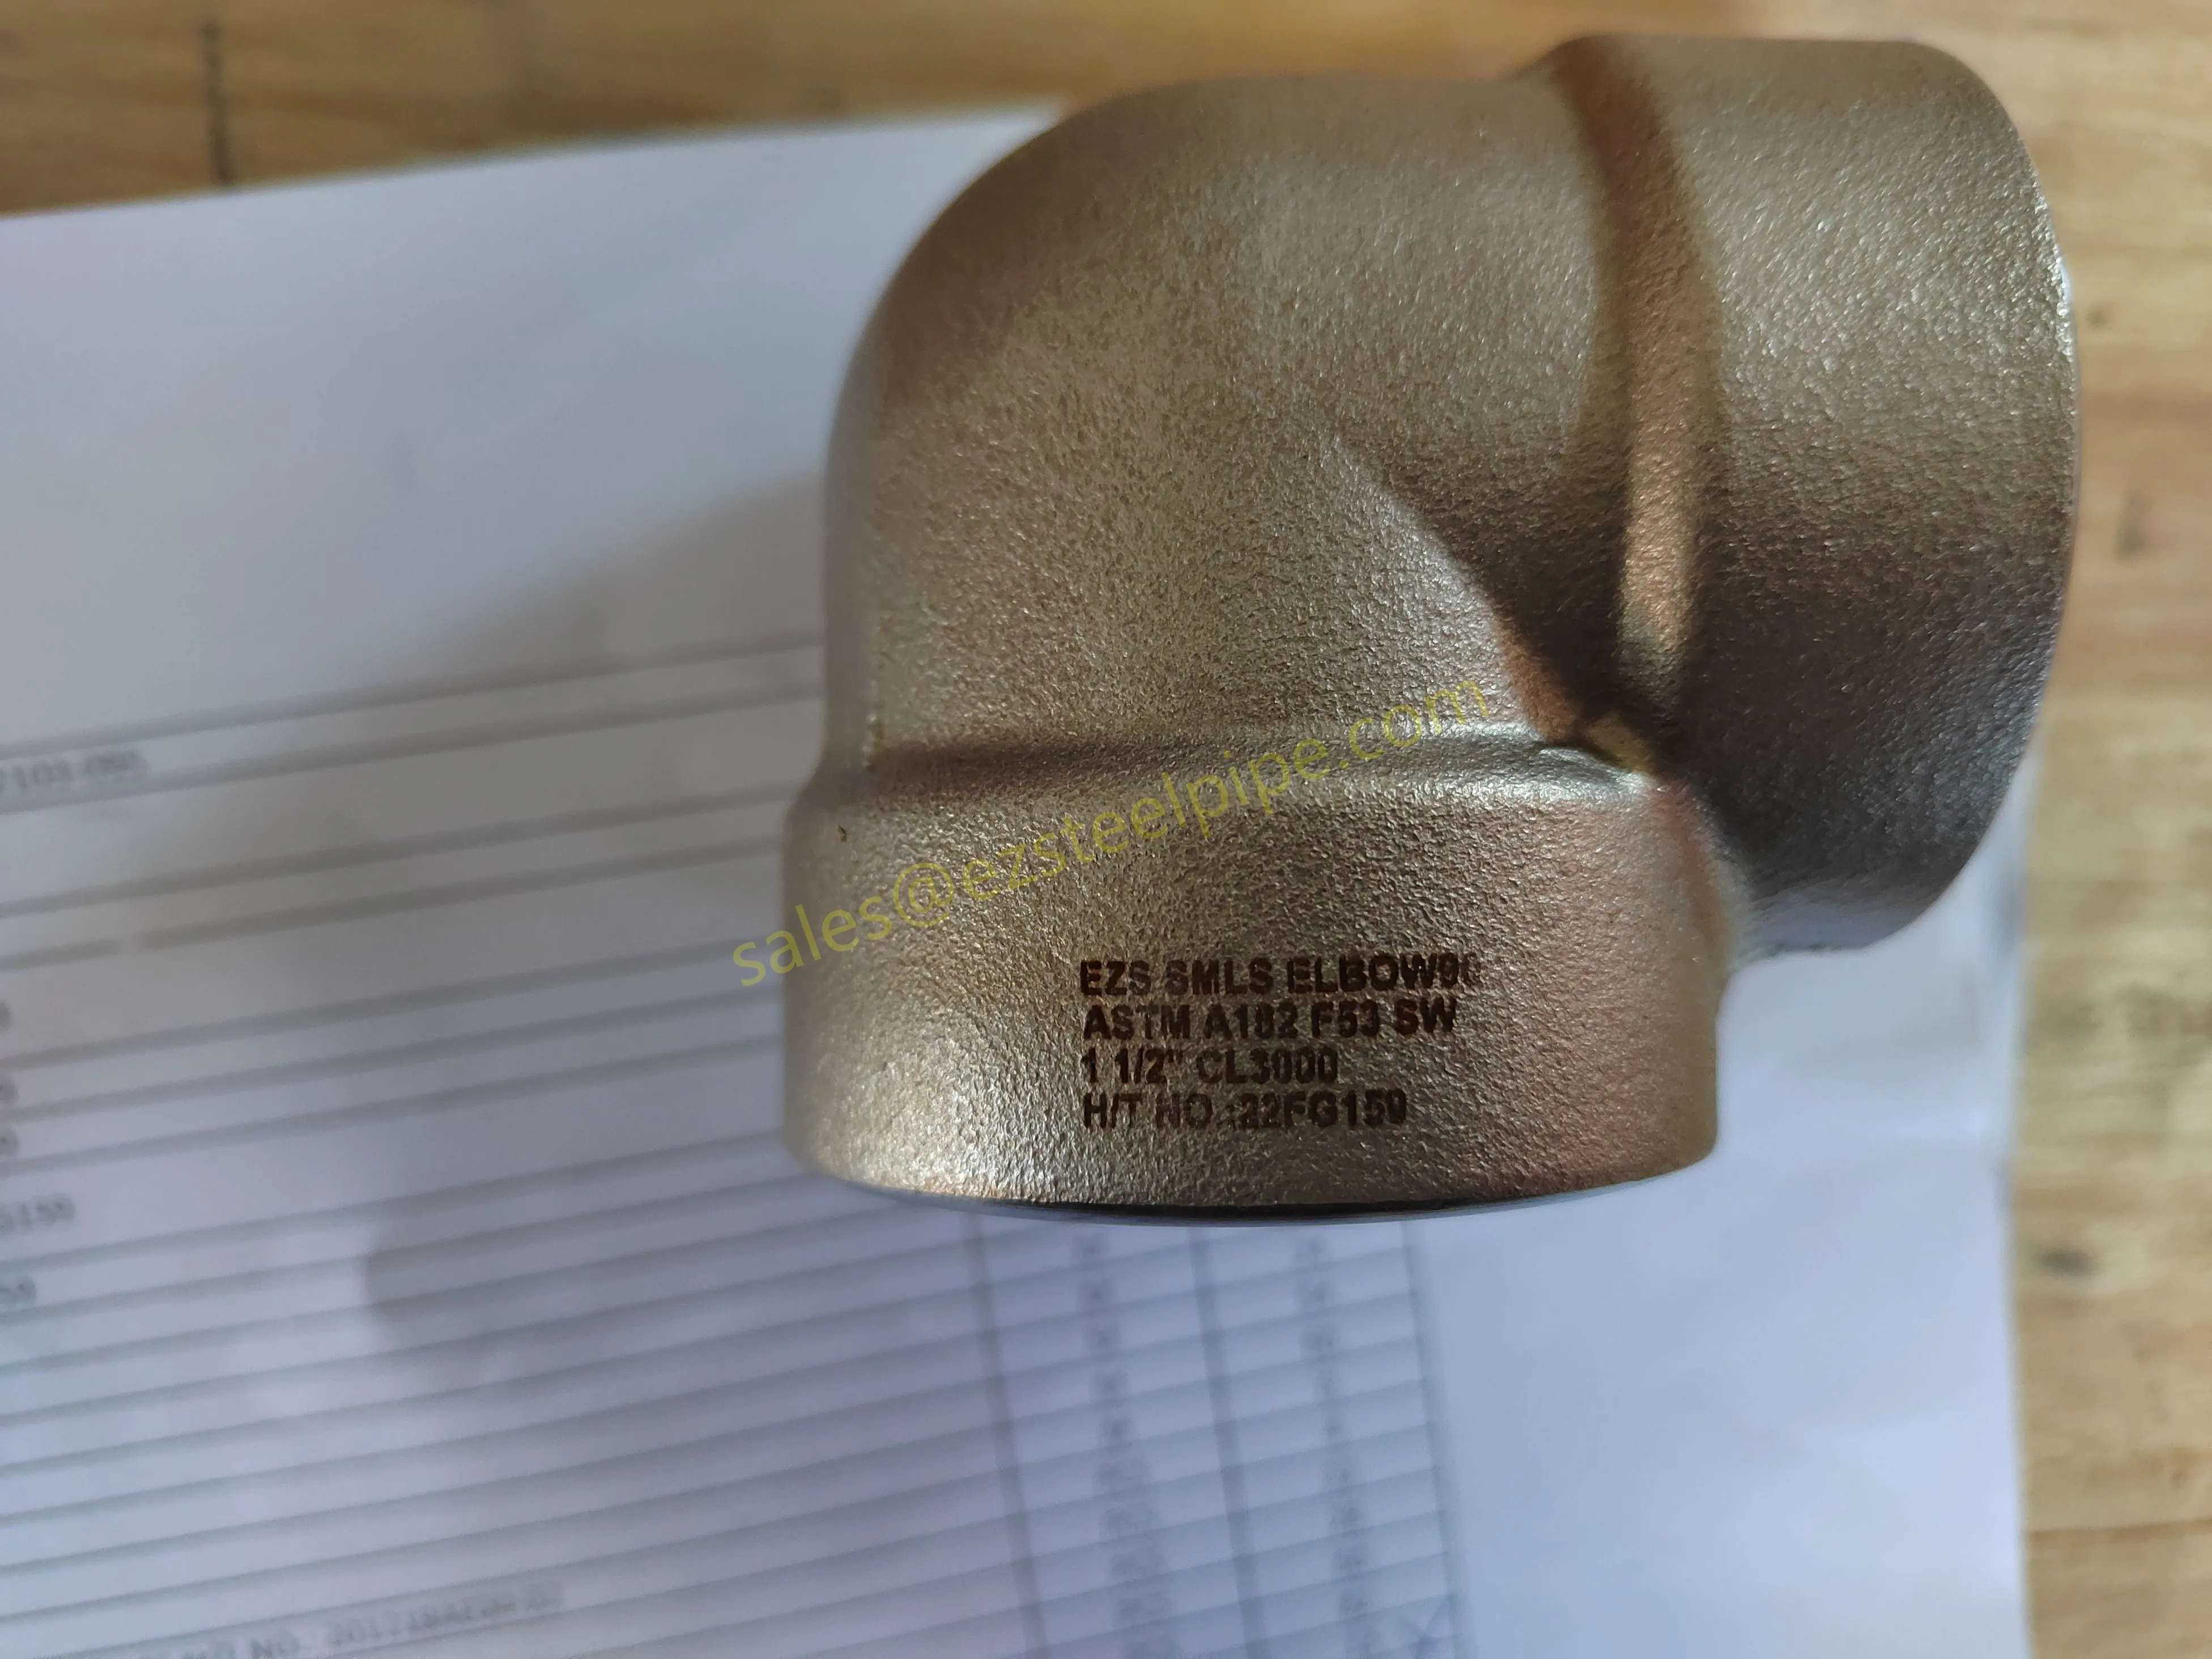
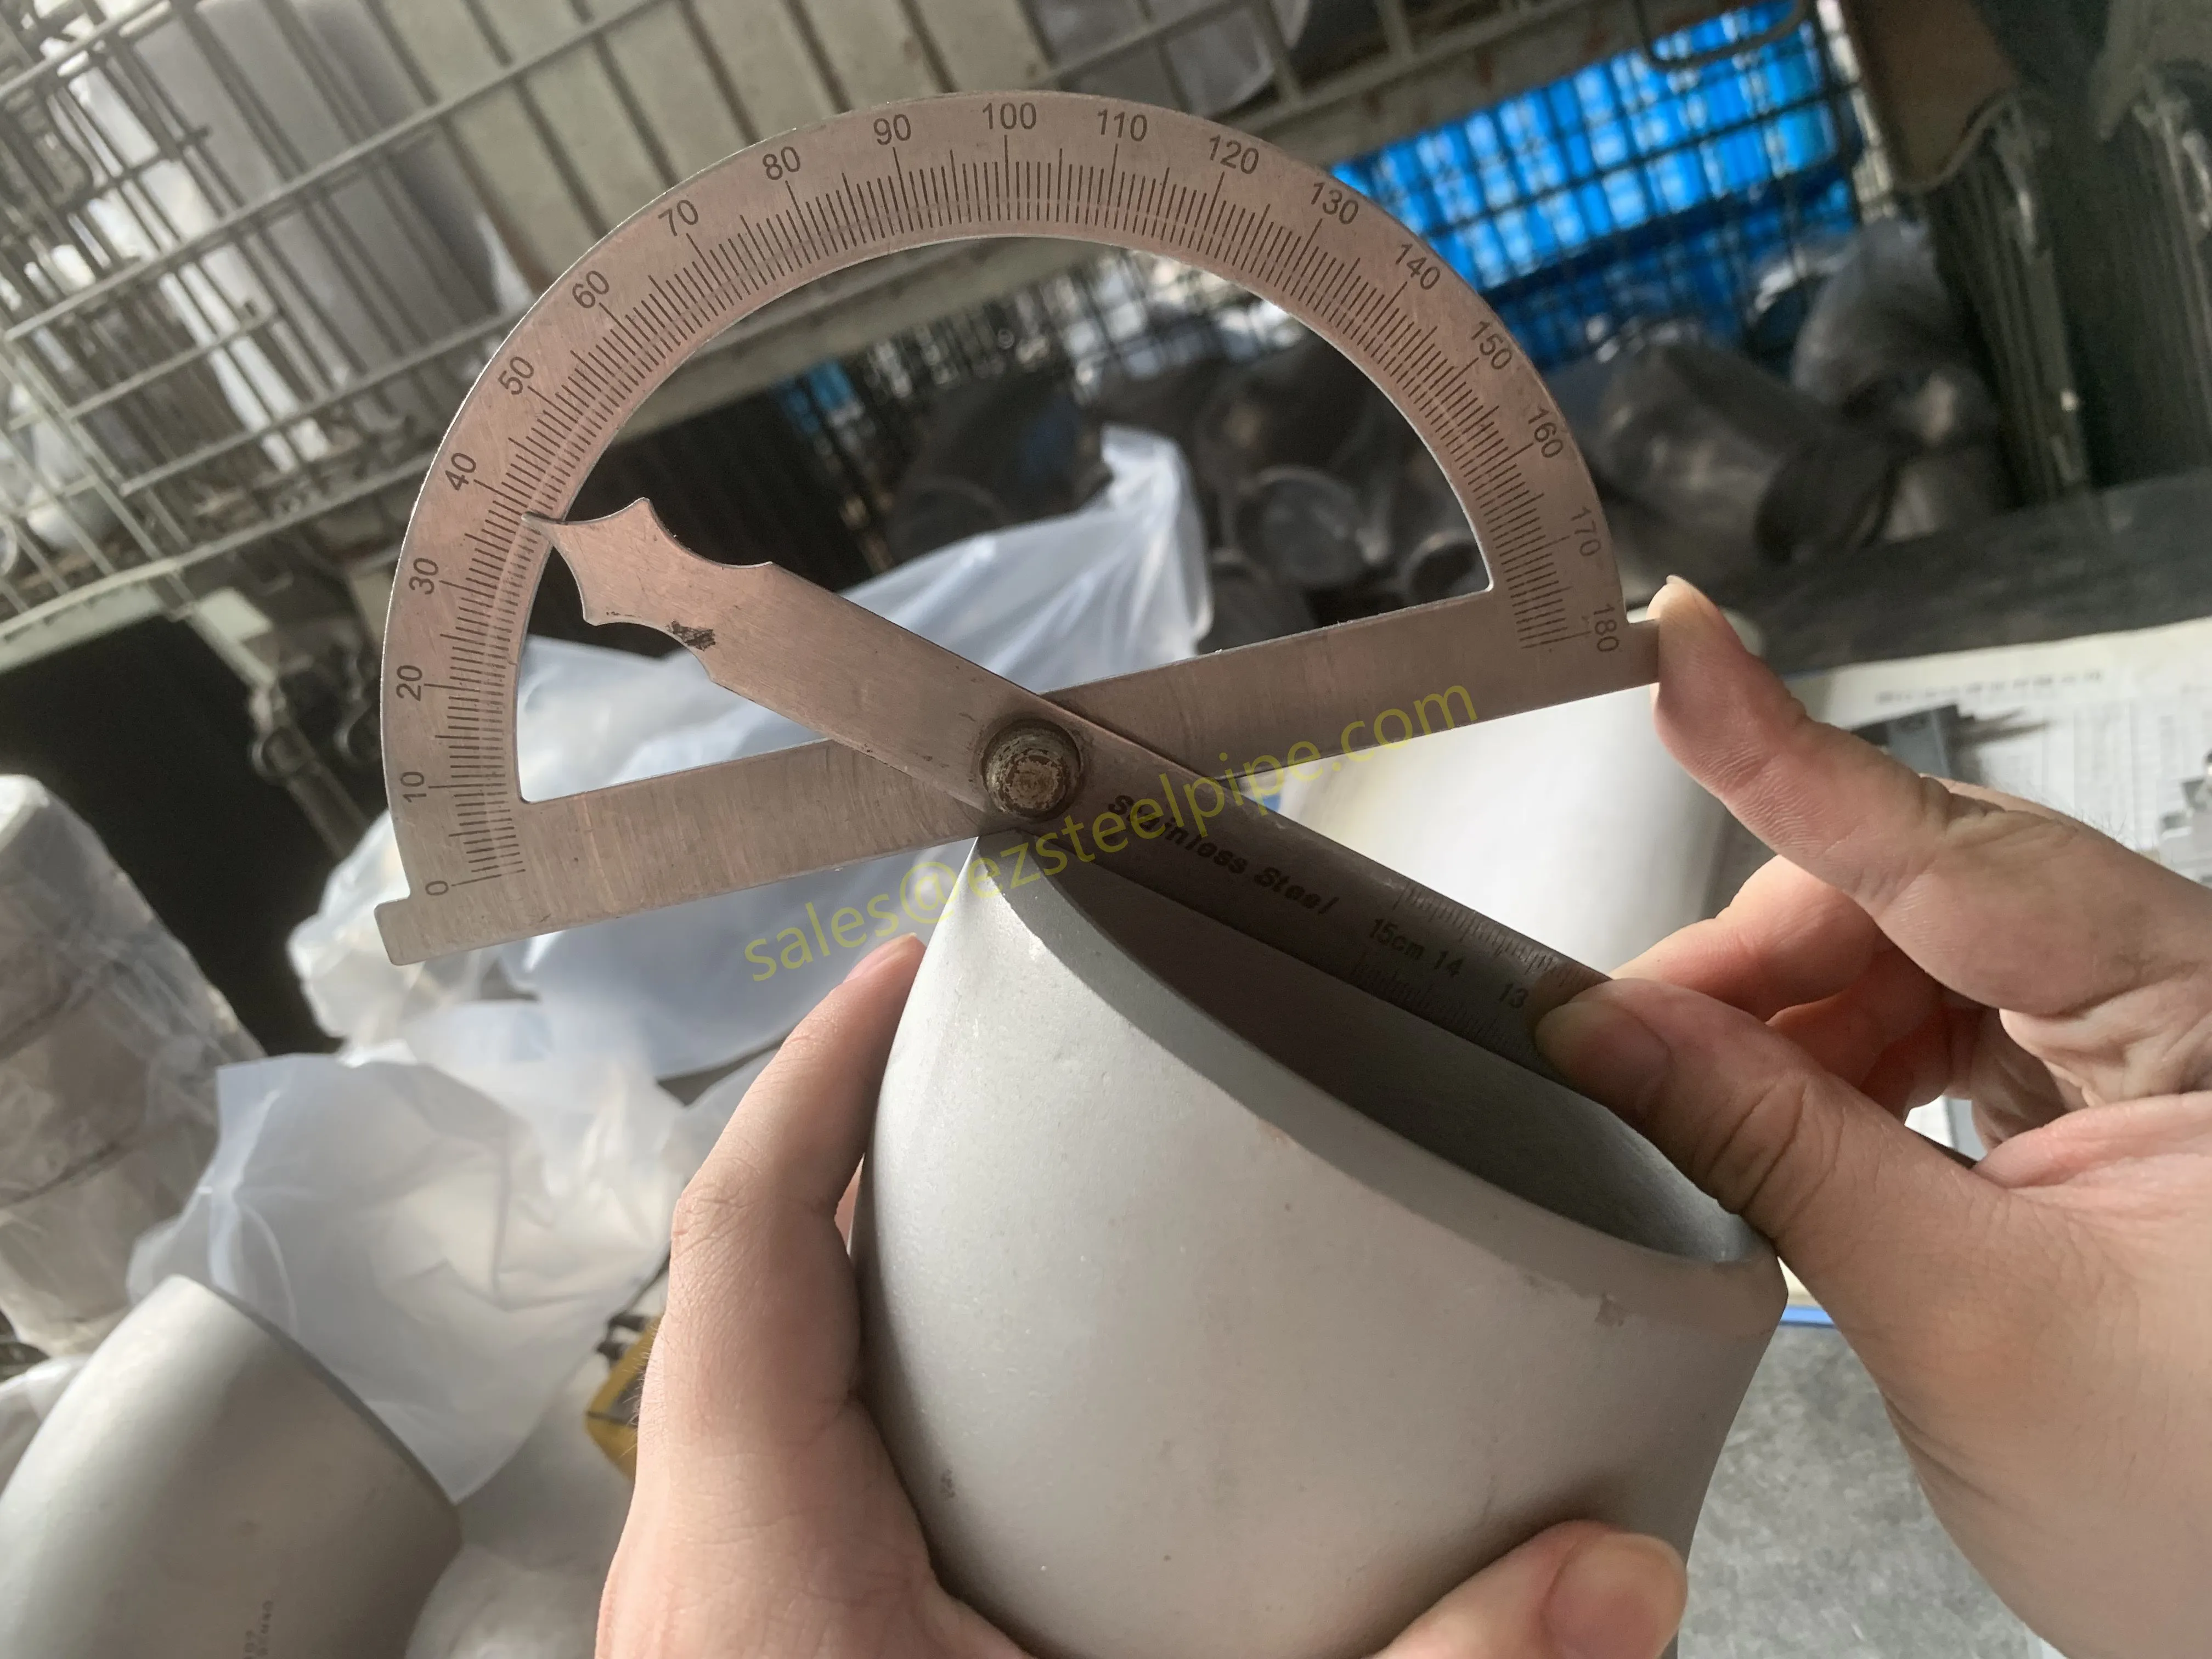
The valve is rarely the whole story. It sits inside a piping package that includes the pipe fittings that change direction, the pipe flanges that allow the joint to be made, the gasket stud bolt nut set that holds pressure in, and the finned tubes or U bend tubes on the heat-exchange side. Right-sizing the valve in isolation, then asking the rest of the package to fit around it, is the wrong direction. The right approach is to size the valve and the connected piping against the same service envelope from the start, and to procure them as one engineered package with one heat-number trace.
That is also why a supplier who can deliver the whole bundle — not just the valve, but the carbon steel pipe, the stainless steel pipe, the fittings, the flanges, and the bolting to the same standard — tends to land fewer punch-list items than a supplier who only handles the valve. The traceability runs through one PO instead of four, and the metallurgical consistency is checked at one desk instead of at the goods-in bay.
Spec it Once, Ship it as One Bundle
If you are sizing an industrial valve for a new line and want the connected pipe fittings, pipe flanges, and gasket stud bolt nut assemblies to land on the same datasheet, send your line list and the design envelope to our engineering team. We will return a single valve-and-piping package sized to the same service, with one MTC thread running through the whole assembly.
 Related Products