export@ezsteelpipe.com
 +86 731 8870 6116


 export@ezsteelpipe.com+86 731 8870 6116


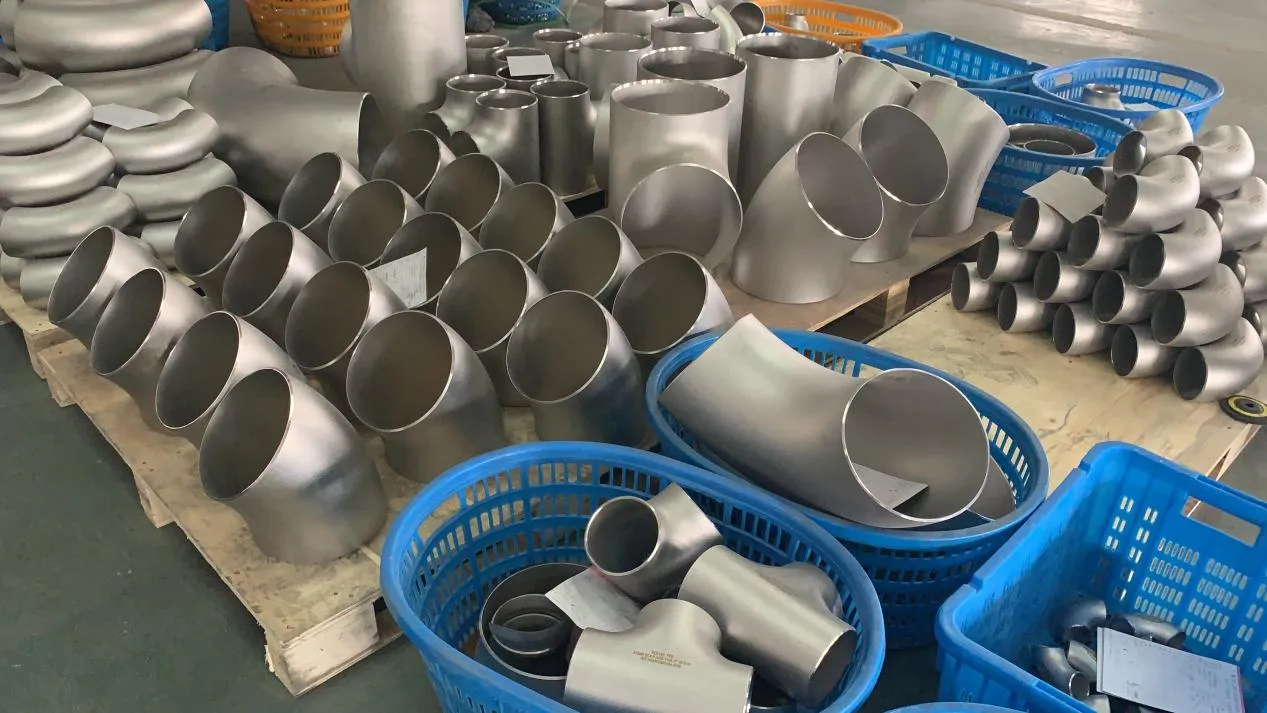
A socket weld (SW) joint is only as reliable as the gap left between the pipe end and the socket shoulder before the arc strikes. Skip the gap, and you invite thermal-expansion stress, root cracks, and pinhole leaks that often show up after the first heat-up cycle rather than during hydrotest. For fabricators working with sw fittings on small-bore high-pressure lines, a controlled installation procedure is what separates a 20-year service life from a $45,000 cut-and-replace job.
This guide walks through the seven-step installation procedure that EZ Steel Industrial recommends for forged SW fittings manufactured to ASME B16.11-2021, with practical notes drawn from petrochemical, power-generation, and marine & ship-building projects.
ASME B31.1 paragraph 127.3(e) and ASME B31.3 paragraph 328.5.2 both call for an expansion gap of approximately 1/16 in. (1.6 mm) between the pipe end and the socket shoulder. The word "approximately" is intentional: the gap is a functional requirement that lets the pipe end expand axially during the weld thermal cycle. Without it, the locked-in stress on cooling becomes a fatigue-crack progenitor under every subsequent heat cycle.
In a 2024 hydrocracker unit in Houston, 14 fillet welds on ½ in. Schedule 80 A105 socket weld couplings cracked within 8 months of service because welders had bottomed the pipe to the shoulder before tacking. The unit was down for three days and repairs ran $45,000. A dimensional hold point — gap measured and recorded before any tack weld — would have caught every one of those joints.
Before the first cut, line up the following items at the fit-up station:
Verify on every purchase order that the fitting class matches the pipe schedule — Class 3000 fits Schedule 80, Class 6000 fits Schedule 160, Class 9000 fits Schedule XXH. A mismatch produces a bore that is either too tight (no seating) or too loose (poor fit-up and stress at the weld root).
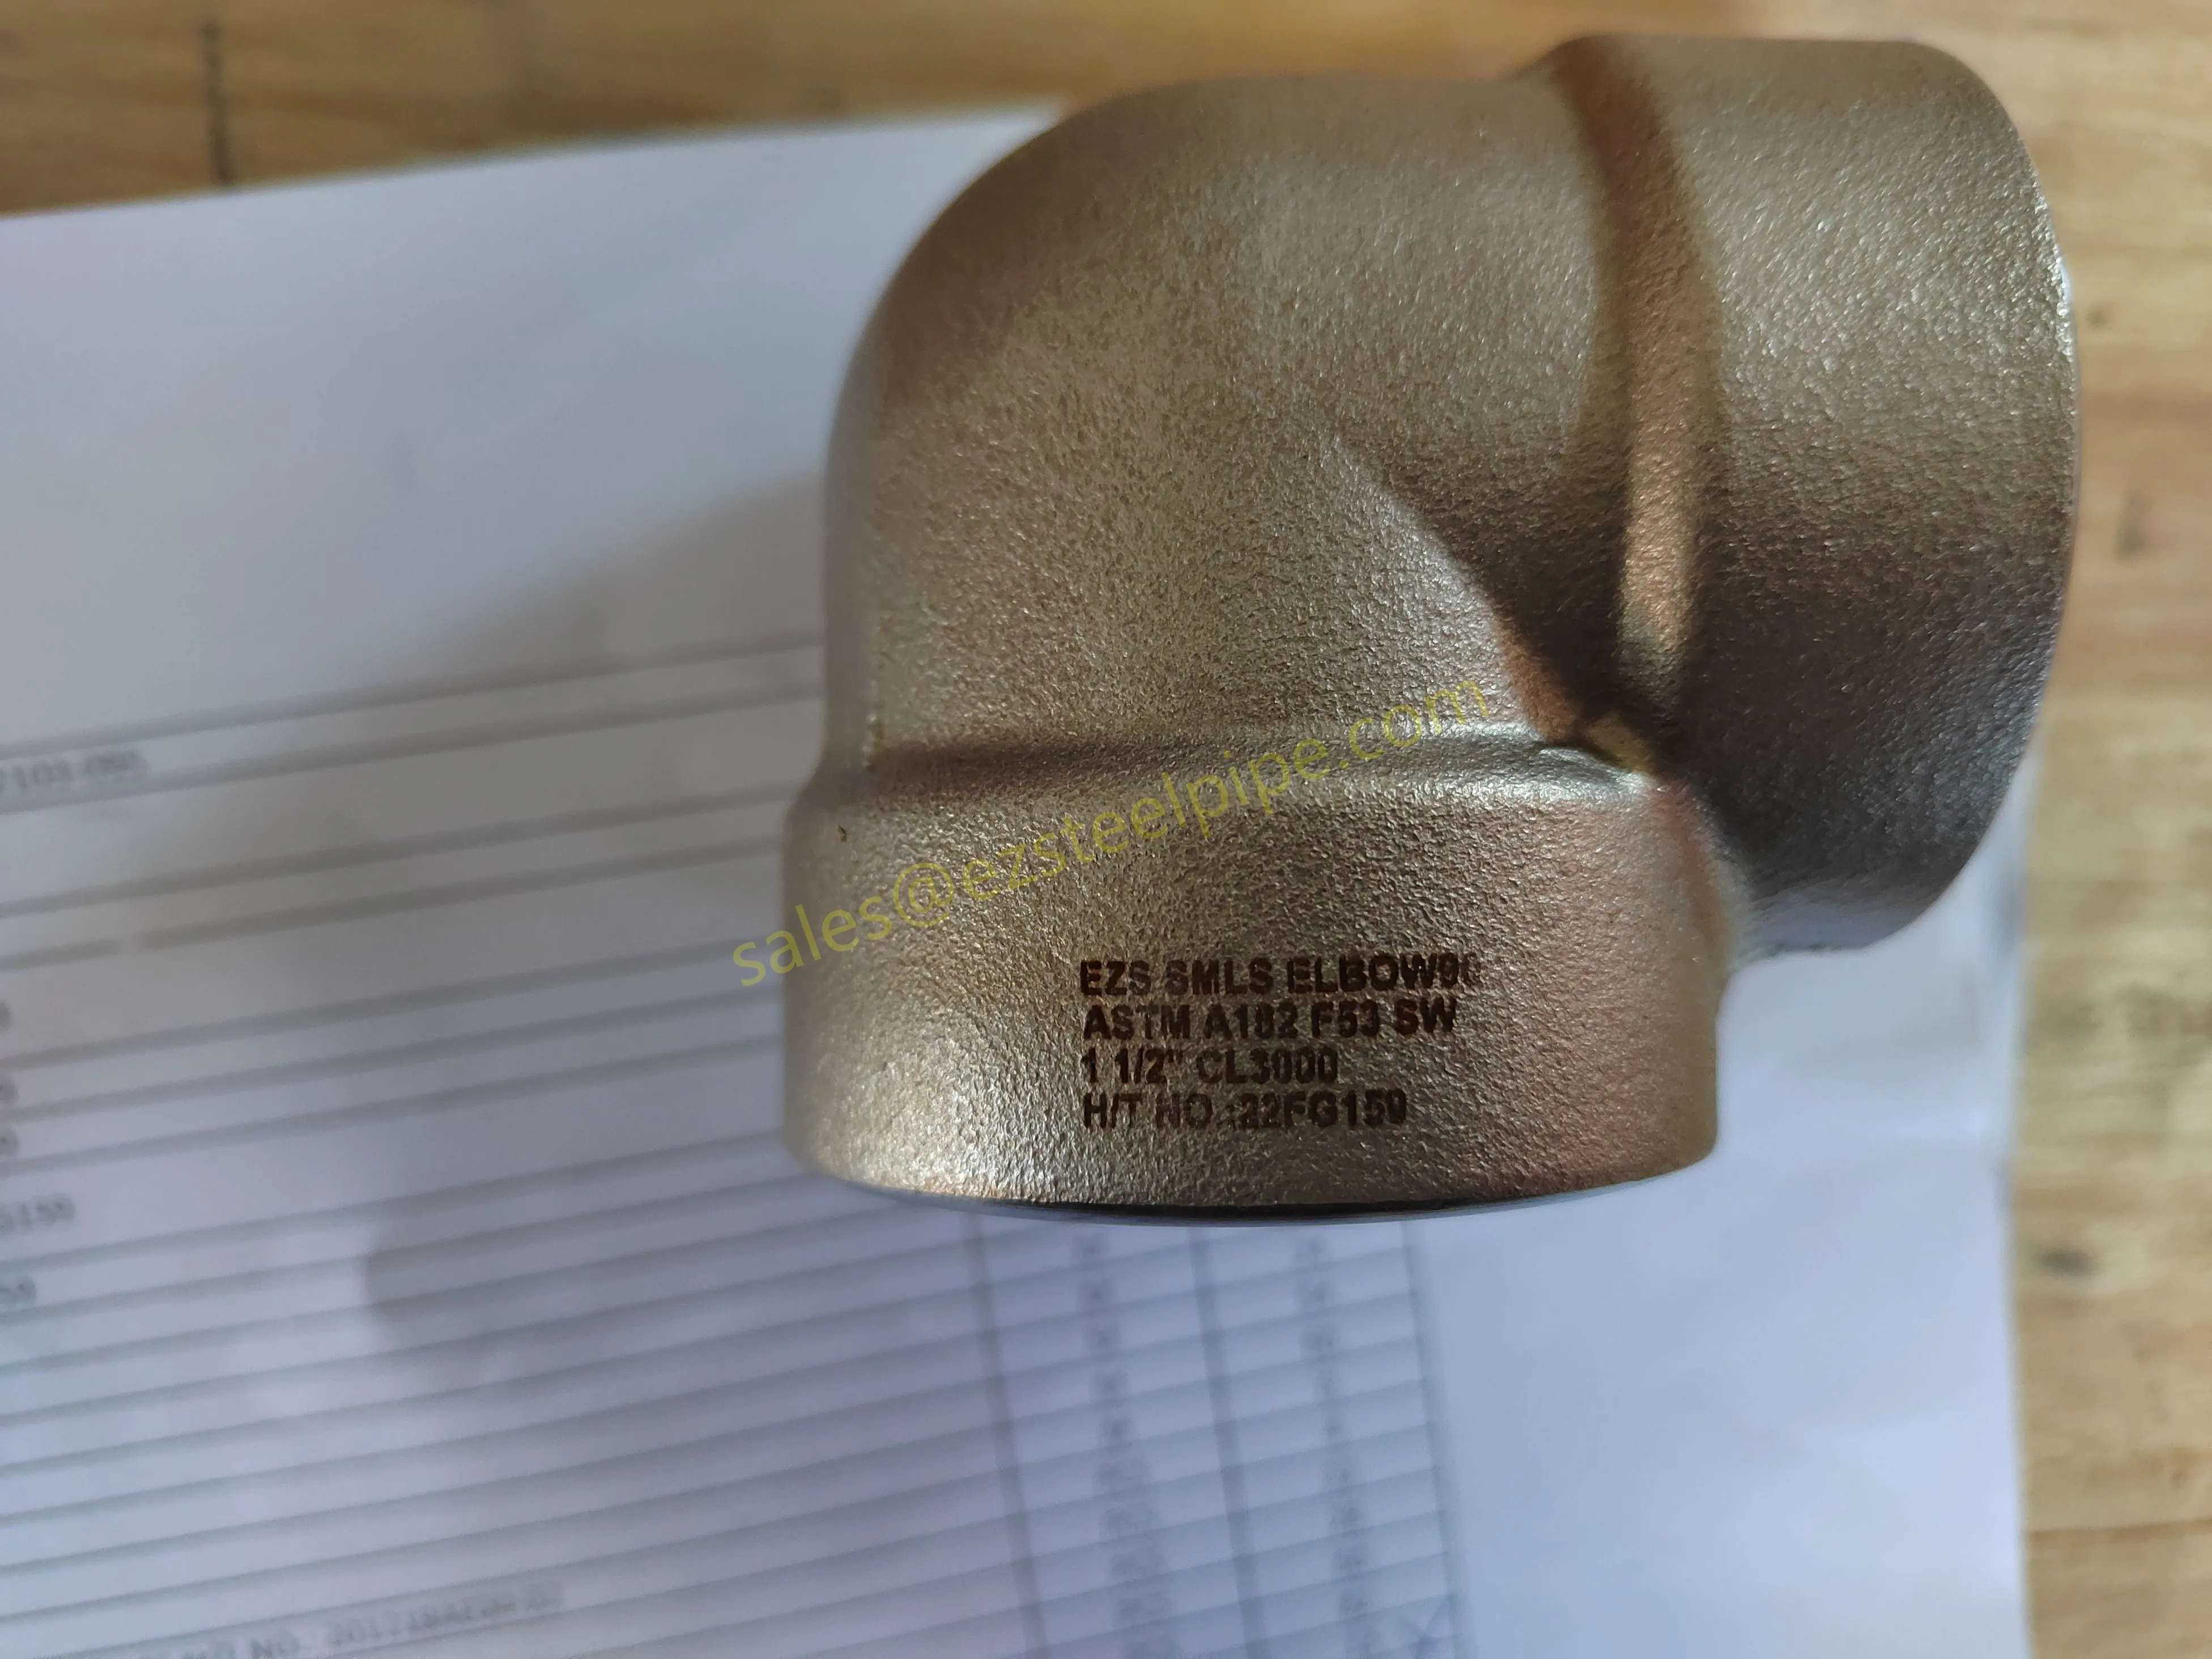
Each sw fitting arrives with a heat number stamped on the body. Cross-check that number against the mill test certificate before the fitting leaves the receiving area. Confirm the material grade (ASTM A105N for carbon steel, ASTM A182 F316L for stainless, ASTM A182 F11/F22 for alloy), the pressure class, and the bore schedule. A documented incoming-inspection record is the first line of defense against a procurement mix-up that cannot be undone after welding.
Wipe both the inside of the socket and the outside of the pipe end with solvent to remove oil, marking ink, and handling residue. Follow up with a wire brush on any rust, mill scale, or heat-tint film until the surfaces show bright, uniform metal. In marine & ship-building service, even fingerprint chlorides can trigger pitting in 316L stainless, so add a final solvent wipe after the brushing step.
Inspect the socket bore with a borescope or magnifier. Look for longitudinal scratches, dents, and machining steps. A scratch deeper than 0.1 mm in a critical-service joint is grounds for rejection. The pipe end must be square-cut; a beveled or jagged end will not seat against the shoulder and will distort the gap.
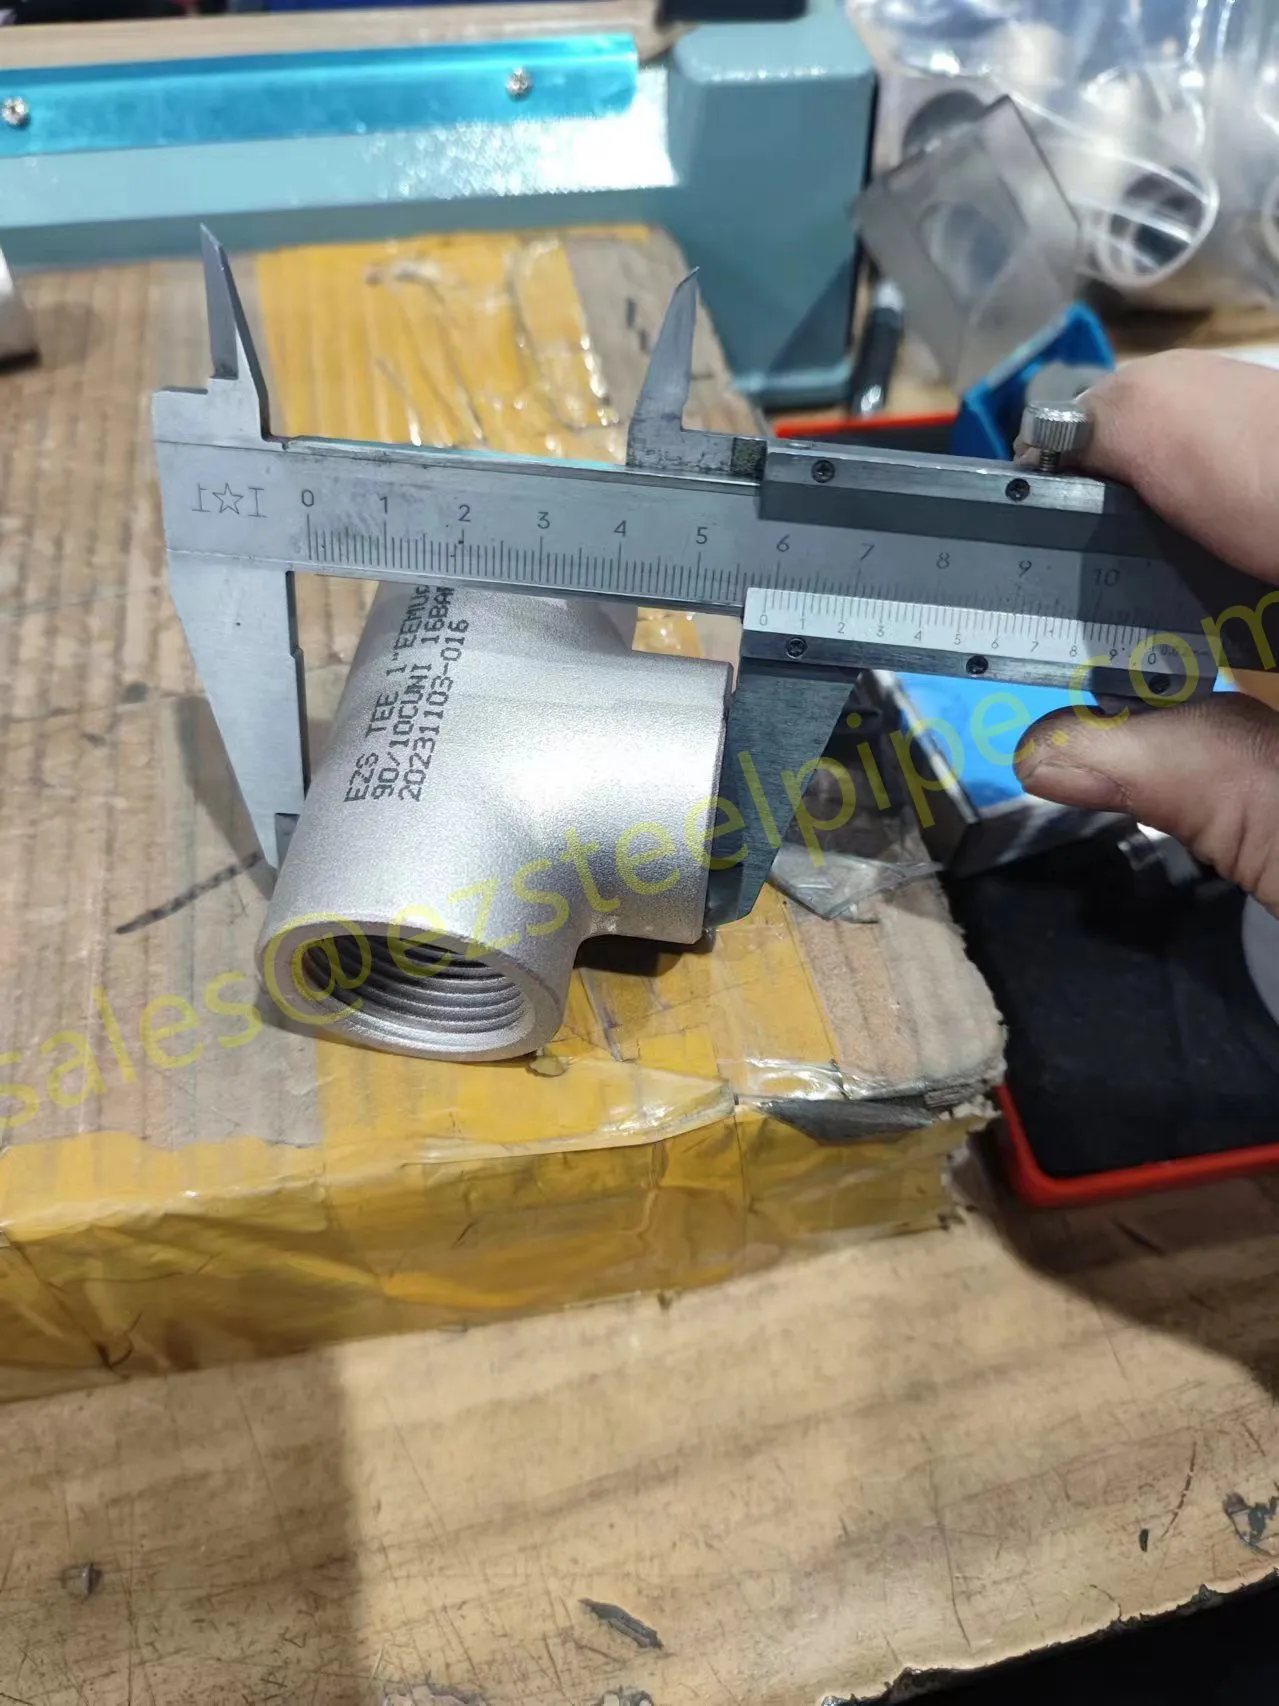
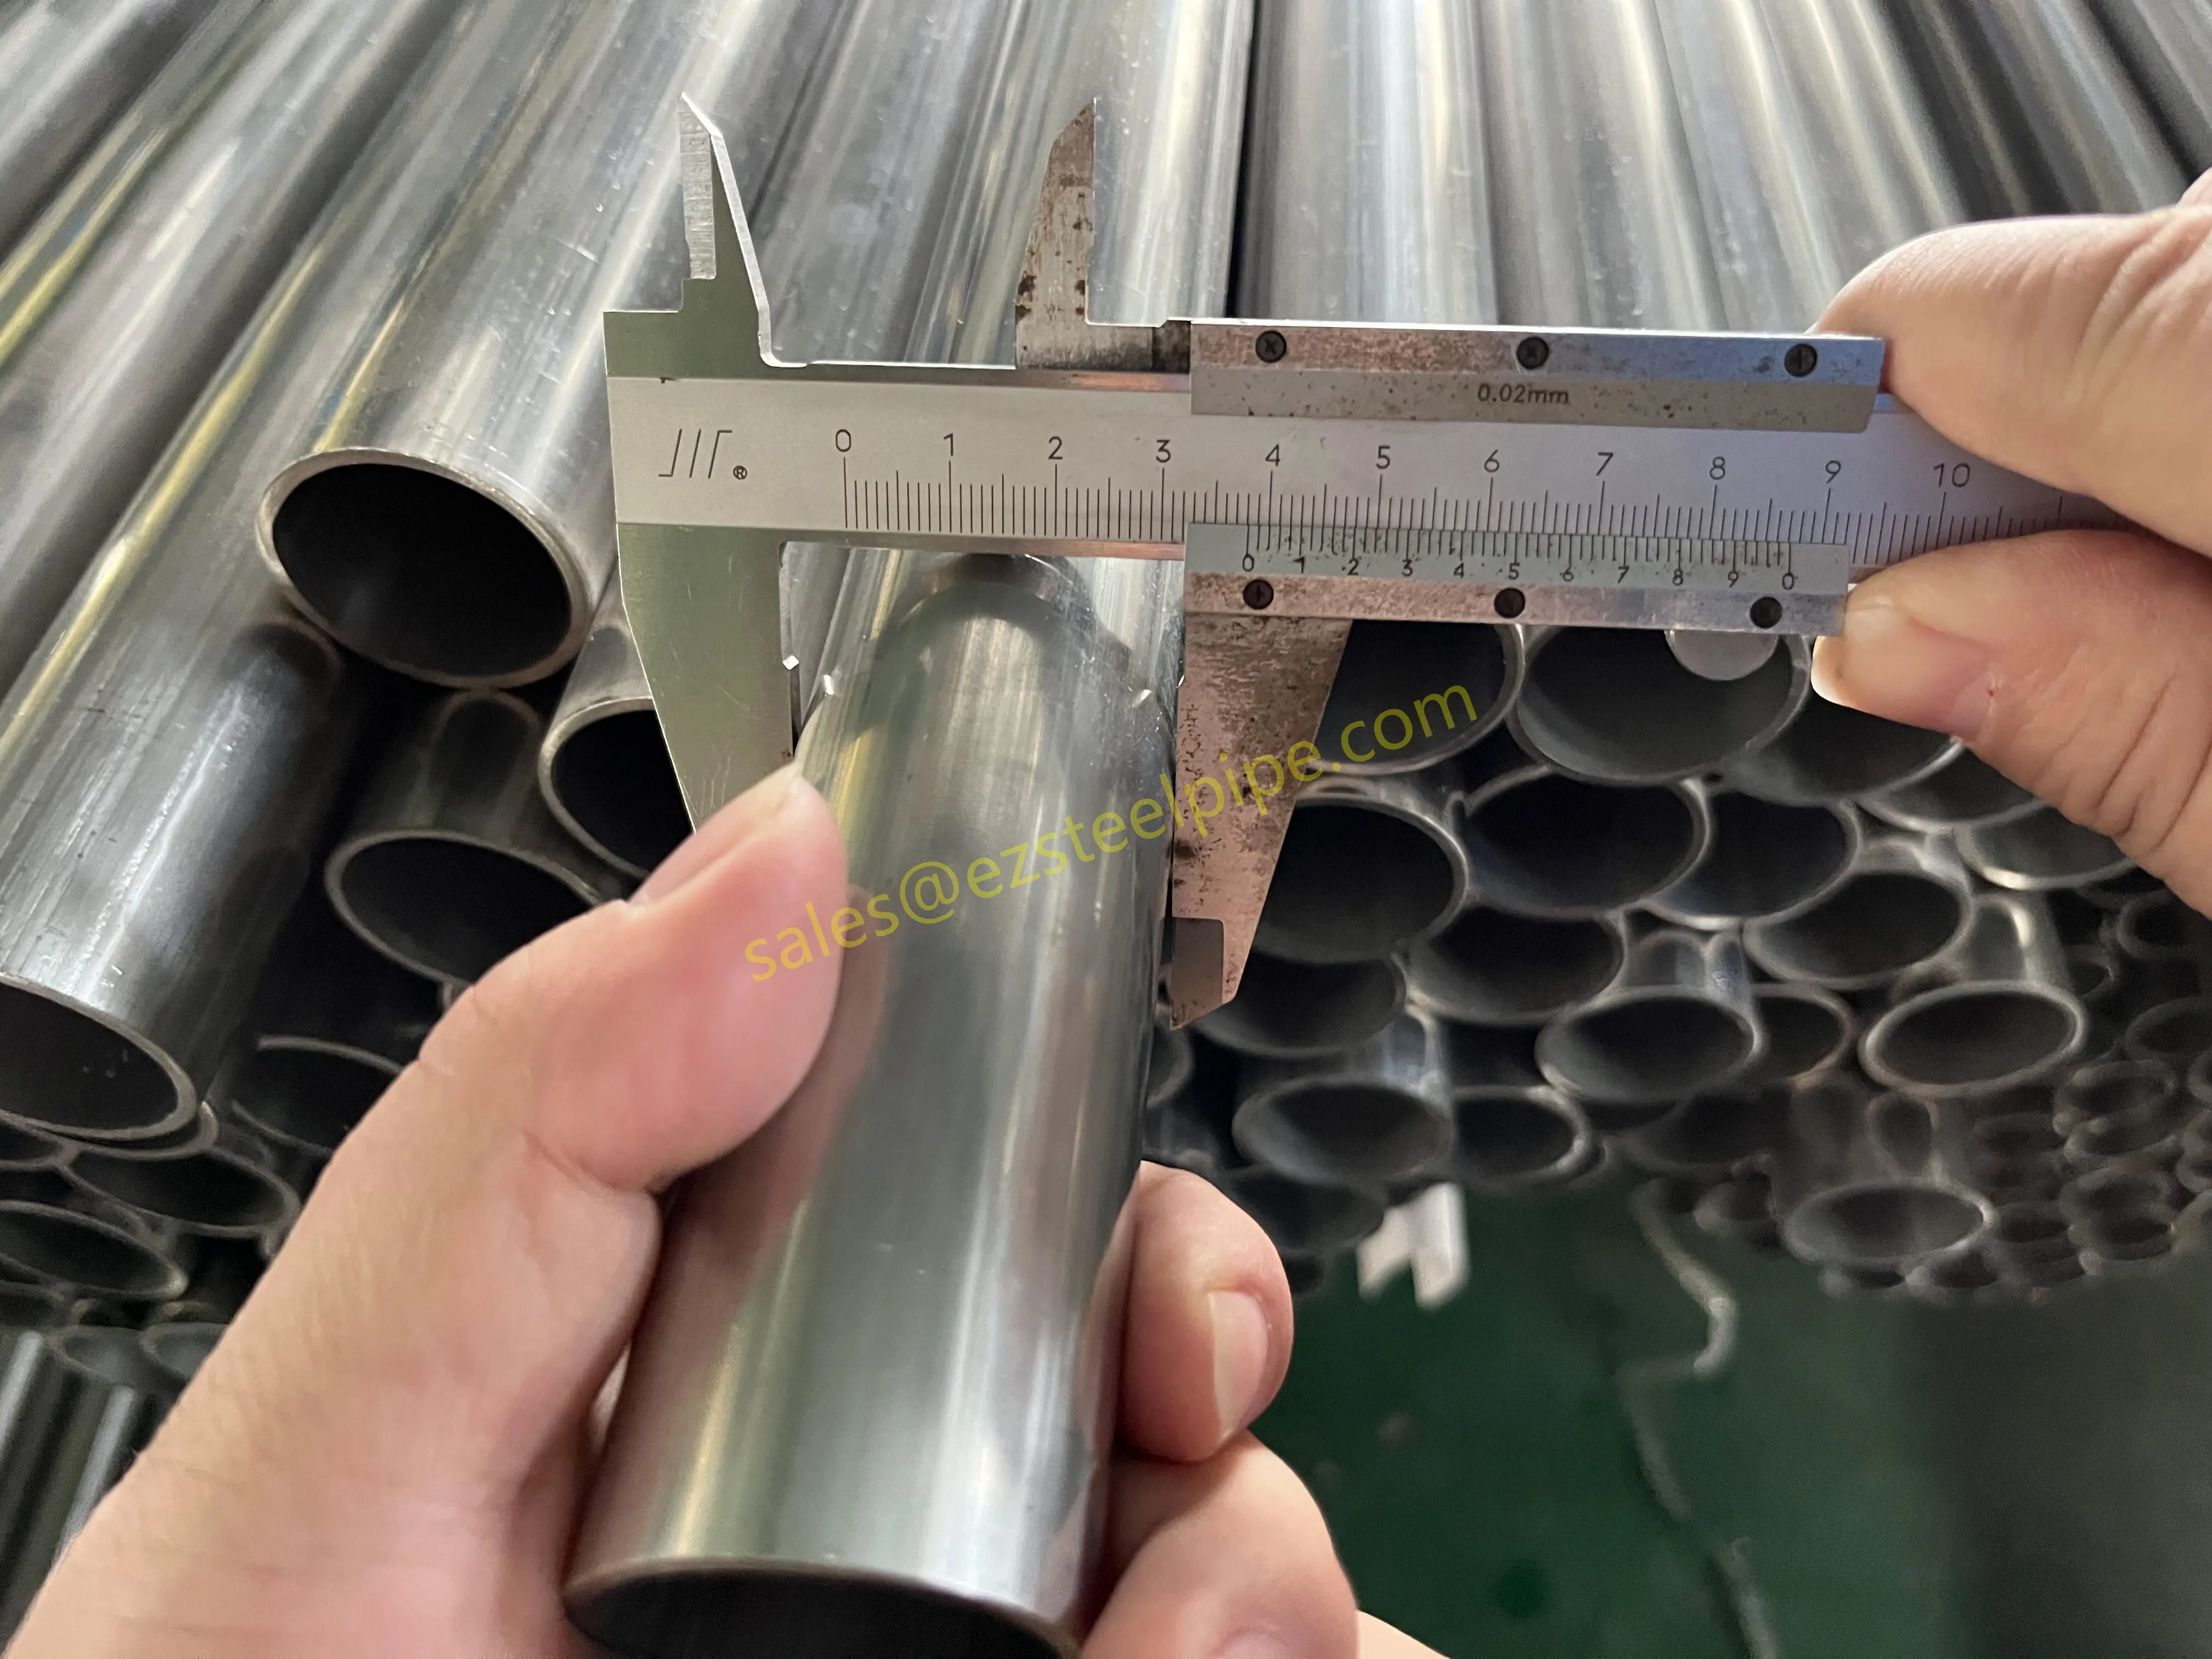
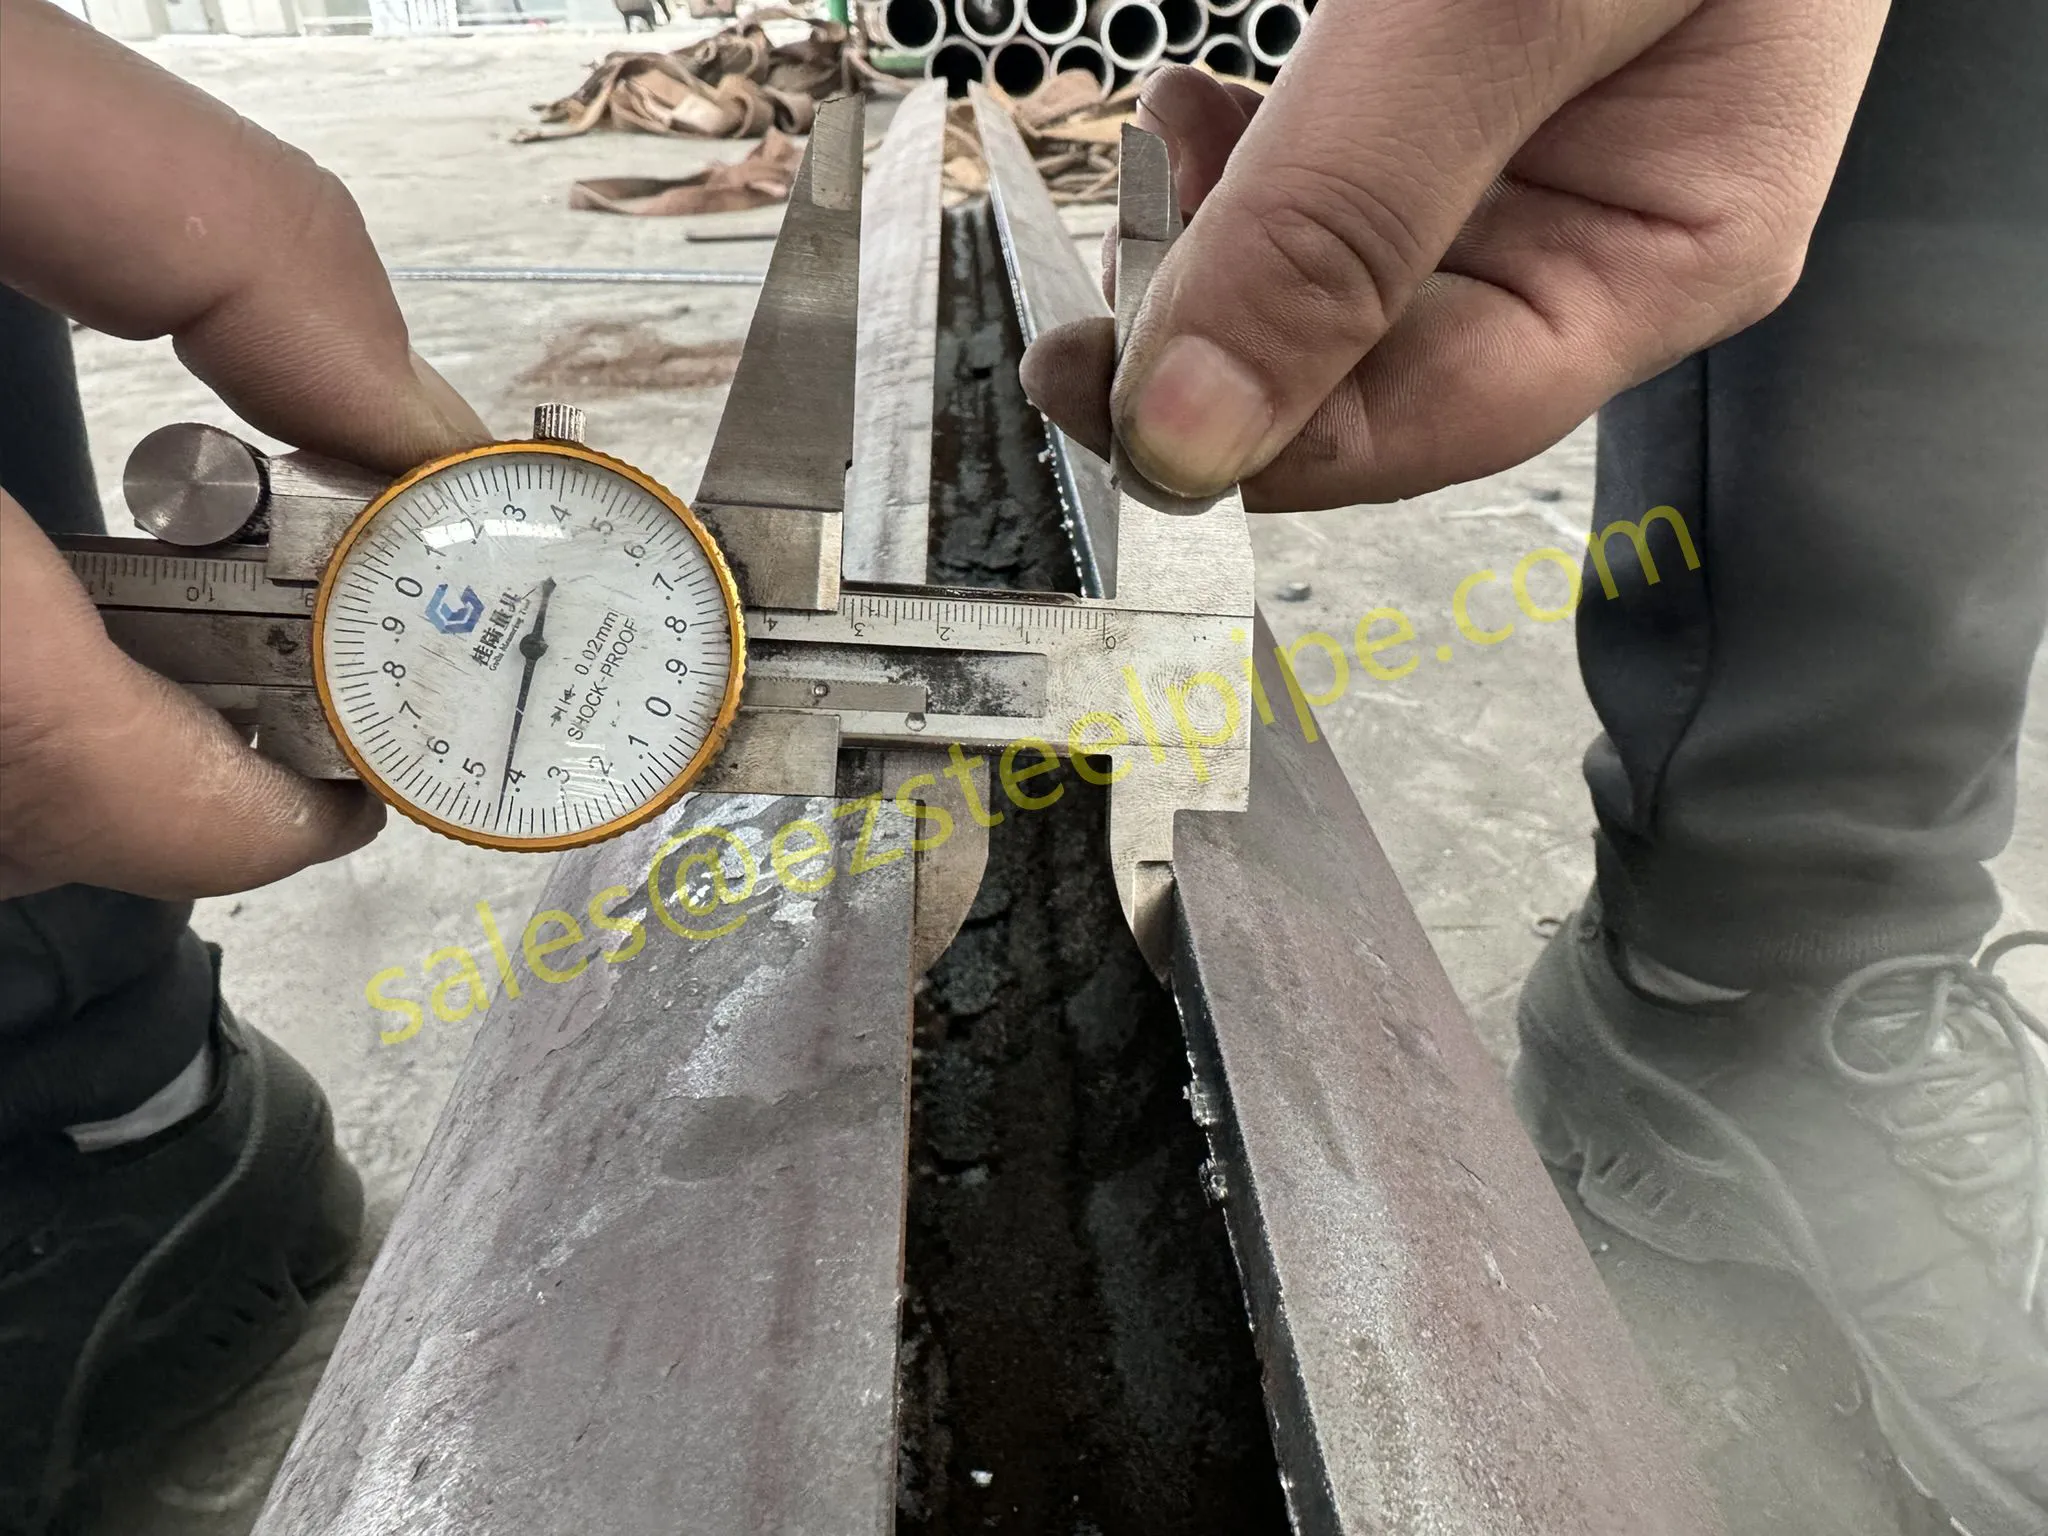
Measure the pipe OD at four points around the circumference and record the average. Compare it to the fitting's nominal socket ID. A clearance of 0.4–0.8 mm (1/64–1/32 in.) is normal; anything larger wastes filler metal and weakens fusion. Measure the wall thickness to confirm the pipe schedule matches the fitting class — a thin-walled pipe on a heavy-duty fitting can burn through, while an over-thick pipe will not seat.
For projects that also use pipe fittings from the same supplier, keep one inspection log per heat number so traceability carries through the whole fabrication package.
This is the procedure inspectors should be watching:
Use a Gap-A-Let ring or a metal shim on larger diameters to hold the spacing while the tack solidifies. The most common error in the field is correct insertion-depth marking followed by forgetting to back out the pipe before tacking — that single omission is behind the majority of root cracks and pinhole leaks seen in service.
For carbon and carbon alloy steel, preheat to 150–200 °C (302–392 °F) when the pipe wall exceeds 10 mm, the ambient temperature is below 0 °C (32 °F), or the WPS specifies a minimum interpass temperature. Use a propane torch or induction coil and verify with temperature crayons or a contact pyrometer on the socket face 50 mm from the joint.
For stainless steel fittings, keep the joint above 10 °C (50 °F) and below 150 °C to avoid sensitization. In petrochemical facilities where chloride-bearing streams are present, low-carbon grades (304L, 316L) and matching ER308L/ER316L fillers are the default choice to keep carbide precipitation in check.
TIG/GTAW is the preferred process for the root pass because it gives precise heat control on small-bore joints. Set the current at 80–120 A for ½ in. piping, voltage at 10–15 V, and travel speed slow enough that the weld pool wets both the pipe OD and the socket face. Hold the torch at a 15–20° drag angle.
The root pass should fuse the pipe and the socket at the base of the fillet. After slag removal and a visual check, deposit the cap pass to build the fillet leg up to — but not significantly above — the pipe nominal wall thickness. Excessive reinforcement becomes a stress concentrator, and the standard SIF of 2.1 at an unfinished fillet toe is already the highest stress point in the joint.
For thicker sections or higher-alloy piping used in power plants & aerospace, SMAW with E7018 (carbon steel) or matching alloy electrodes is acceptable for the cap pass, with TIG retained for the root.
Let the joint cool slowly. Forced air or water quench is a known cause of hard-zone cracking in thick-wall carbon steel. For pressure-service pressure tubes and high-temperature lines, post-weld heat treatment (PWHT) at 600–650 °C (1112–1202 °F) relieves residual stress. Stainless welds pick up a heat-tinted oxide layer during welding; remove it by pickling paste or a nitric-acid passivation bath to restore corrosion resistance — a non-negotiable step for marine & ship-building service.
Inspect with visual and dimensional checks first, then magnetic particle or dye penetrant on the fillet. Radiographic inspection of a socket weld is possible but rarely practical because the geometry hides root indications; ultrasonic testing using a dual-crystal probe from the socket face is the more reliable volumetric method for critical joints. Record the as-built gap reading, preheat and interpass temperatures, filler metal batch, and NDT results in the joint dossier.
Socket welding looks simple, which is exactly why it fails. The 1.6 mm gap is not a matter of welder feel — it is a code requirement with a known failure mode when missed. A documented, step-by-step installation procedure turns that requirement into a hold point that any qualified welder can follow, any inspector can verify, and any auditor can trace back to a specific joint number.
For project packages that include sw fittings alongside bw fittings, threaded fittings, industrial valves, and complementary steel flanges from a single integrated supplier, a unified installation procedure keeps the whole piping system inside one inspection record and one quality story — from the first scribed line to the final hydrotest signature.
 Related Products